In the Phoenix metro, ceiling fan installation runs $150–$800 depending on the scenario, and most straightforward swaps land between $150 and $300. As of July 2026, the price comes down to three things: whether the ceiling box is fan-rated, how high the ceiling is, and whether any new wiring is involved. The full price chart is below, along with the three details that separate a fan that runs quietly for years from one that wobbles and cross-fires with the fan in the next bedroom: the box, the balance, and the remote code. Fan work is part of our electrical services.
Ceiling Fan Installation Price Chart — Phoenix, 2026
Every price below is a starting range for licensed, insured work: labor and install only, fan not included unless you ask us to supply it. The free estimate confirms the number after we see the box and the ceiling.
| Scenario | Typical Phoenix Price (2026) | What Drives the Price |
|---|---|---|
| Replace an existing fan, like-for-like | $150–$300 per fan, labor | The clean swap: box already fan-rated, haul-away and testing included, no box work. About an hour on site. |
| Convert a light fixture to a fan (box already fan-rated) | $175–$350 per fan, labor | Same wiring; the variable is how you want the fan and light controlled: one switch with pull chains, or a remote receiver. |
| Box present but NOT fan-rated → upgrade the box | $250–$500 per fan, labor + box | The critical safety upgrade. Attic access makes it easier; no attic access means ratcheting a fan-rated brace bar in through the existing hole. |
| No box or wiring where you want the fan | $400–$800+ labor + electrical | New box, new wiring, and a switch leg: licensed electrical work through our sub, plus the drywall patch. A half-day-plus job. |
| High, vaulted, or two-story ceiling | $350–$750+ per fan | Scaffolding or a lift instead of a ladder into open space, plus the right downrod and a sloped-ceiling adapter on a vault. |
| Add a wall control, smart switch, or remote receiver | +$75–$200 per control | Control type. A fan needs a fan-rated control; a standard dimmer hums and damages the motor. |
| Downrod for a high ceiling | +$40–$150 per fan | Length and finish, sized so the blades hang where they move the most air. |
Real quote from a recent Valley job: $150 for a drop-in fan replacement on an existing fan-rated box, or $300 if the box needs the fan-rated upgrade. Ranges reflect the 2026 Phoenix market for licensed, insured work. Text us a photo of your ceiling and we will confirm your number, free.
Can I hang a ceiling fan on a standard light box?
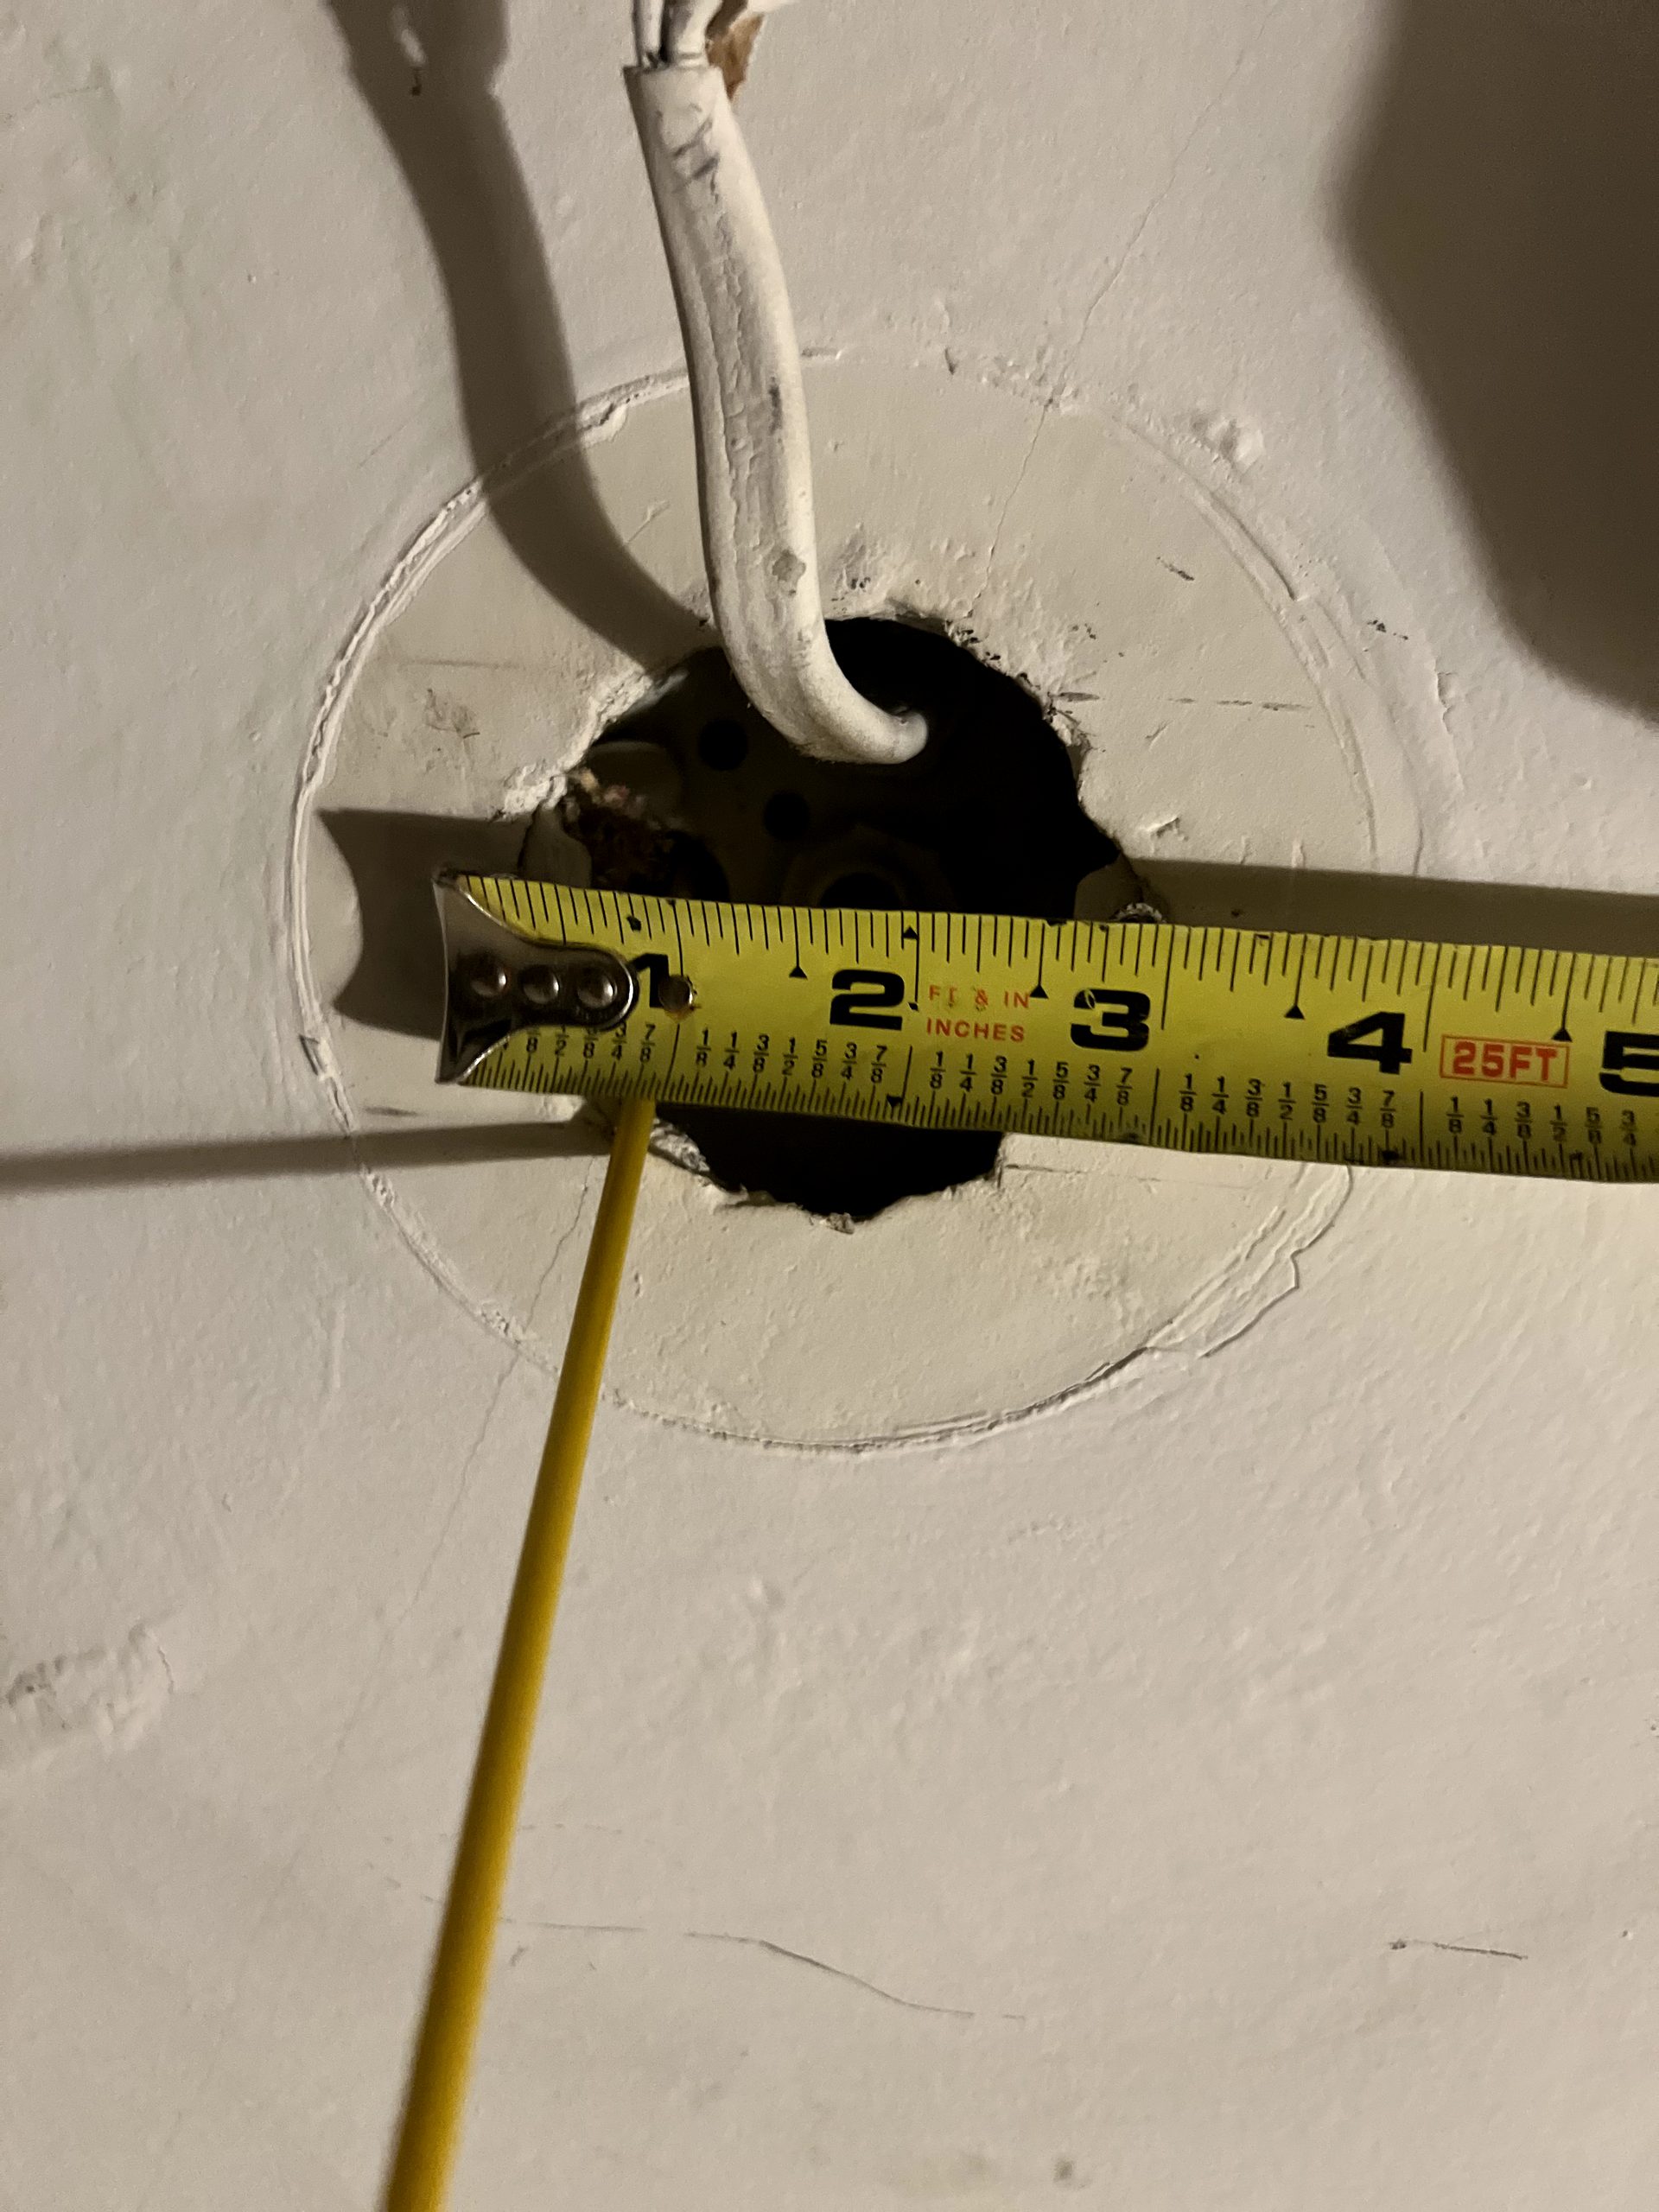
No. This is the single most important thing on this page. A ceiling fan must hang from a box that is listed and marked "acceptable for fan support" under NEC 314.27(C), mounted to a fan-rated brace between the joists or fastened straight to a joist. A standard light box is rated for a fixture that just sits there; a fan adds a moving, oscillating load the box was never listed to carry. The vibration works the screws loose over months, the box pulls away from the drywall, and the fan comes down, usually over a bed. We check the box first on every fan, every time, and if it is not rated we tell you before anything goes up.
Two details most installers never bring up. First, a fan-rated box supports fans up to 70 pounds on the box alone; a heavier fan needs support independent of the box, fastened to the framing. Second, boxes rated for fans over 35 pounds must state their maximum weight on the marking, so we read the stamp and check it against the actual fan, rather than assuming a box is a box. Where a box has to be replaced, the fix is a fan-rated pancake box lagged into a joist, a retrofit brace bar ratcheted in through the existing hole when there is no attic access, or wood blocking added from the attic when there is.
Why does one remote control two fans? Setting unique receiver codes
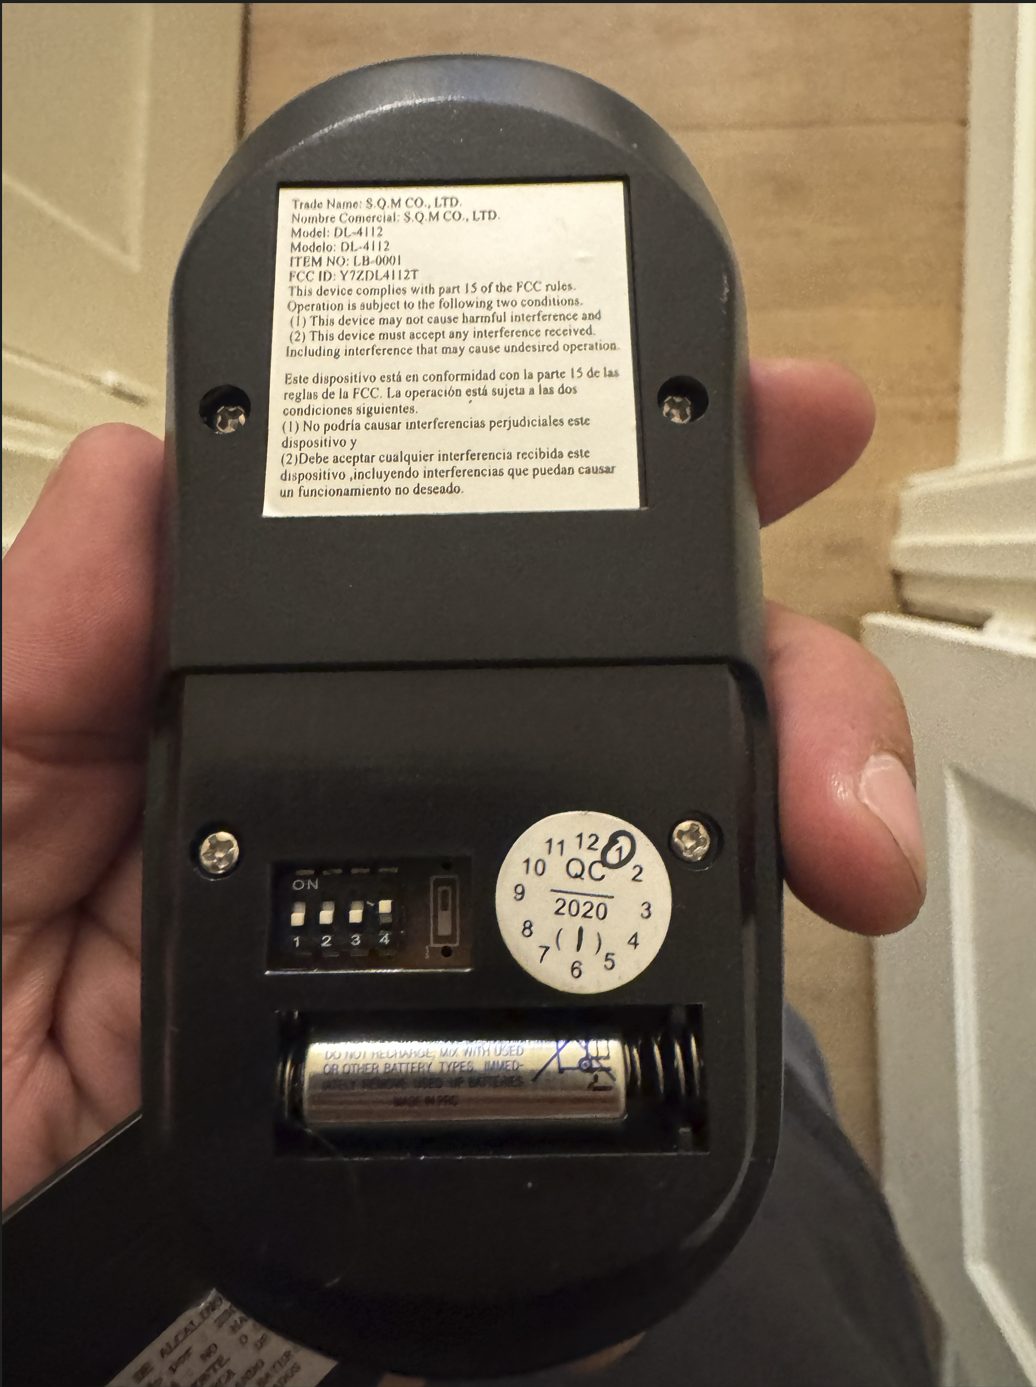
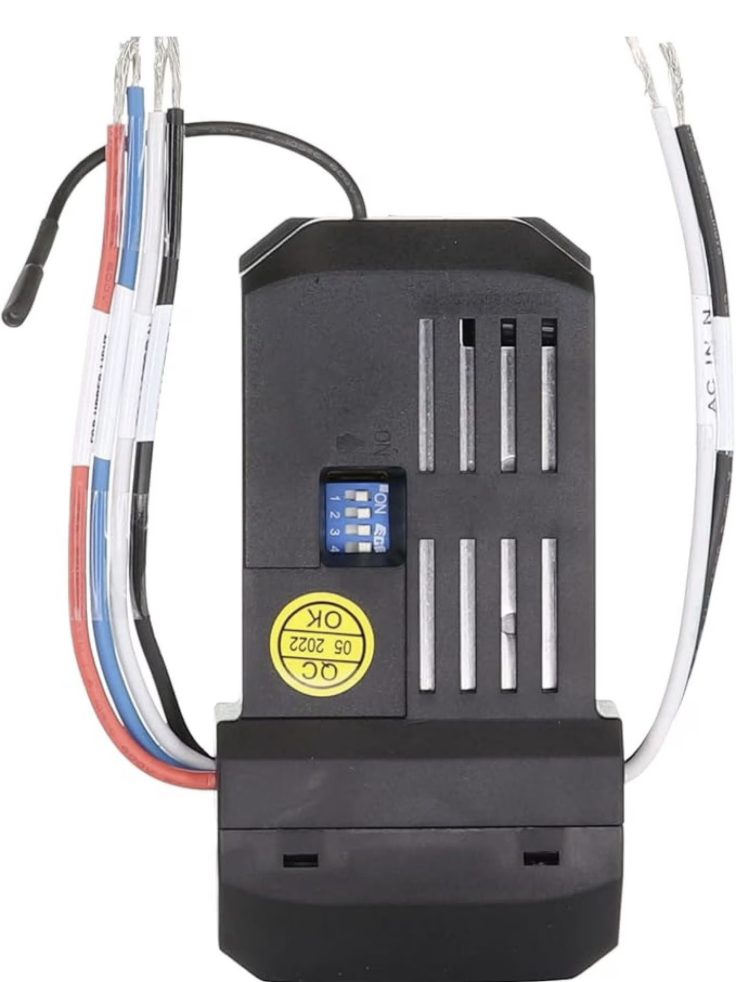
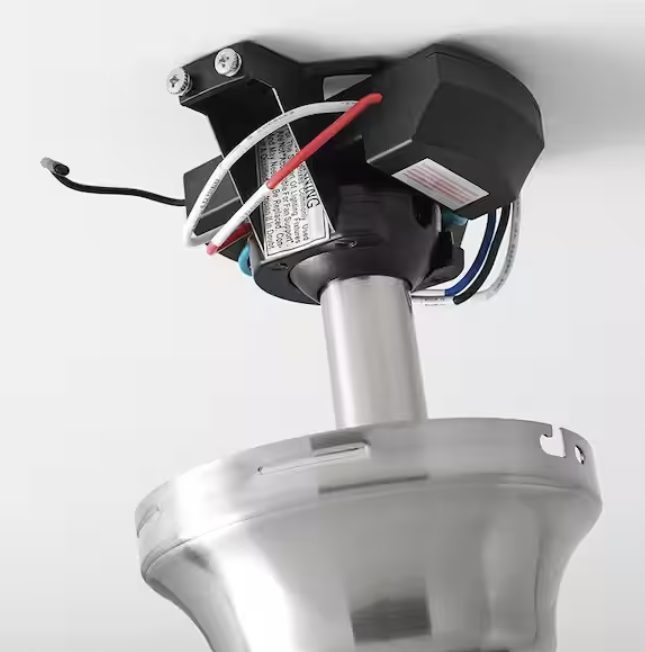
Because both fans are on the same factory code. Most remote-controlled fans hide a receiver module up in the canopy, and on DIP-switch models the remote and the receiver each carry a small 4-position switch block: 16 possible codes, and every fan leaves the factory on the same default. Put two of those fans in nearby bedrooms and one handset runs both; within the remote's 30-to-50-foot range through interior walls, same-code fans cross-fire. On a recent bedroom fan replacement we did, the new fan shipped on the default code the home's other fans were using, so we set a unique code on the receiver and its matching remote before the fan went up. The receiver lives behind the canopy, so programming it after mounting means taking the fan half down again.
It is a two-minute step that most installers skip, and it is why "the kids' remote turns our fan on" is such a common callback in tract homes. We set and record a unique code for every fan, and label the back of each remote with its room, so a lost remote later is a two-minute re-pair instead of a teardown. If your fan is a newer auto-pairing or Wi-Fi model there are no DIP switches to set; those pair digitally after power-up, and we confirm the pairing before we leave.
Why does my ceiling fan wobble, and does it need balancing?
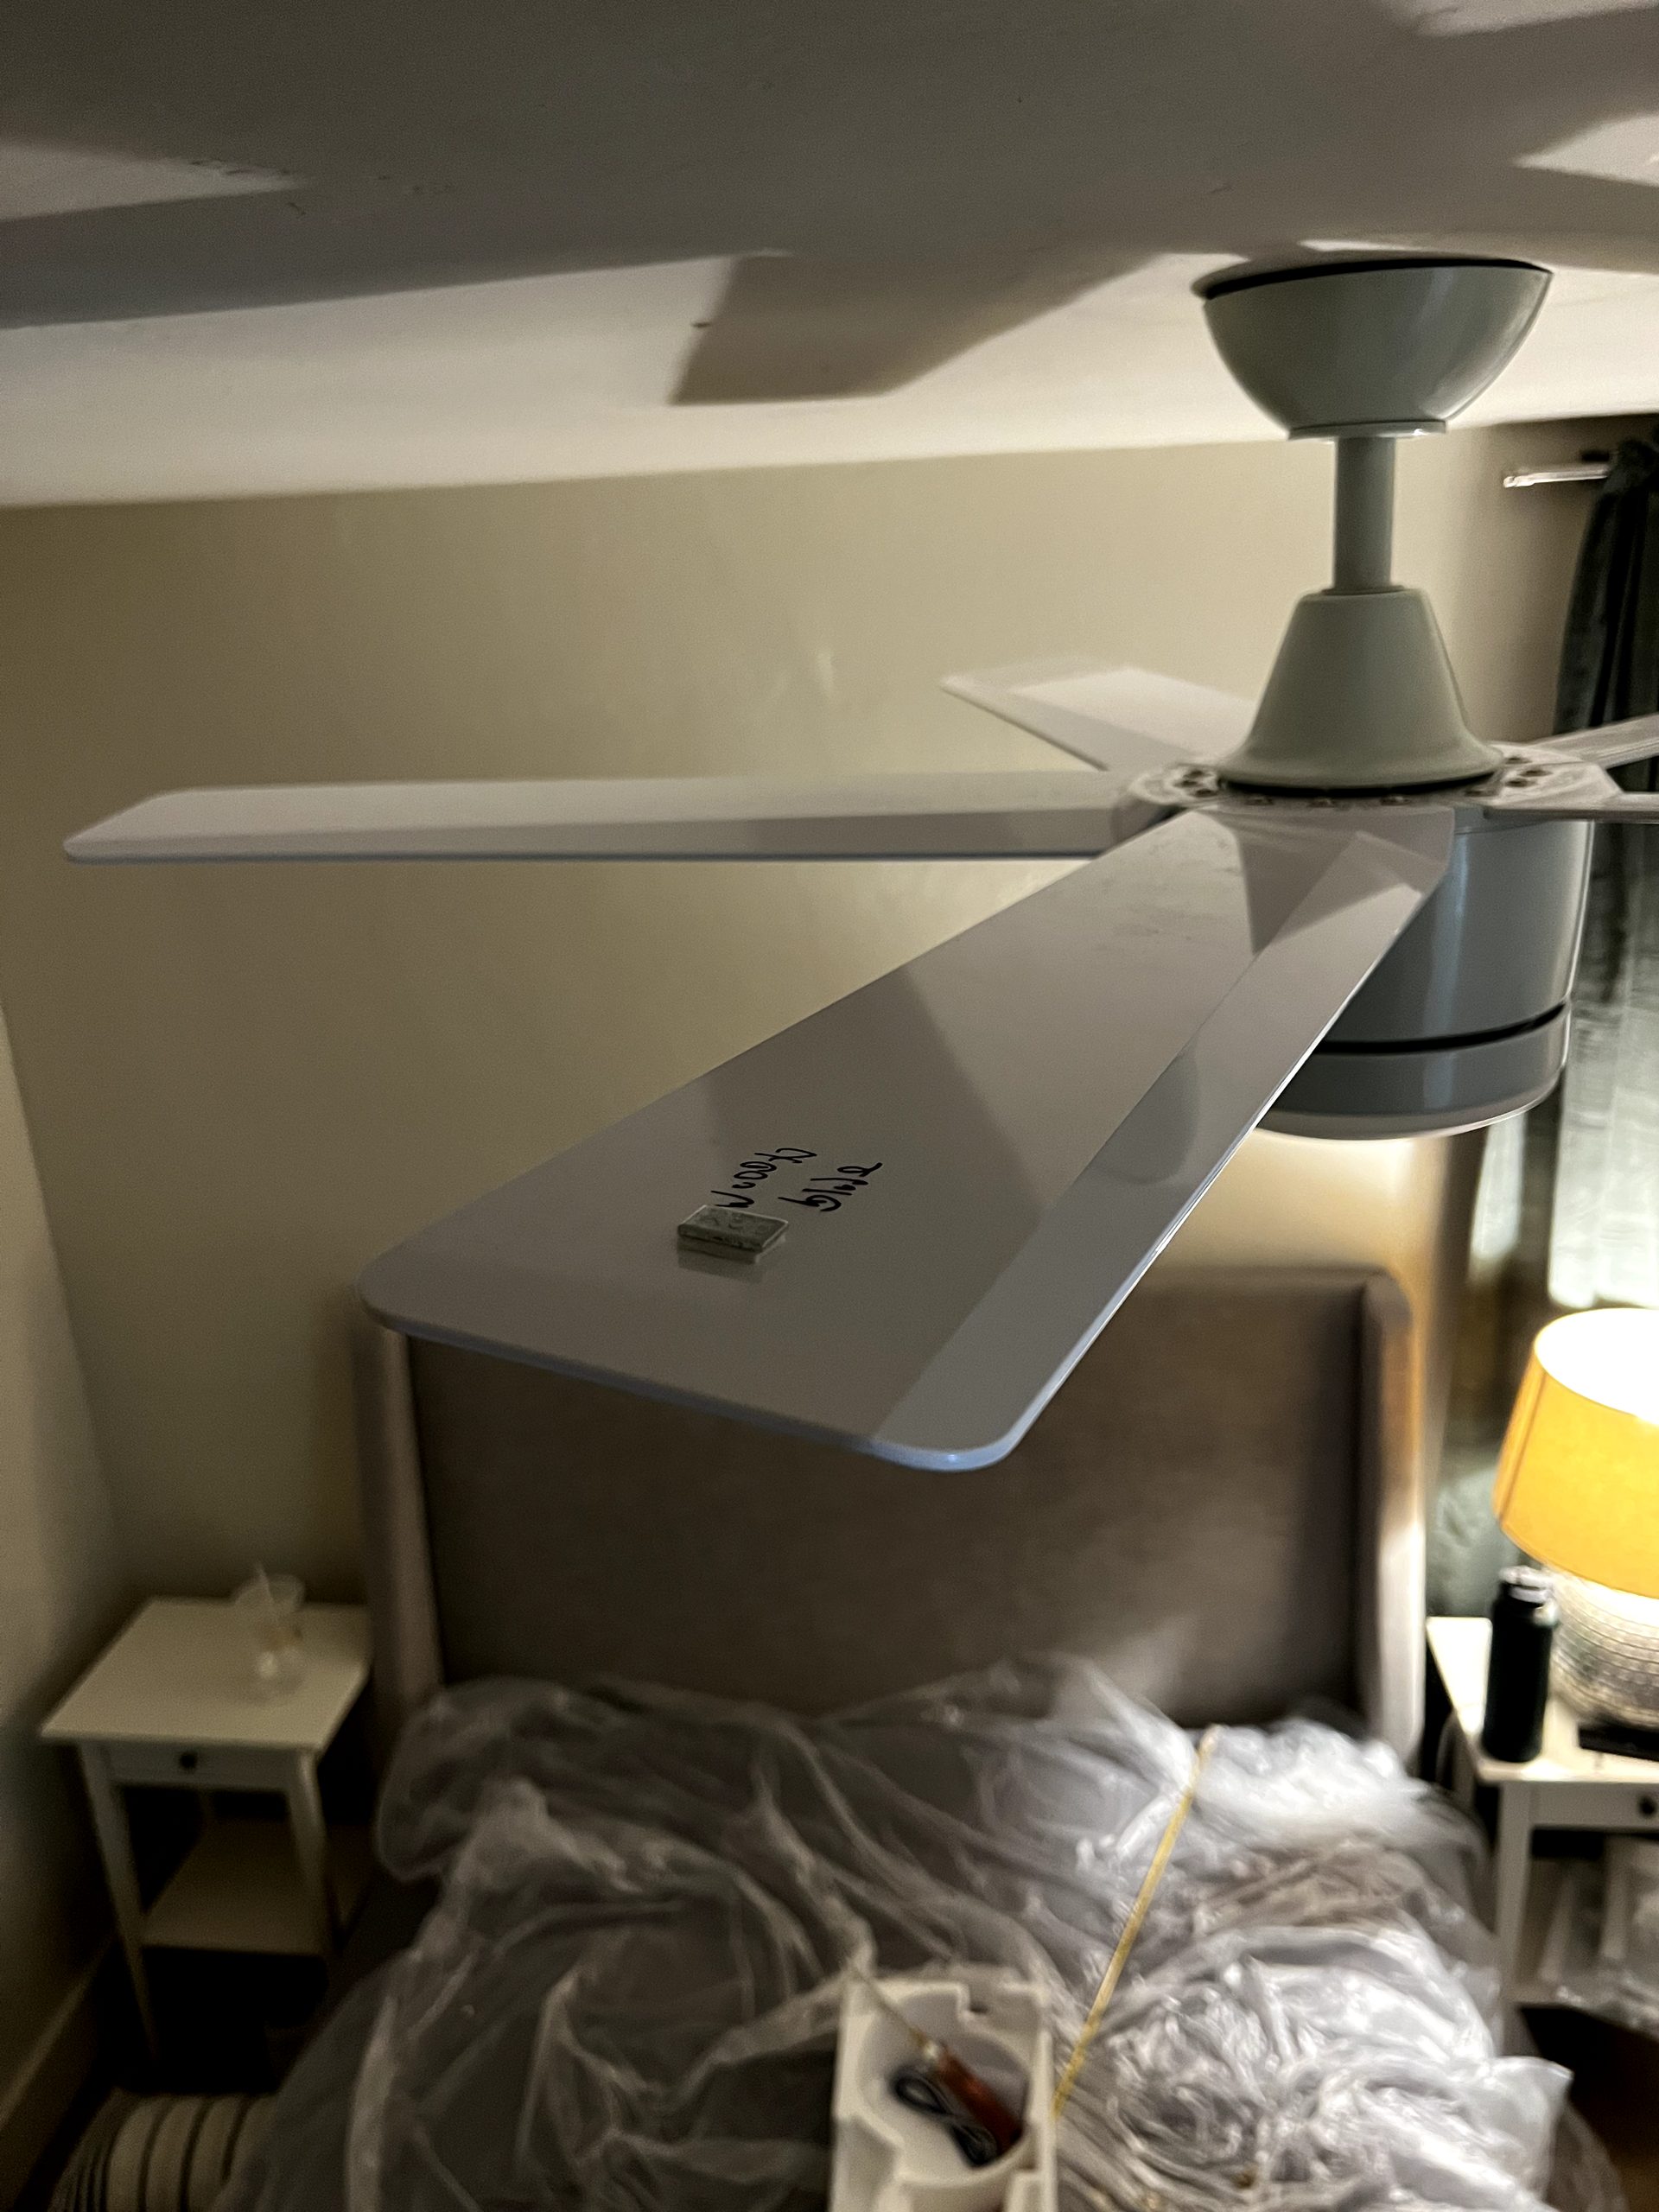
Usually not. A quality fan hung on a solid fan-rated box, with its blades seated evenly, generally runs true with no weights at all. Balancing is the exception, not a routine step, and an installer who reaches for the weight kit first is skipping the real diagnosis. When a fan does wobble, the causes in order are: a downrod ball that is not seated in its bracket, loose blade-holder screws, blades out of track, or a blade bent in shipping. We check blade tracking to within about an eighth of an inch tip-to-tip and tighten the hardware before anything else.
Only when the tracking and hardware check out does the balancing kit come into play: a sliding clip finds the spot on the blade that quiets the wobble, then a small stick-on weight replaces the clip. A trace of movement at high speed (a quarter inch of tip travel or less) is normal; visible rocking is not, and rocking on a standard light box is the fan telling you about the box, not the blades.
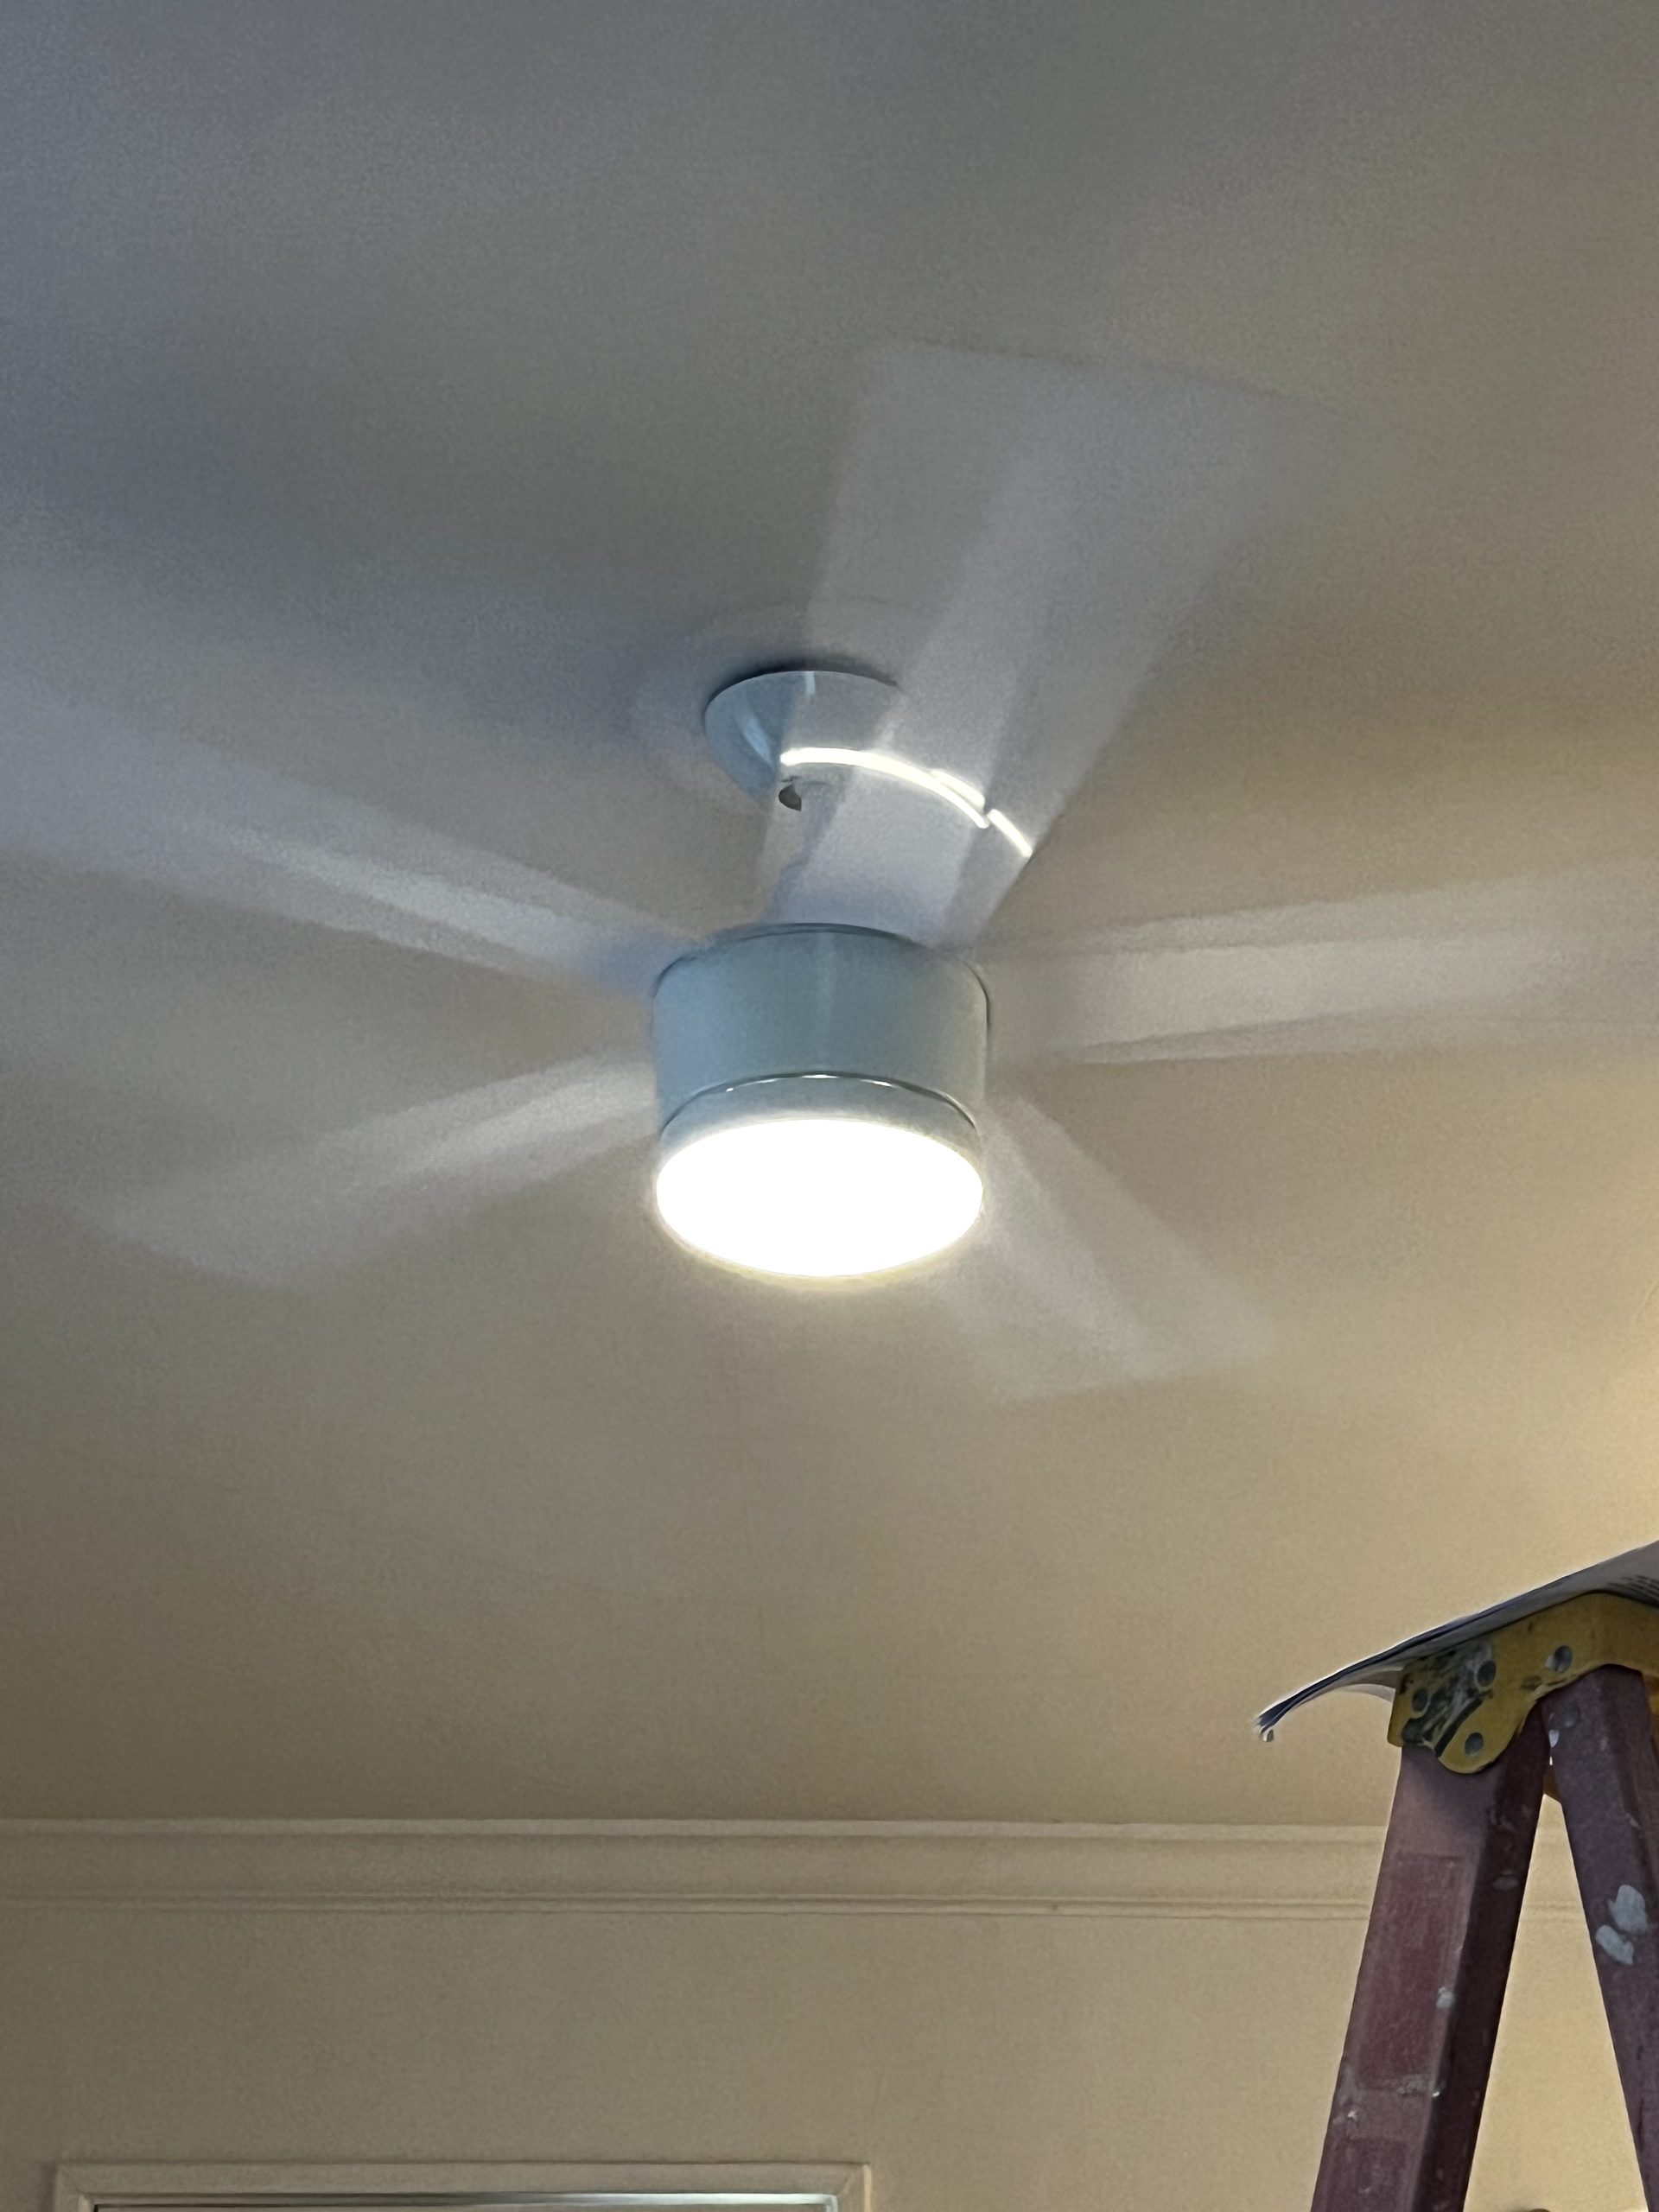
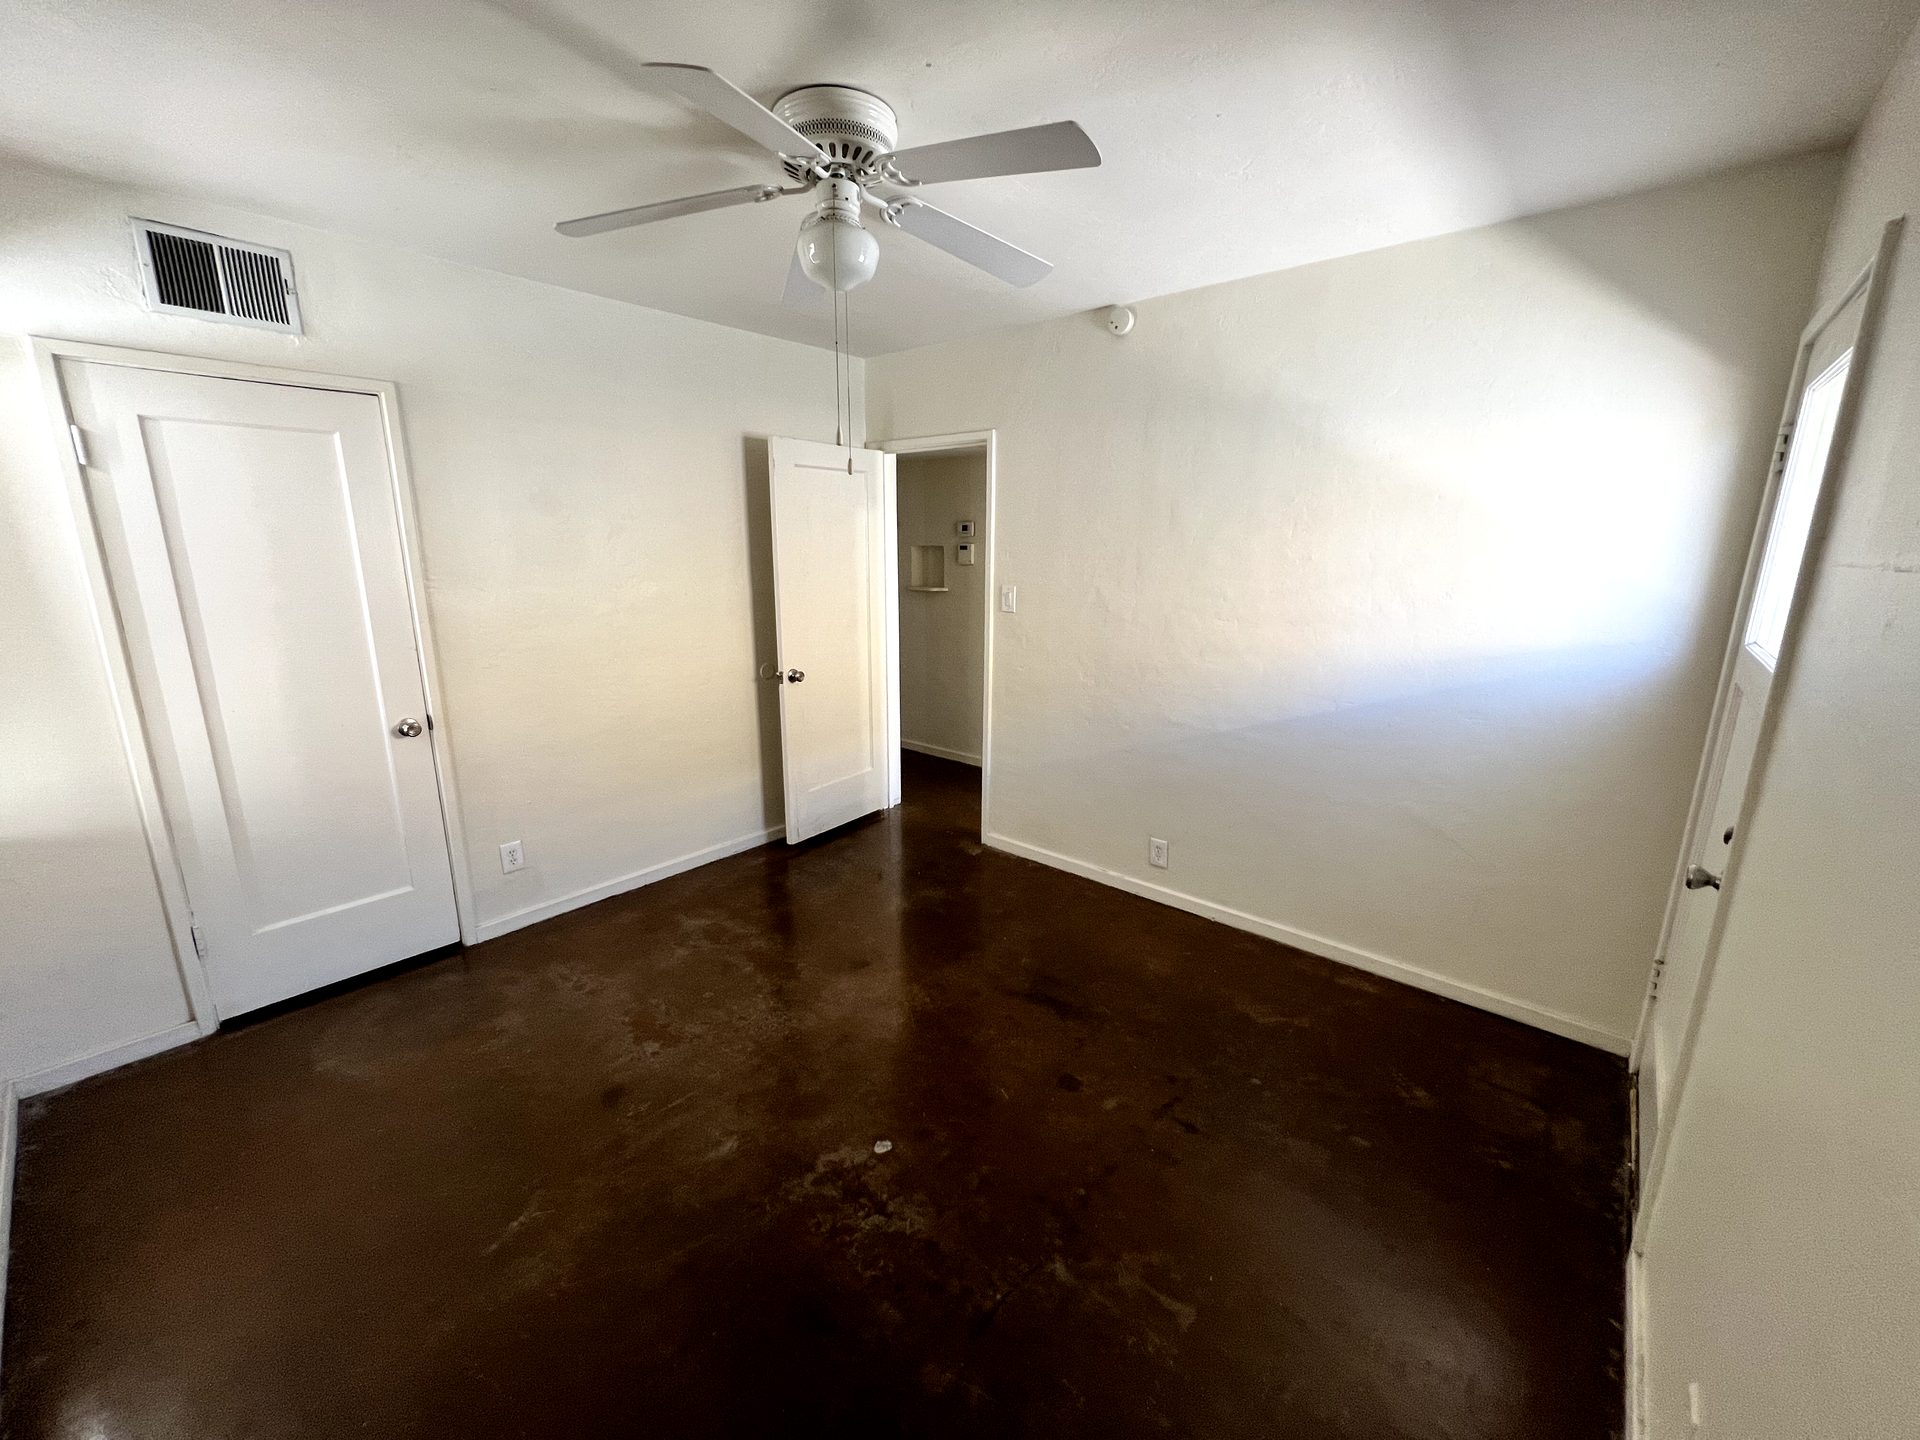
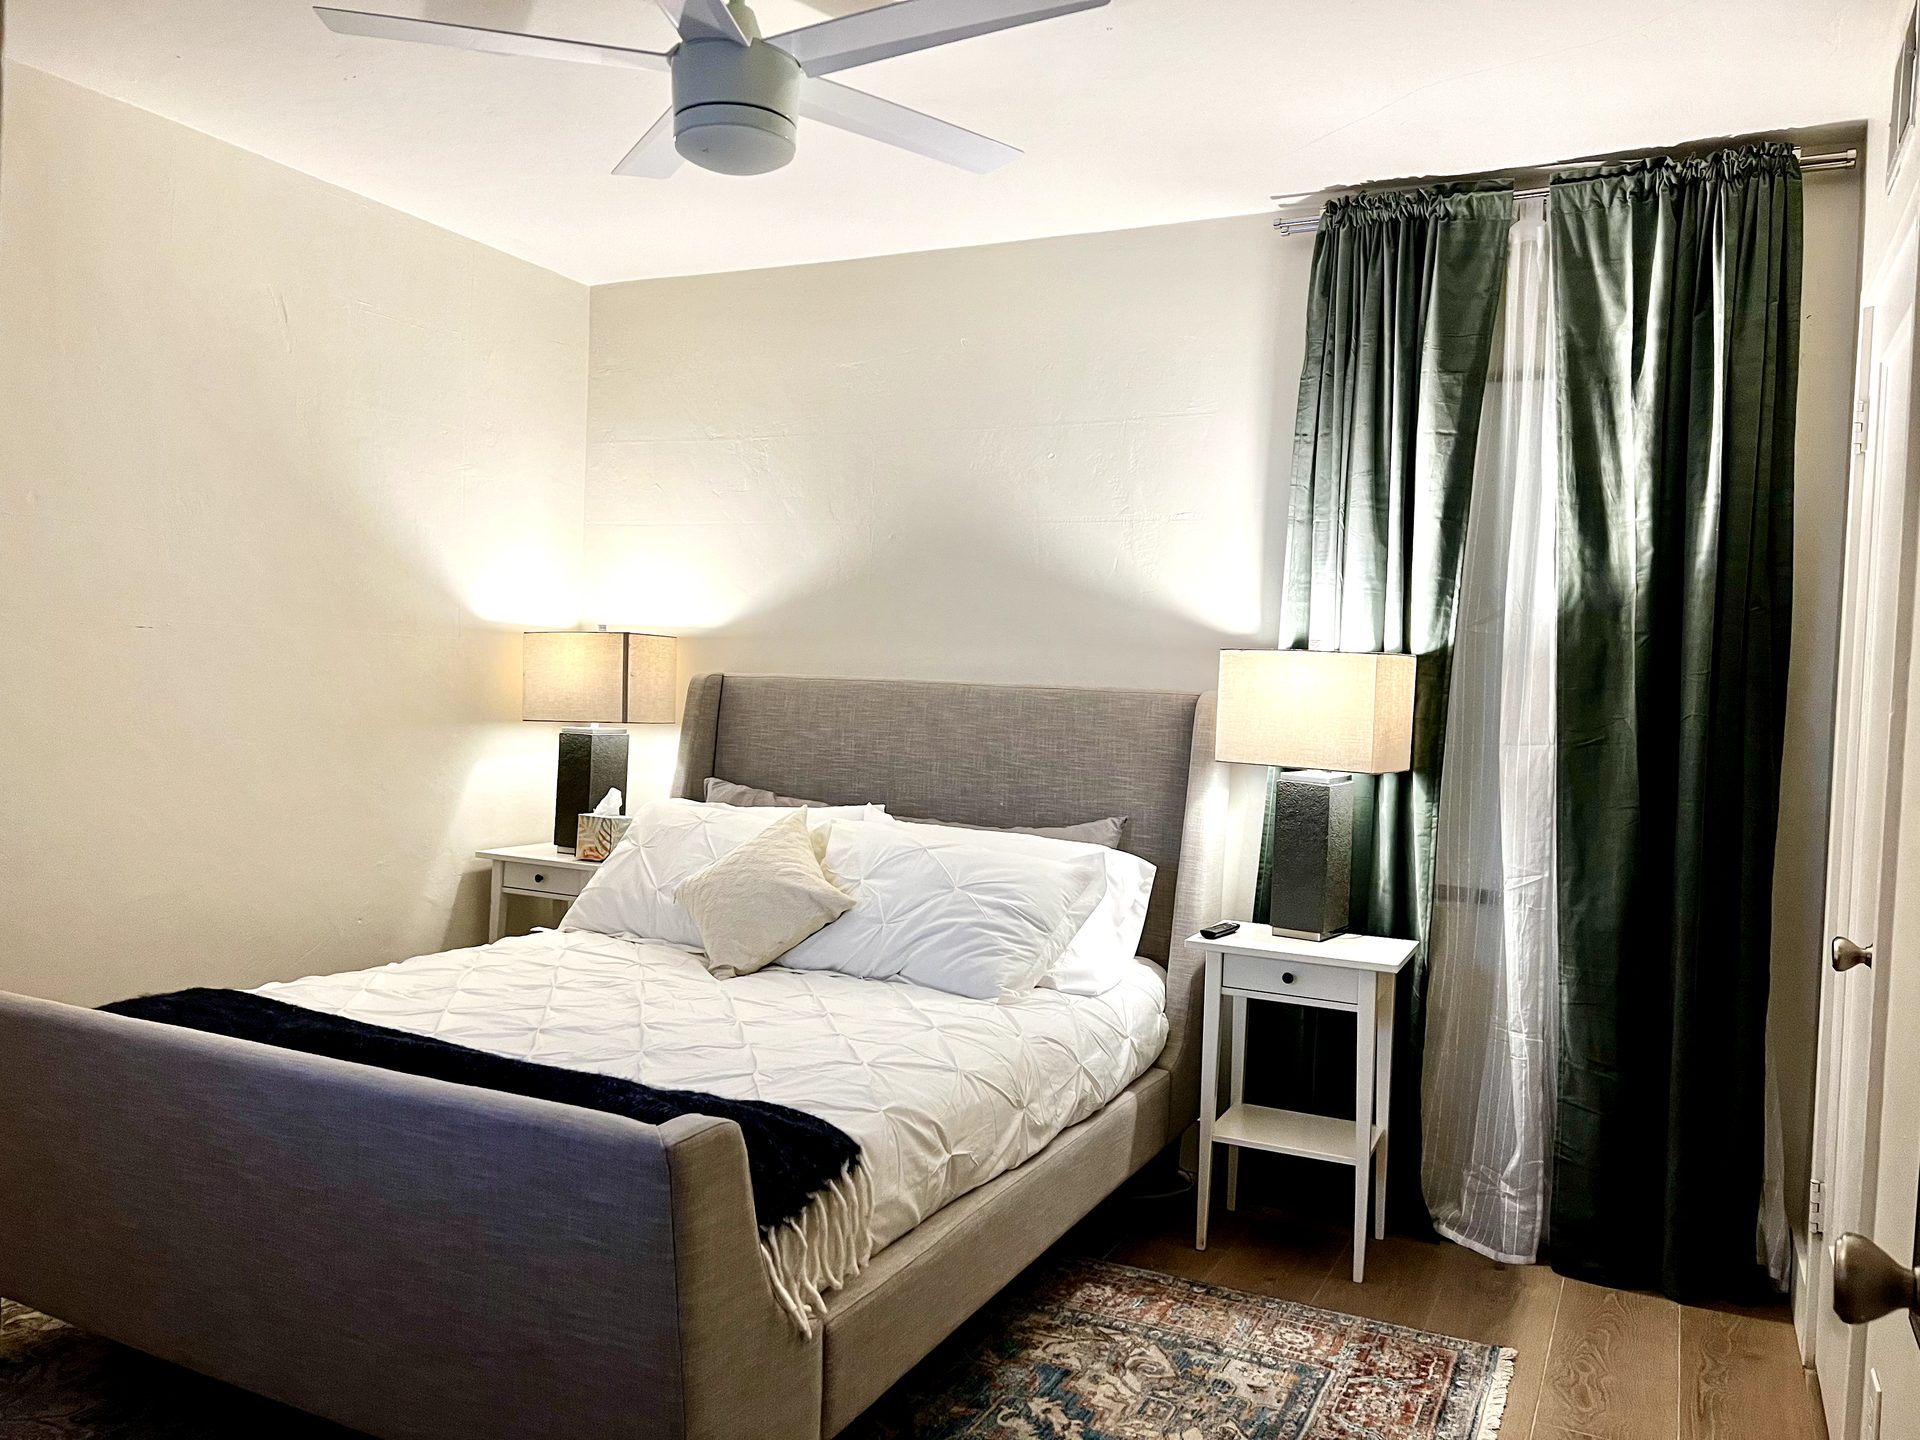
Before and after: a builder-grade fan swapped for a modern one
This is the most common fan job in the Valley: a dated builder-grade four-blade fan with a globe light, replaced with a modern five-blade fan with an integrated LED and remote. Same ceiling, same wiring; the work is verifying the box, hanging and wiring the new fan, setting its unique remote code, and checking blade tracking before we leave.
Converting a light fixture to a ceiling fan
A light-to-fan conversion is usually a $175–$350 job when the box is already fan-rated, and $250–$500 when it is not; a light-only box almost never is. The wiring question is control: most ceiling lights run on a single two-wire switch loop, which after conversion gives you the fan and light together on one wall switch, separated by pull chains or a remote receiver. If you want the fan and light on two separate wall switches, that means pulling new three-conductor wire to the switch, which is more labor and sometimes drywall access. We walk through the options at the estimate so the control setup is decided before the fan goes up, not after.
What size fan, downrod, and rating does the room need?
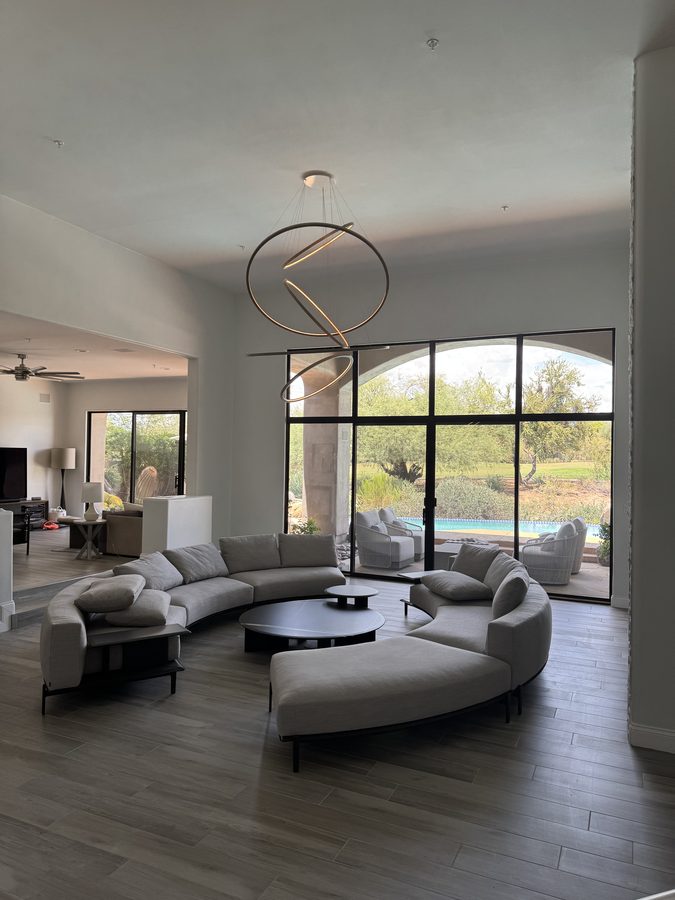
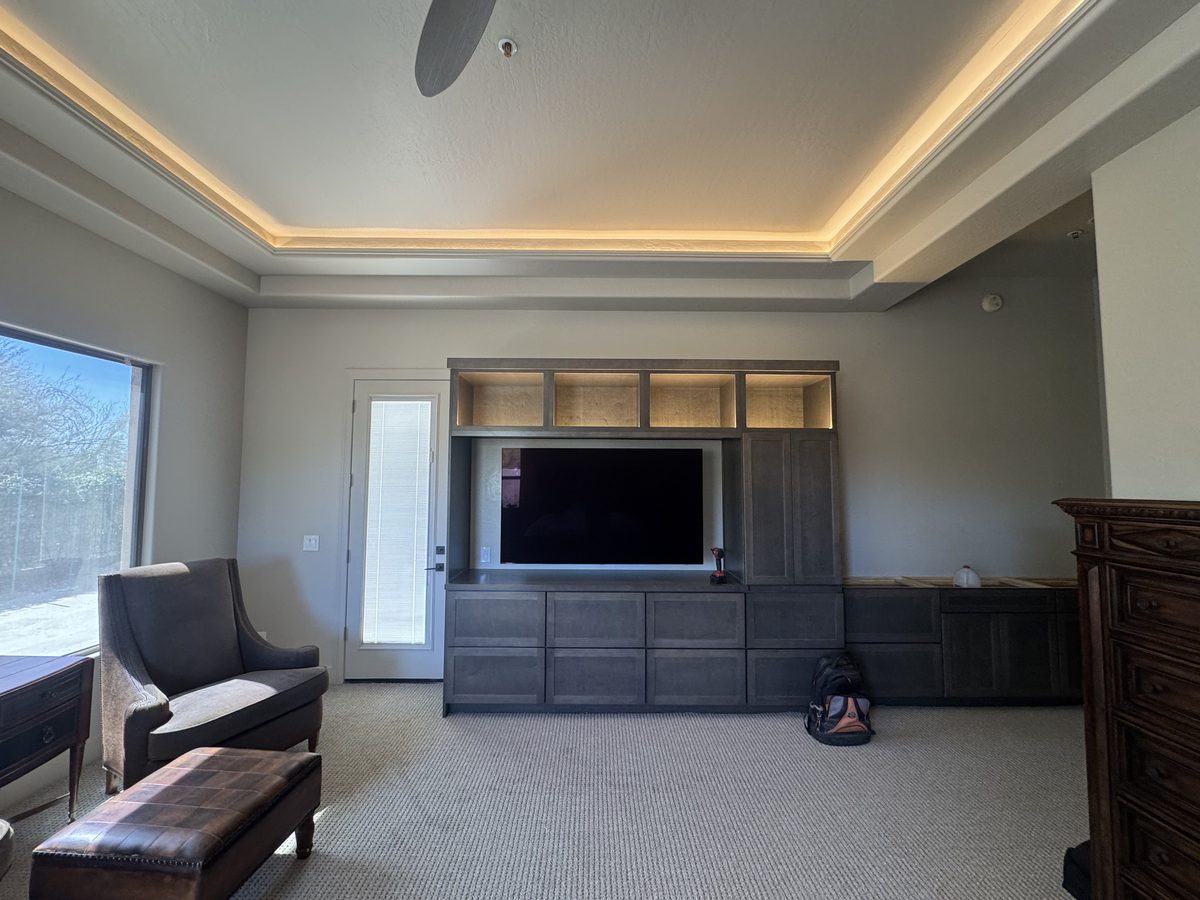
Match the blade span to the room: 42-to-44-inch fans suit small bedrooms, the 52-inch class is the workhorse for standard bedrooms and living rooms, and great rooms over 400 square feet want a 60-inch-plus fan or two fans. Height matters as much as span: blades belong at least 7 feet off the floor and, for airflow, 8 to 10 inches below the ceiling, which is why we will put a short downrod on a 9-foot ceiling rather than choking a flush-mount fan against the drywall. Vaulted ceilings need a sloped-ceiling adapter and a longer downrod so the blades clear the slope.
Two Phoenix-specific notes. Outdoors, a covered dry patio takes a damp-rated fan, and anything that can catch blown monsoon rain or mister spray needs a wet-rated one; an indoor fan on an Arizona patio rusts out in a season or two. Per the U.S. Department of Energy, a fan's wind-chill effect makes a room feel about 4°F cooler, so you can raise the thermostat roughly 4 degrees with no loss of comfort. Over a cooling season as long as ours that adds up, and the fan draws about as much power as a bright light bulb, a fraction of what the AC pulls. Run it counterclockwise, viewed from below, in summer; fans cool people rather than rooms, so switch them off in empty rooms.
Do I need an electrician to install a ceiling fan in Arizona?
Not for the common cases. Replacing a fan, converting a light to a fan, or upgrading to a fan-rated box on existing wiring is standard work for a licensed Arizona general contractor. That is us, Class B, ROC #365090, and a like-for-like swap needs no permit in Phoenix-metro cities. Running brand-new wiring, adding a circuit, or any panel work is licensed electrical-contractor territory, so we fold that portion in through our licensed electrical sub on the same contract, and the sub pulls the electrical permit when a new circuit calls for one. One company, and the right licensed trade on the part that needs one.
The licensing line matters when you compare quotes. Under Arizona's handyman exemption, A.R.S. §32-1121, unlicensed work is capped at $1,000 per job including materials. That covers a simple swap, but not a box retrofit plus a fan on a tall ceiling, and never new wiring. A "$99 fan install" ad is usually an unlicensed handyman working under that cap: no bond, no ability to pull a permit, and no recourse if the fan comes down. Licensed, bonded, and insured work costs more than $99 and is worth exactly that difference.
Should you DIY it?
A fair weekend job: a like-for-like swap on a box that is already fan-rated, at a normal 8-to-9-foot ceiling, with the breaker off and the circuit tested dead. The call-a-pro line: a box that is not fan-rated or that you cannot verify; a home from the mid-1960s to 1970s that may have aluminum branch wiring, which needs the right connectors and is a real fire hazard if spliced wrong; anything on a vaulted or two-story ceiling, where balancing a fan off a leaned ladder is how fans and people get hurt; and any job that involves new wiring. If the fan wobbles no matter what you do, that is usually the box talking. Have it looked at.
Ceiling Fan Installation Across the Phoenix Metro
We install and replace ceiling fans in Phoenix, Scottsdale, Tempe, Mesa, Chandler, Gilbert, Glendale, and Peoria. Fans are one service of many; see everything we do.
What else is worth doing while the ladder is up?
A fan install brings a licensed pro, a ladder or lift, and the power off at the panel, and that setup is the expensive part of a half-dozen other small jobs. Work you add to the same visit usually runs twenty-five to fifty percent under its stand-alone price, as long as you line it up before we start. The natural additions share the ladder and the open electrical: swapping the dated light fixtures and chandeliers in the adjoining rooms, and replacing the home's other builder-grade fans at the same time so every room matches the new one. Each additional fan prices at the low end of the chart because the setup is already paid for.
The same logic extends past the ceiling. A new fan and new fixtures make yellowed switches, outlets, and cover plates conspicuous, so many customers have us swap the switches and outlets to match the new hardware, and a remodel-grade dimmer or wall control belongs in that pass. If a box upgrade left a ceiling scar, the drywall patch and texture match happens while the drop cloths are already down, and the visit can absorb whatever small handyman list the house has accumulated. Put it all in one scope and ask for the bundled number up front, before you greenlight the first item.
Ceiling Fan Installation FAQ
Do you charge to come look at a ceiling fan job? No, estimates are free. For a straightforward swap, a clear photo of the ceiling and the existing fan or box is usually enough to price it, so many jobs never need a first visit.
Do I buy the fan, or do you supply it? Either. We install fans you have already bought, or we will spec and source the right one for the room: span, downrod, control type, and a damp- or wet-rated model if it is going on a patio.
Can you install the fan the same day you come out? Often yes for a like-for-like swap, when the fan is on site and the box checks out as fan-rated. A box upgrade is usually still a same-visit job, while new wiring or a lift job gets scheduled so the right equipment comes with us.
Do you haul away the old fan? Yes. Removal and disposal of the old fan, along with the new fan’s packaging, are part of the price. You are left with a working fan and a clean room.
Are you licensed to do the electrical yourselves, or is it subbed out? Swaps, conversions, and box upgrades on existing wiring are our standard licensed work as an Arizona Class B contractor, ROC #365090. A new circuit is licensed electrical work, folded in through our licensed electrical sub on the same contract.
Do you install fans on high, vaulted, or two-story ceilings? Yes, from scaffolding or a lift rather than a leaned ladder. We size the downrod and sloped-ceiling adapter so the fan hangs where it pushes the most air, and we balance it from a stable platform.
Related: light fixture & chandelier installation · outlets, switches & electrical · see our completed work

Written by Harrison Norem — Licensed Class B General Contractor, AZ ROC #365090. About Harrison
Get a Firm Ceiling Fan Install Price
Text or send a photo of your ceiling and the fan you bought (or the spot where you want one) and we will send back a clear, honest number, usually the same day. Free estimate from a licensed Arizona contractor, ROC #365090.
Request Free Estimate