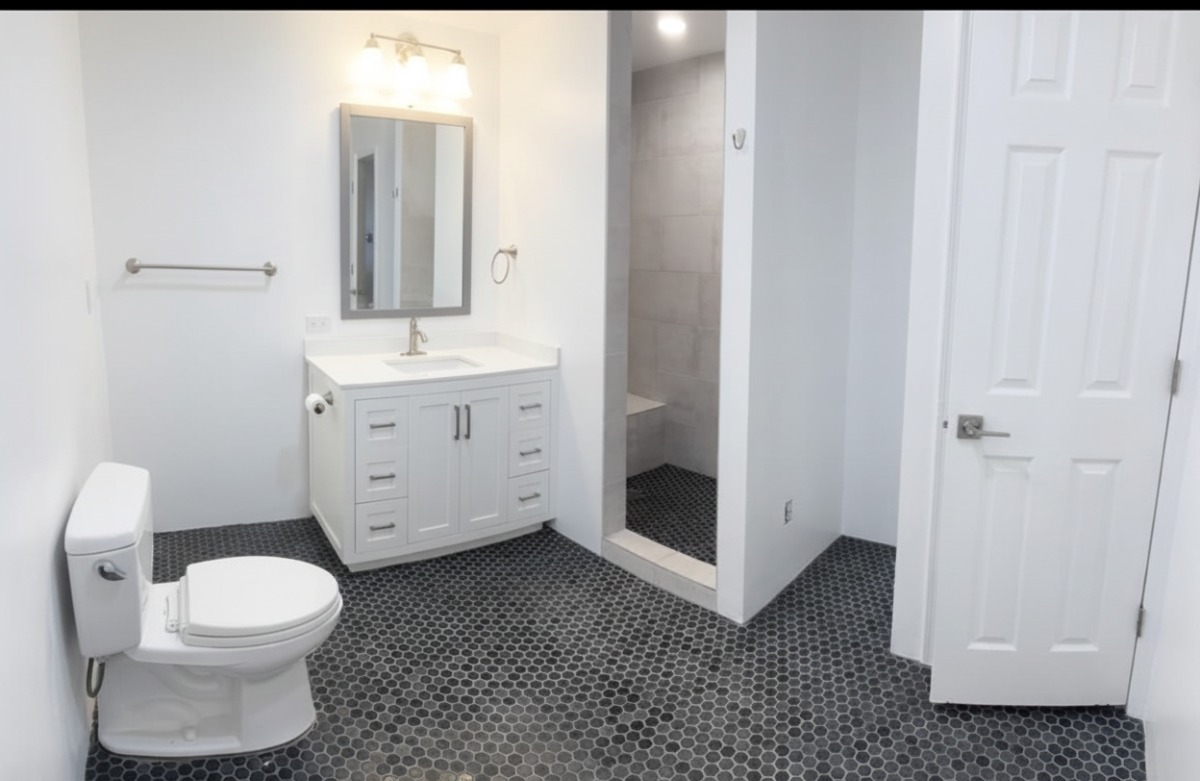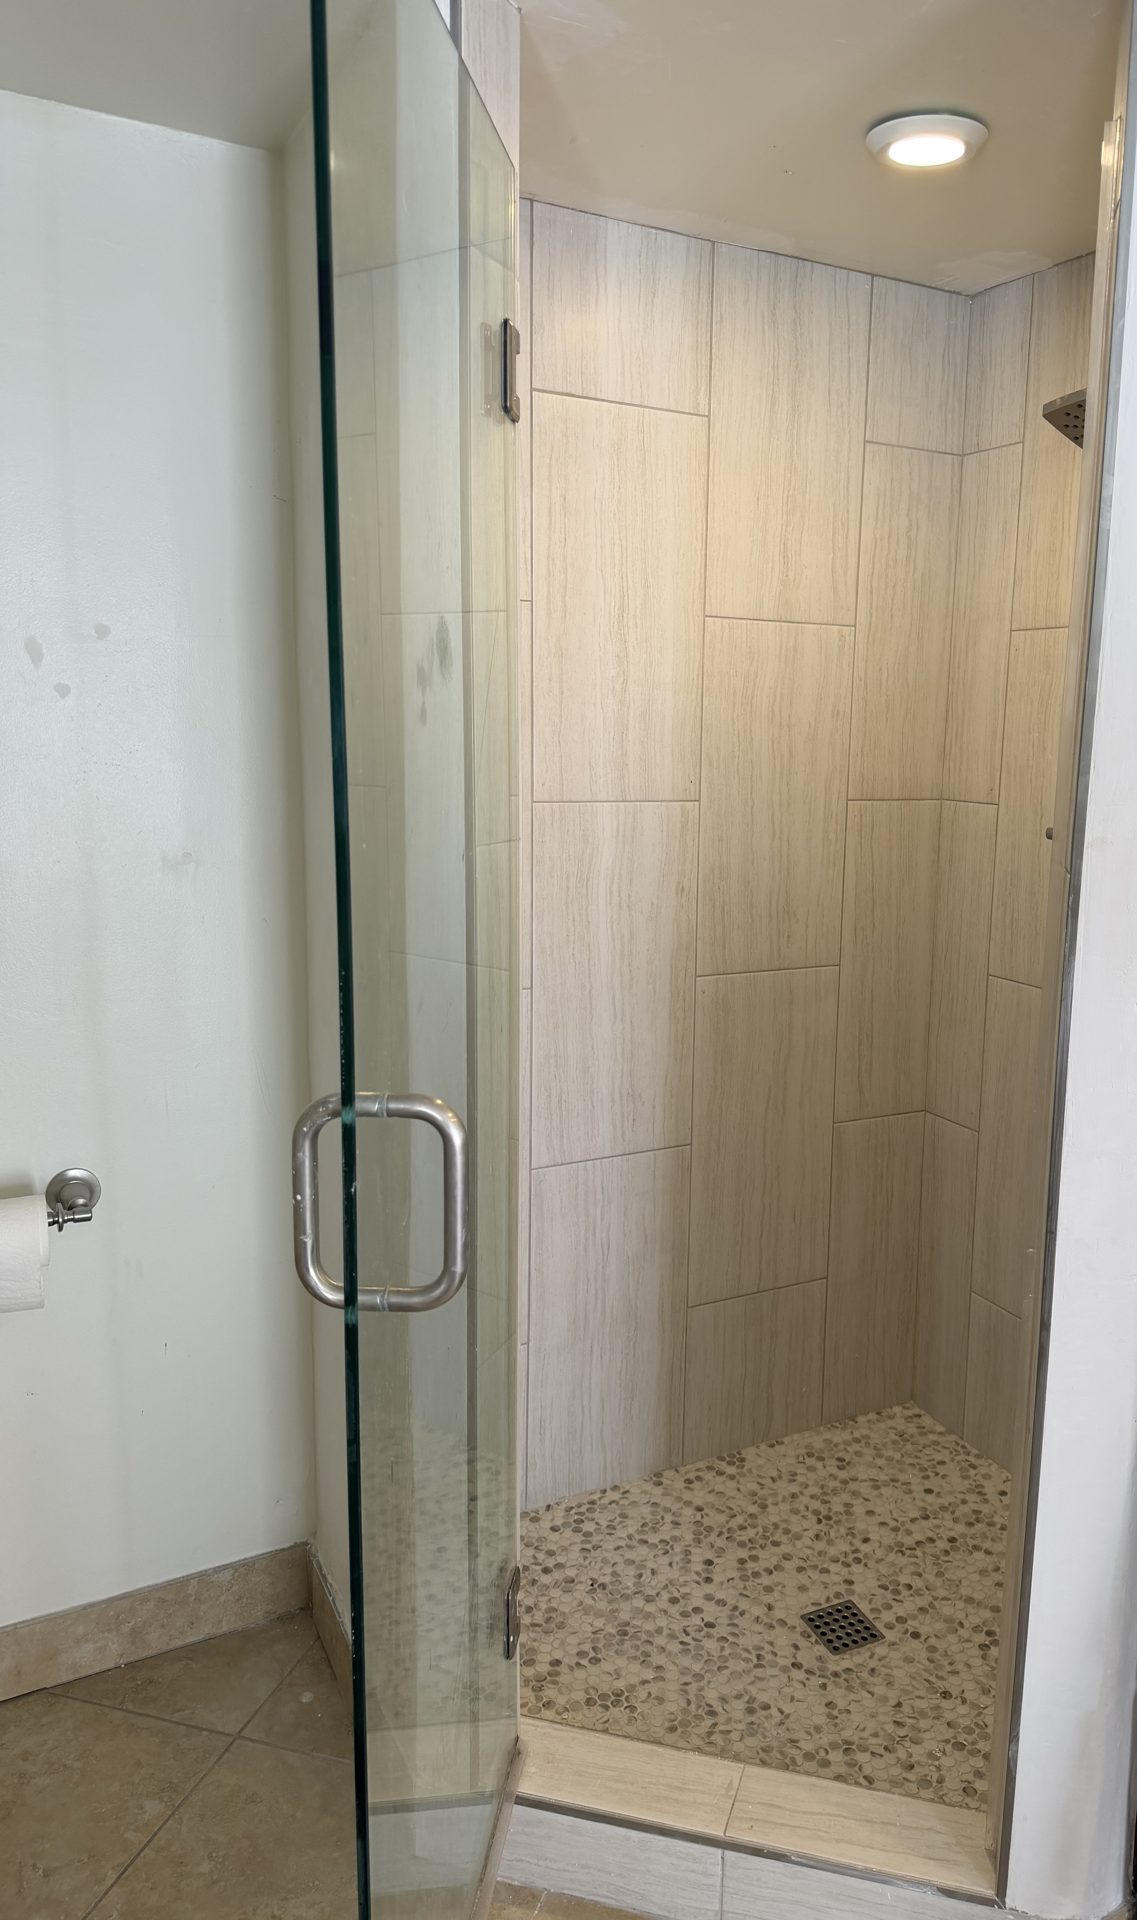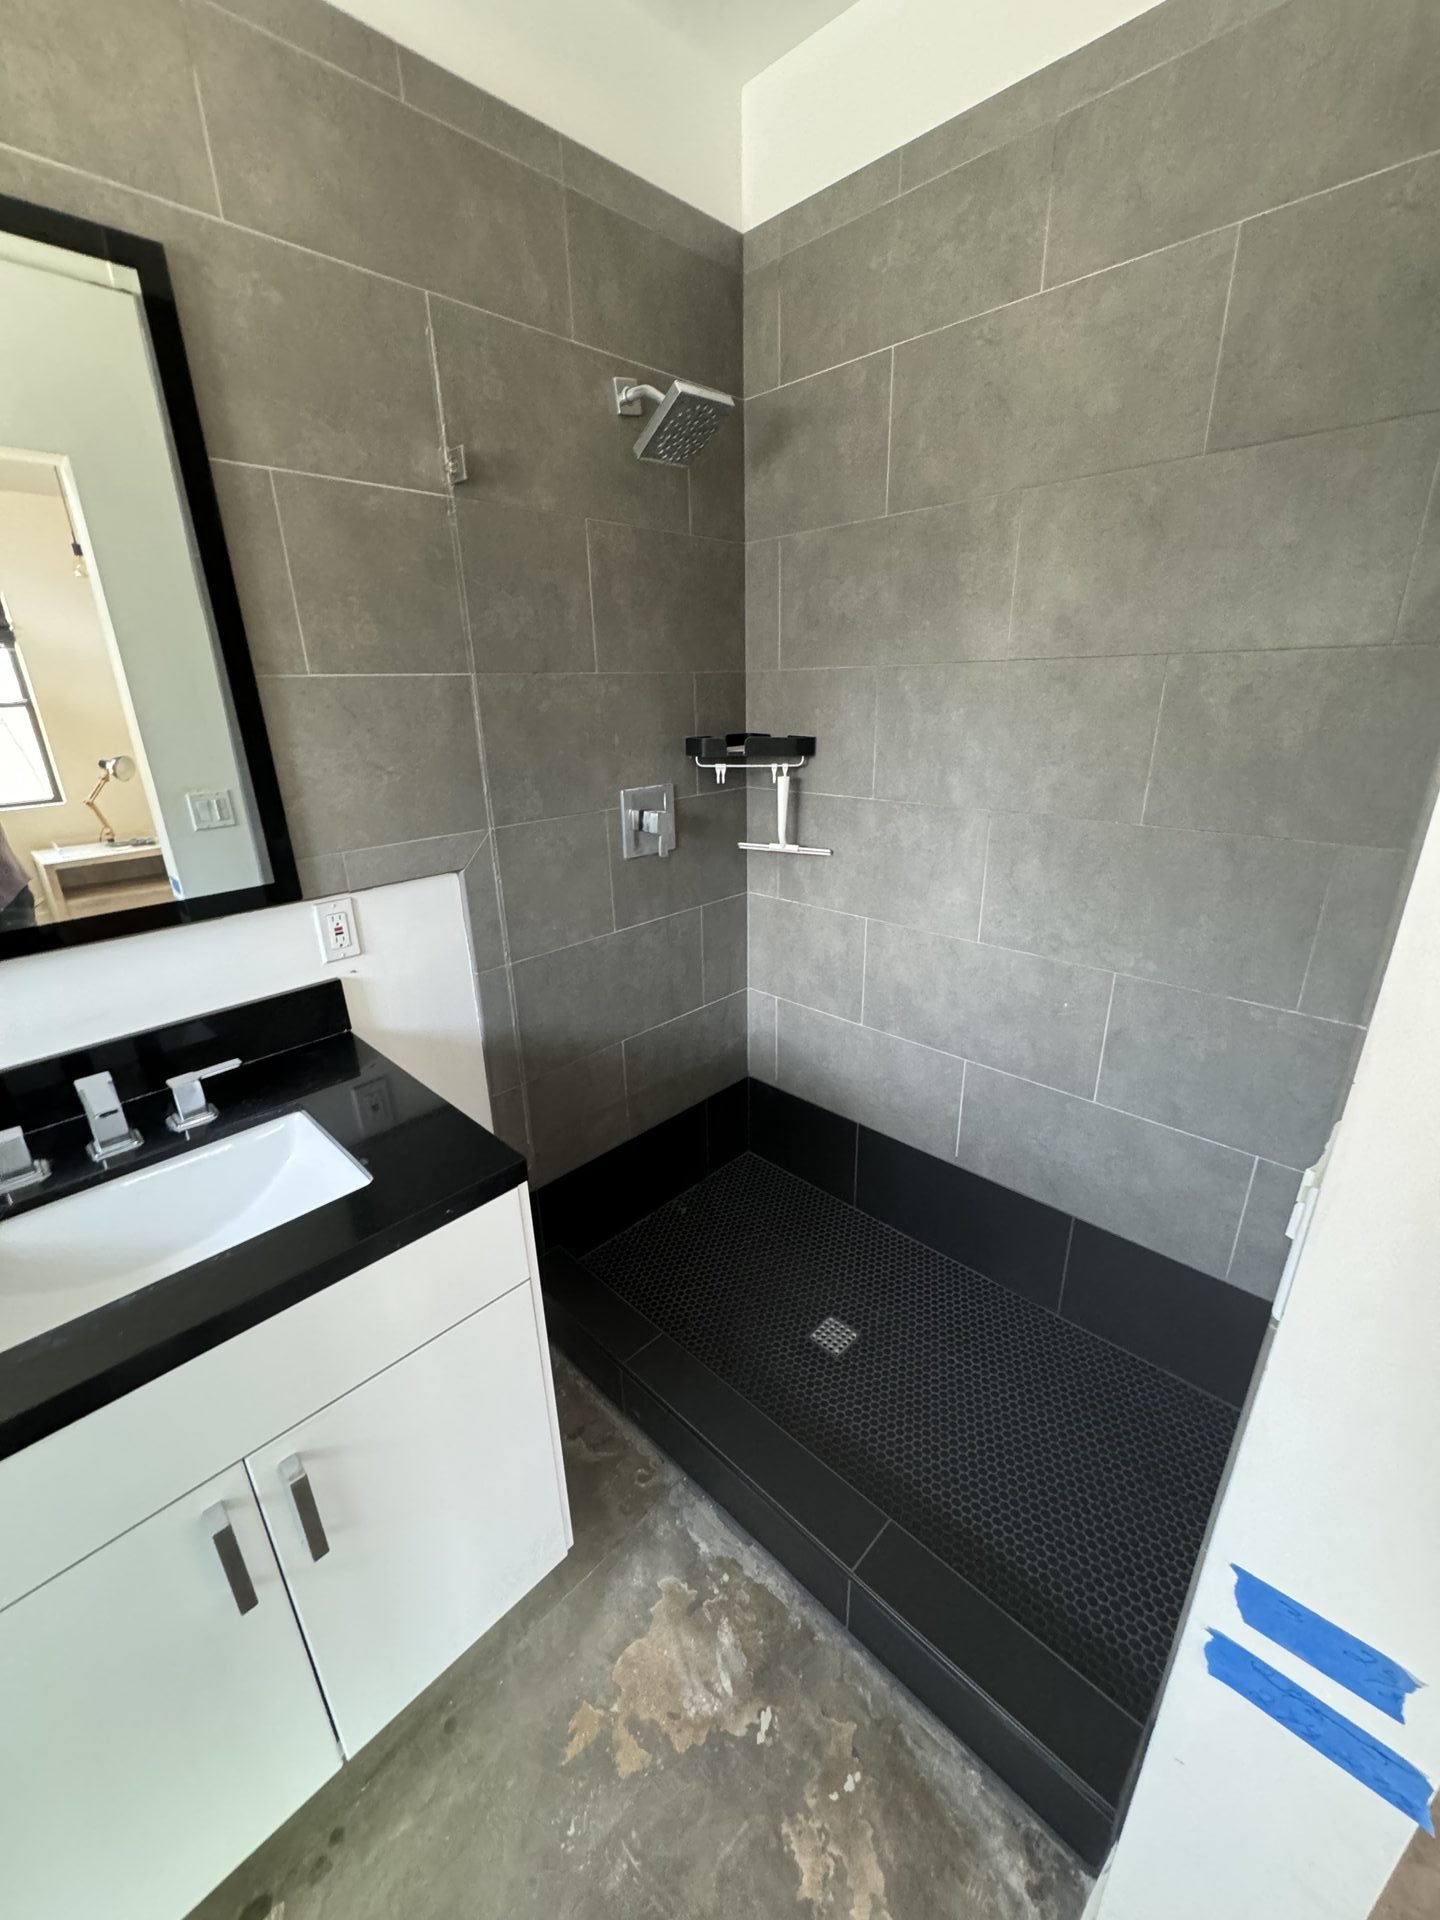
A shower that leaks into the wall, or into the room next door, almost always means the pan’s waterproofing has failed. Water tracks along the old mortar bed to the lowest corner and wicks into wall board that was never waterproofed. Once that happens, re-caulking or re-grouting is only a cosmetic fix. The pan, and usually the bottom row of tile, has to be rebuilt. The upper wall tile is a different story: it can often be saved, and that’s how we rebuilt a recent leaking shower in Phoenix without gutting the whole thing.
Why does a shower leak into the wall corner instead of down the drain?
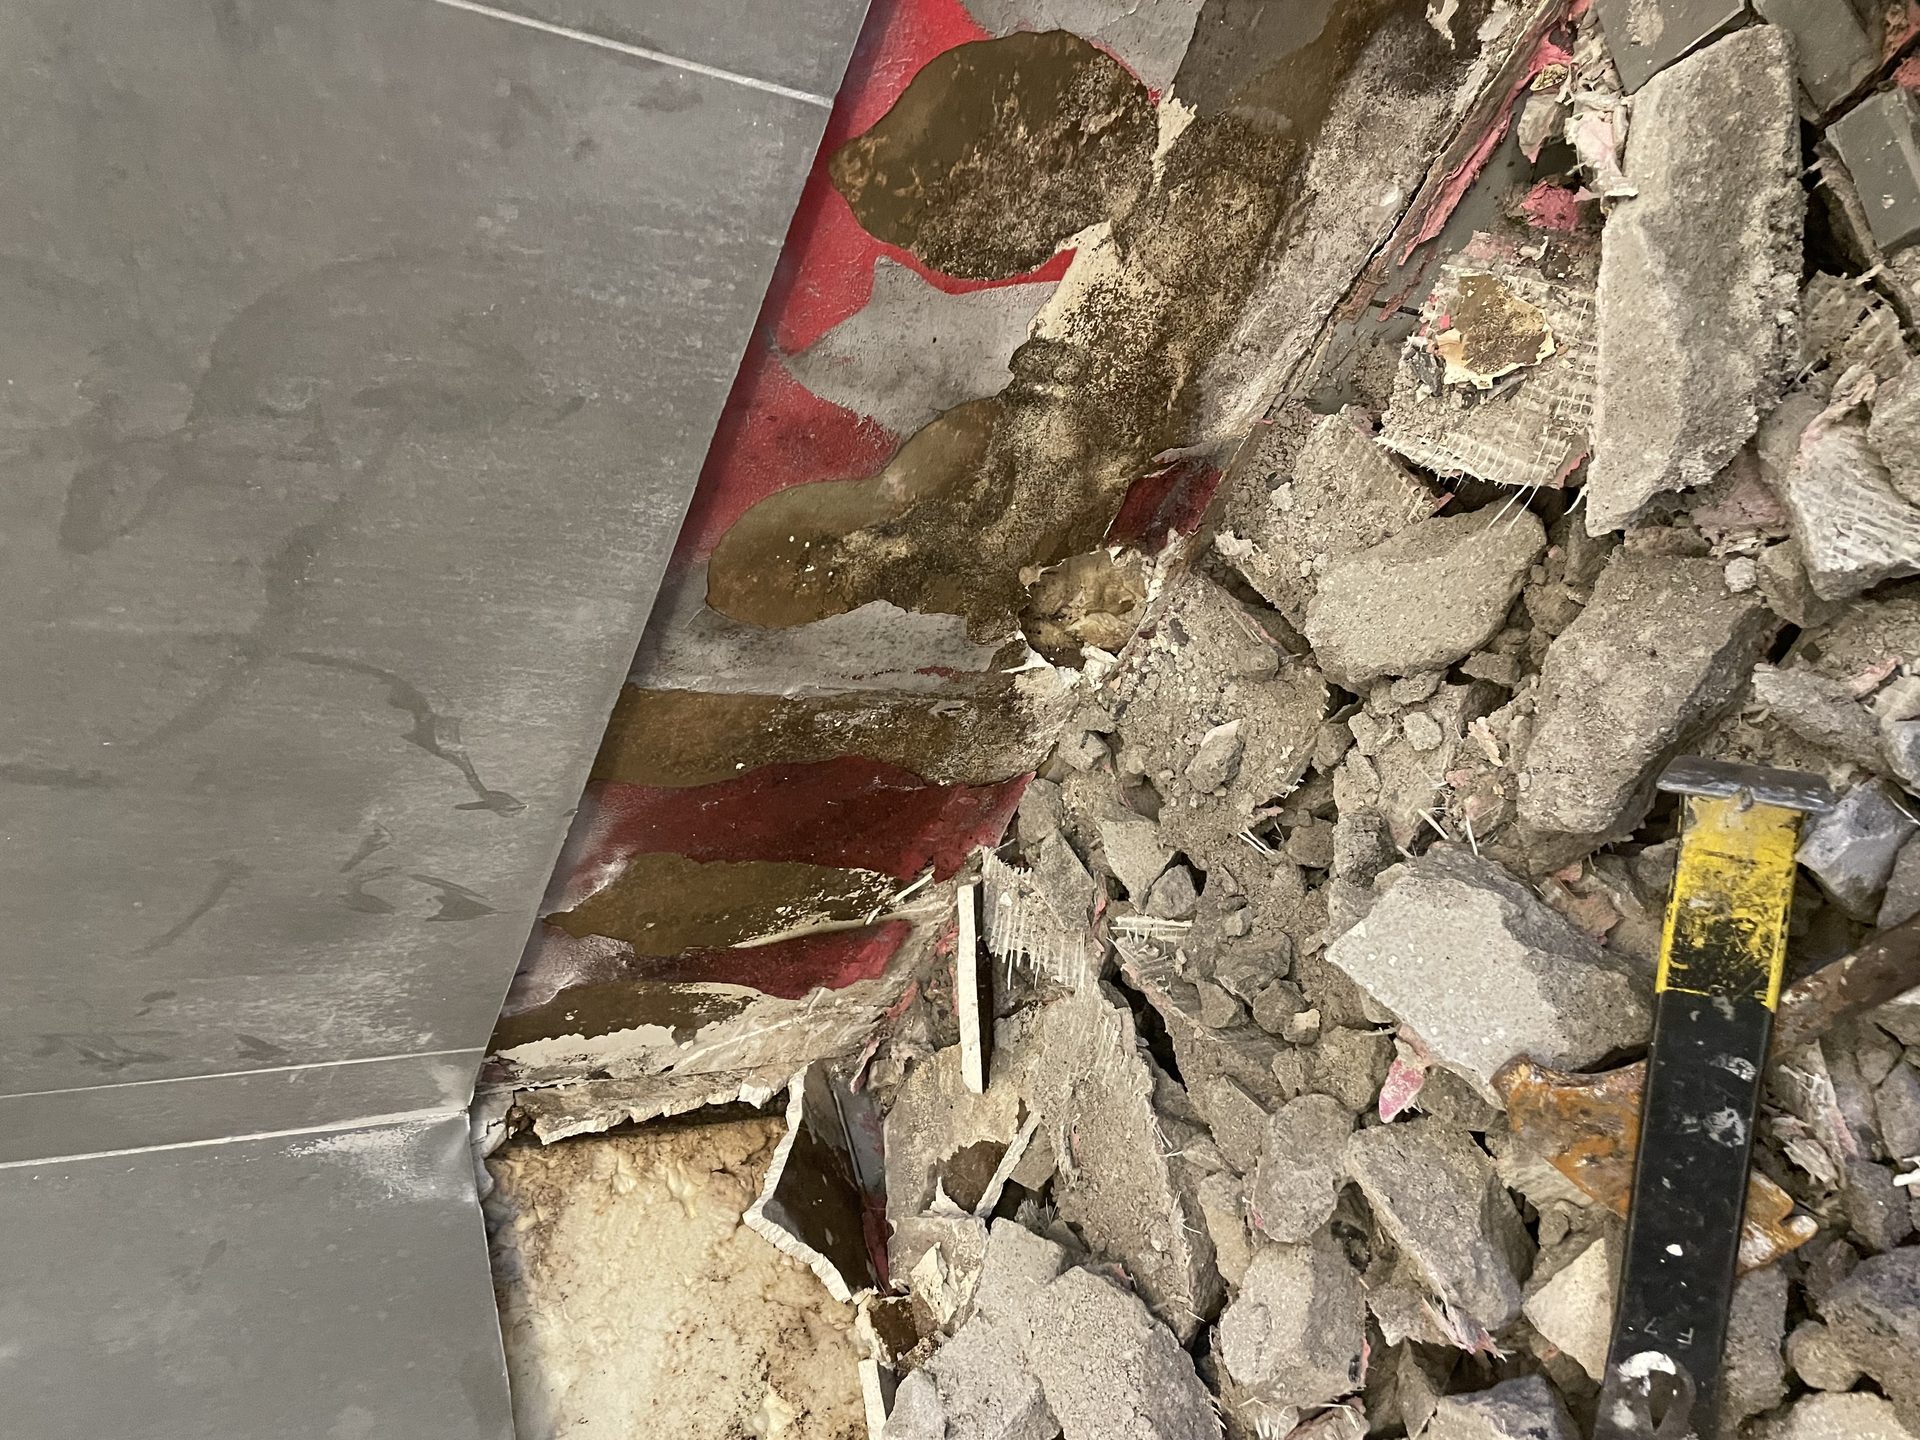
For hand-built showers (not prefabricated), the real waterproofing isn’t the tile or the grout. It’s a rubber, PVC, or CPE liner buried about two inches down, under a wet mortar bed, with weep holes at the drain so water that reaches the liner can still drain out. When that liner is punctured, aged past its service life, laid over a flat base with no pre-slope, or cut short at a corner, water stops draining and starts traveling. It runs sideways along the mortar bed to the lowest junction and soaks the wall board behind the bottom tile course. Because that board isn’t waterproof, the stain shows up outside the shower, on the adjacent room’s wall or the exterior, not on the shower floor.
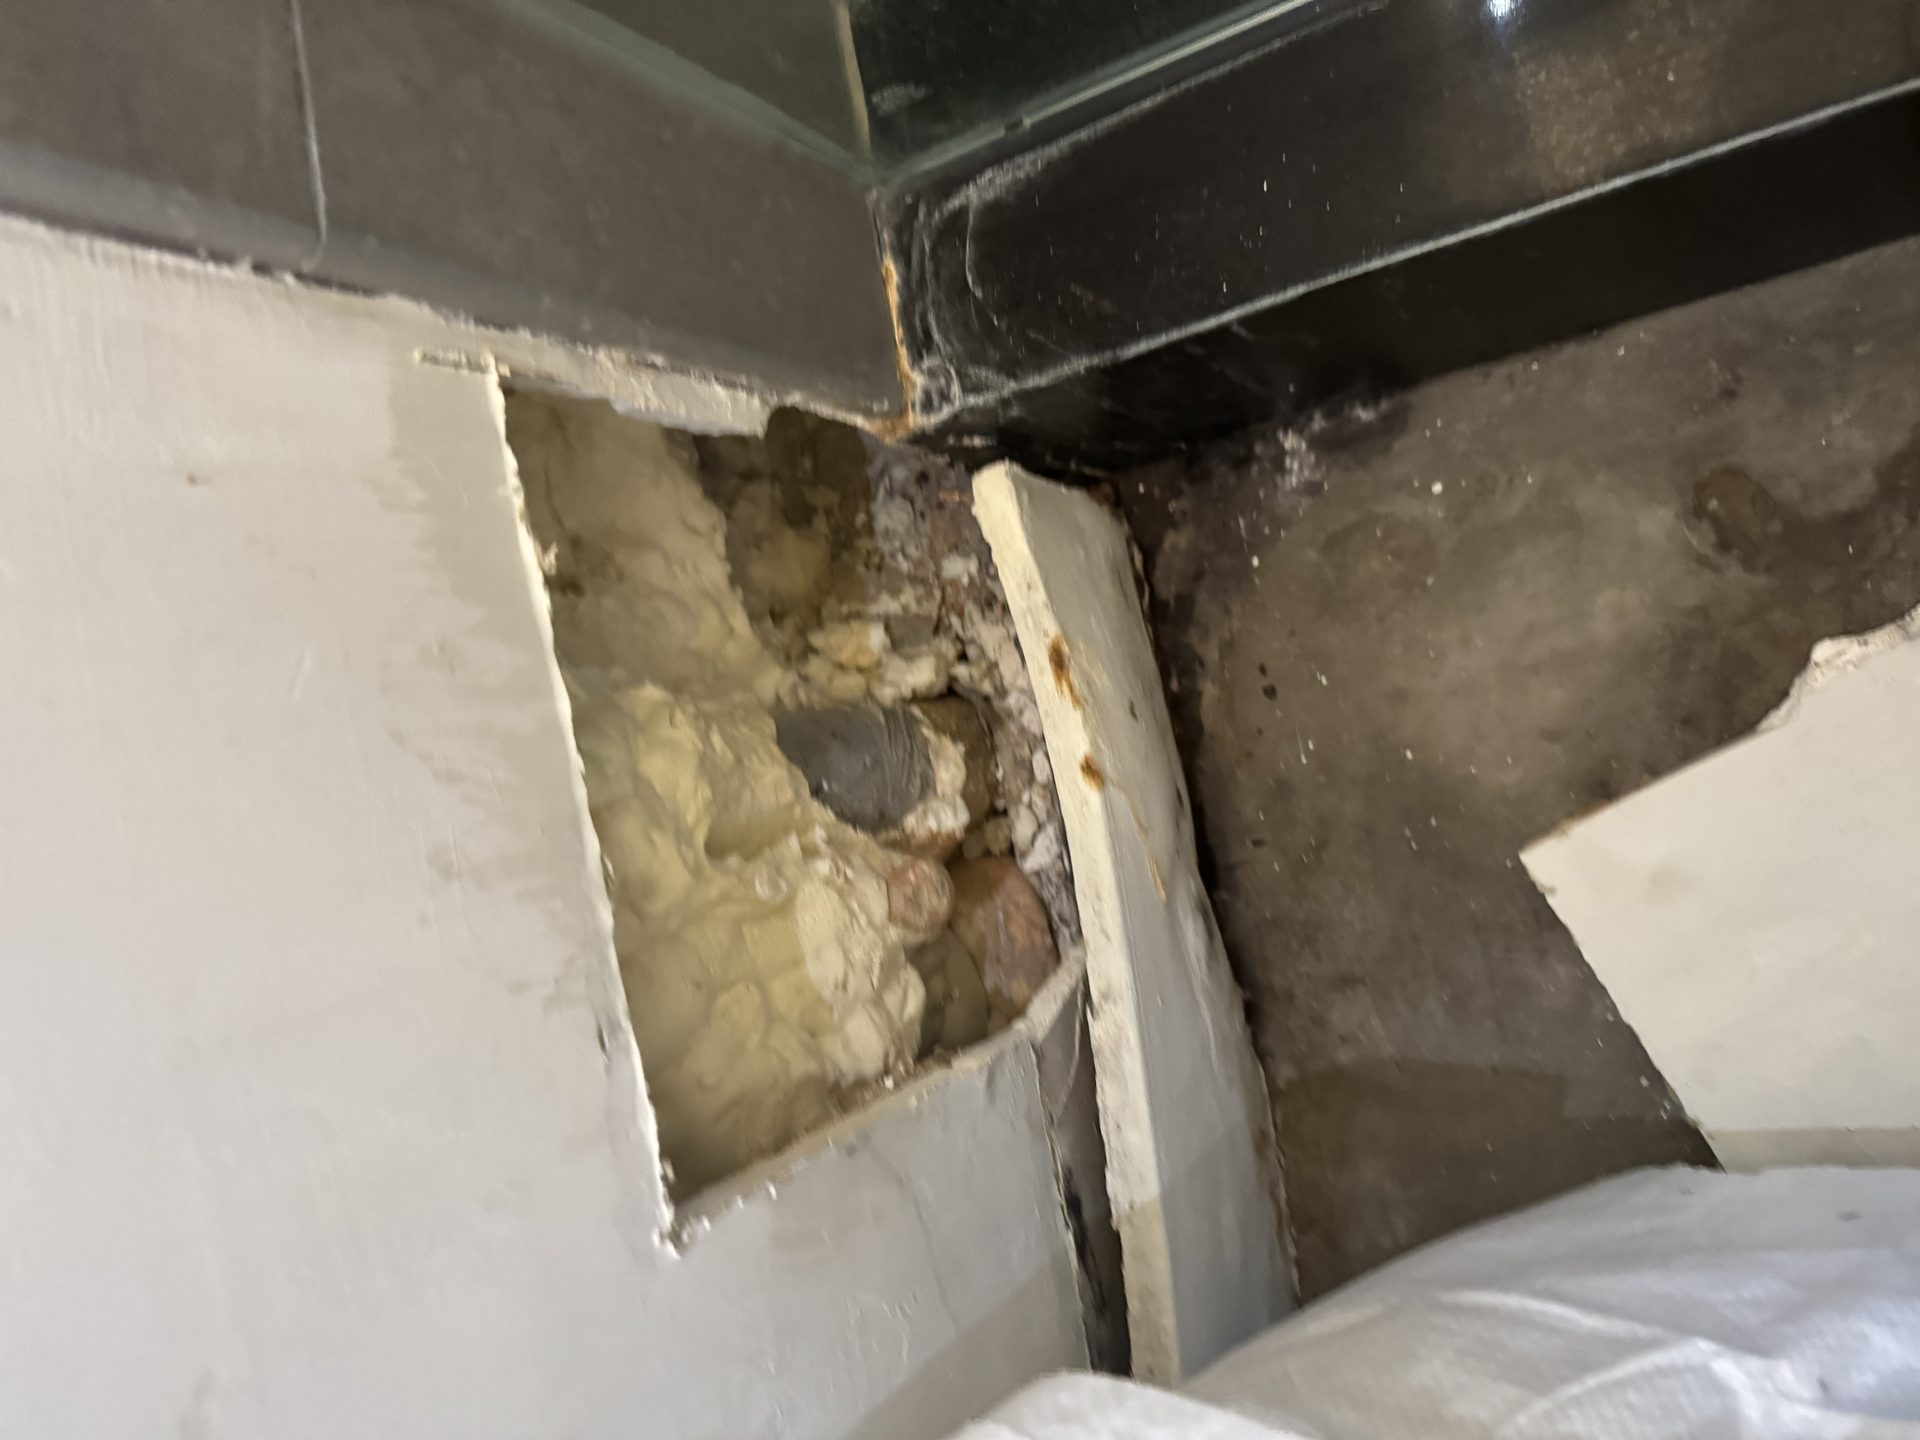
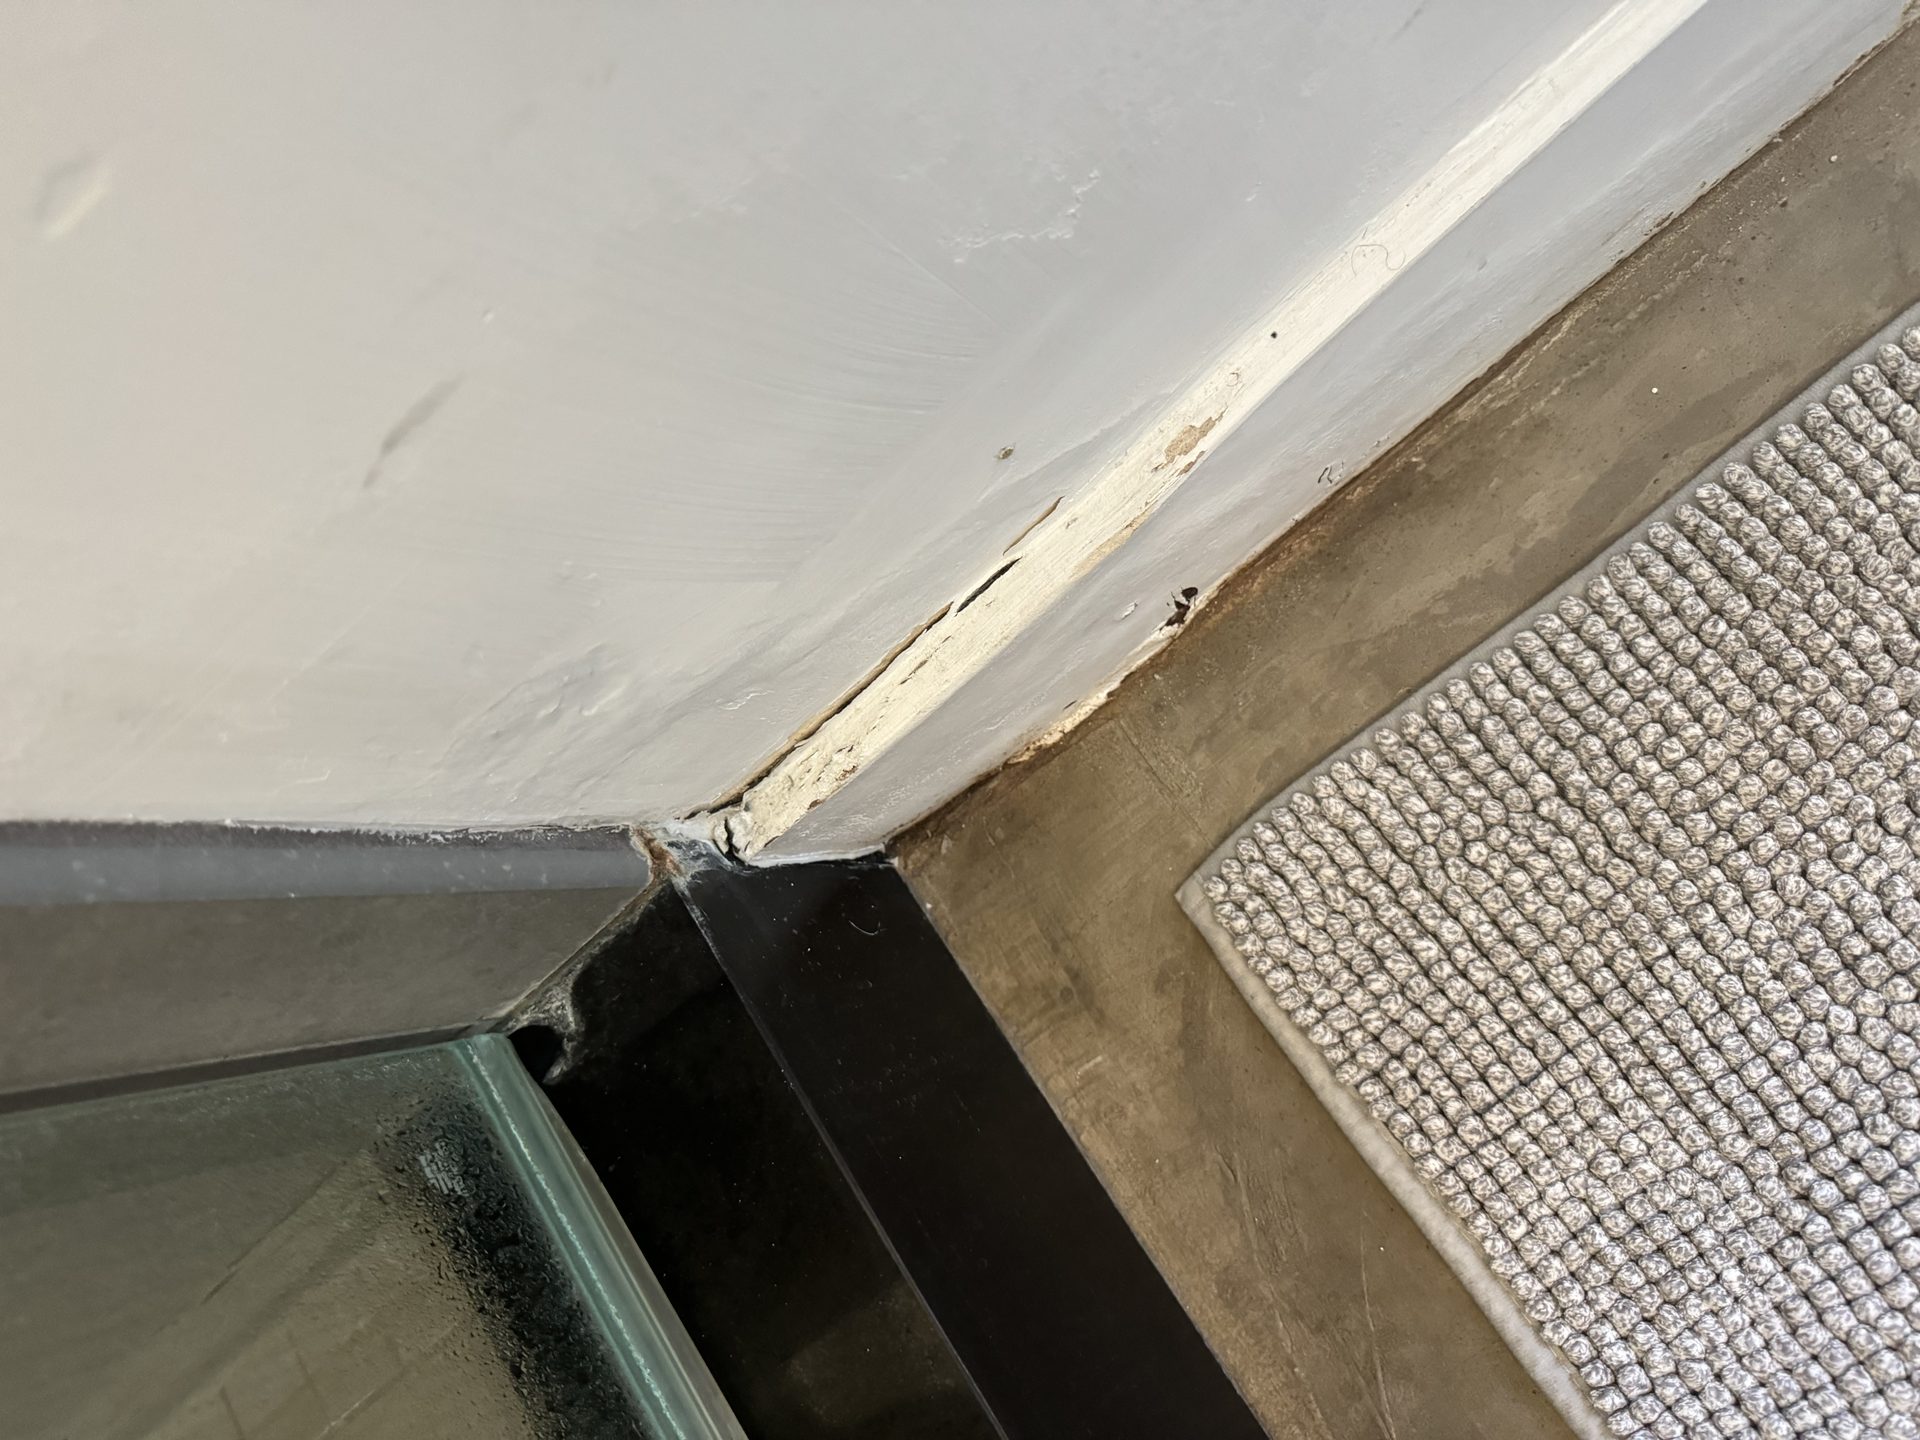
On a recent Phoenix job, the pan was stained on the far side by the front door. The installer hadn’t run the liner far enough up at the corner, so water escaped the pan and tracked to the lowest exit.
What are the signs your shower pan has failed?
Finding one or two of these is common, and it doesn’t mean you did anything wrong, these pans have a finite service life. Watch for:
- Hollow-sounding or loose floor tiles when you tap them.
- A musty smell that won’t leave, even after cleaning.
- Mold or discoloration on the wall outside the shower, or in the adjacent room.
- Grout that keeps cracking at the same base corner no matter how often it’s re-grouted.
- Efflorescence, white chalky mineral salts at the base, which means water is moving through the assembly. Phoenix’s hard water makes this an especially common local symptom.
- On a second-floor shower, a water stain on the ceiling below.
Can I just re-caulk or re-grout it instead of rebuilding?
Usually not. If the pan’s waterproofing has failed, the water is already behind the tile, so re-caulking and re-grouting is a cosmetic fix. It buys weeks, not years. Homeowners keep trying it because it’s cheap and the leak isn’t visible inside the shower, so it feels like it might be enough. There’s one case where a surface fix is legitimate: a leak truly isolated to the caulked wall-to-floor or corner joint, where the waterproofing under the tile is still intact and there’s no substrate damage yet. But if you’ve re-grouted the same corner more than once and it keeps coming back, that’s the pan telling you it’s done.
Do you have to gut the whole shower, or can you save the wall tile?
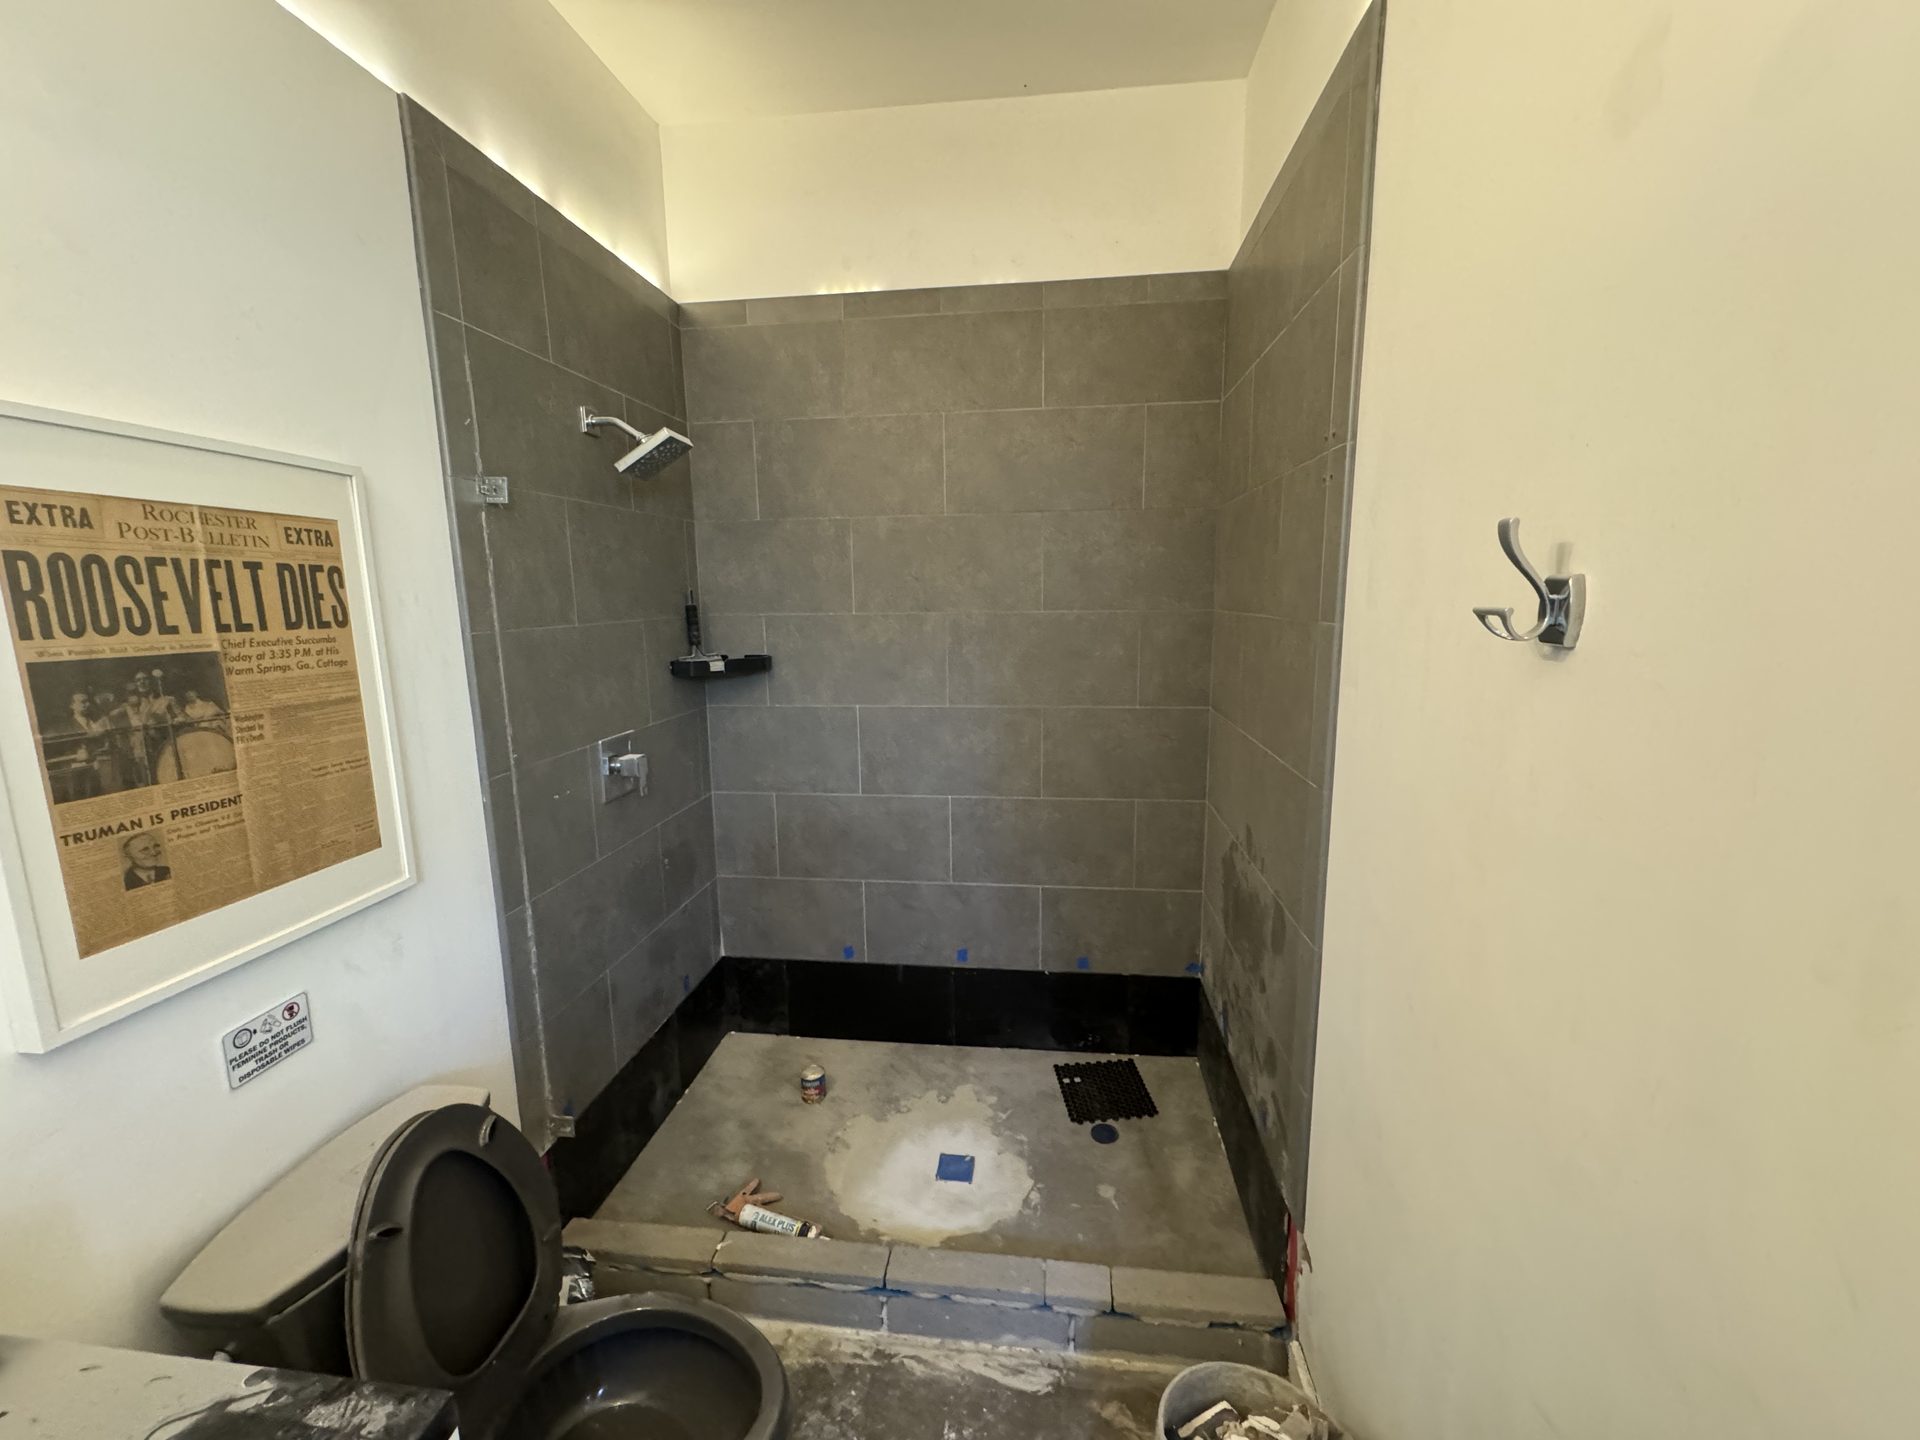
You often don’t have to gut it. If your upper wall tile is sound, we can rebuild just the pan and the bottom row and keep everything above, which most contractors won’t quote because a full tear-out is easier for them. The method: cut a clean horizontal reference line, demo the pan and bottom course, rebuild the base with a modern bonded membrane, and tent the new waterproofing up and out behind the standing tile so any future water sheds onto the pan, not behind it. The risks: cracking the tile course just above the saw cut, and matching the bottom row. On that Phoenix job, the first question was exactly the right one: “Do you have any tile left to match the bottom row of the shower?”
Can the shower glass and doors be reused?
Frameless glass panels can sometimes be reused, but only if the opening dimensions won’t change, because tempered glass is cut to a fixed size and can’t be trimmed or re-drilled after tempering. If the finished opening moves even a quarter inch, from thicker tile or a taller curb, the old panels won’t fit. So you measure the exact opening and set the glass aside before demo. The tile setter on this job flagged the other risk up front: tempered glass frequently doesn’t make it through demolition intact. A new enclosure ran about $1,200 to $1,800 on this job (frameless in Phoenix can run higher with custom sizes and premium hardware), and the hinges, clips, and seals often need replacing even when the glass is fine. Decide before demo, and measure first.
What if the old tile is discontinued and you can’t match it?
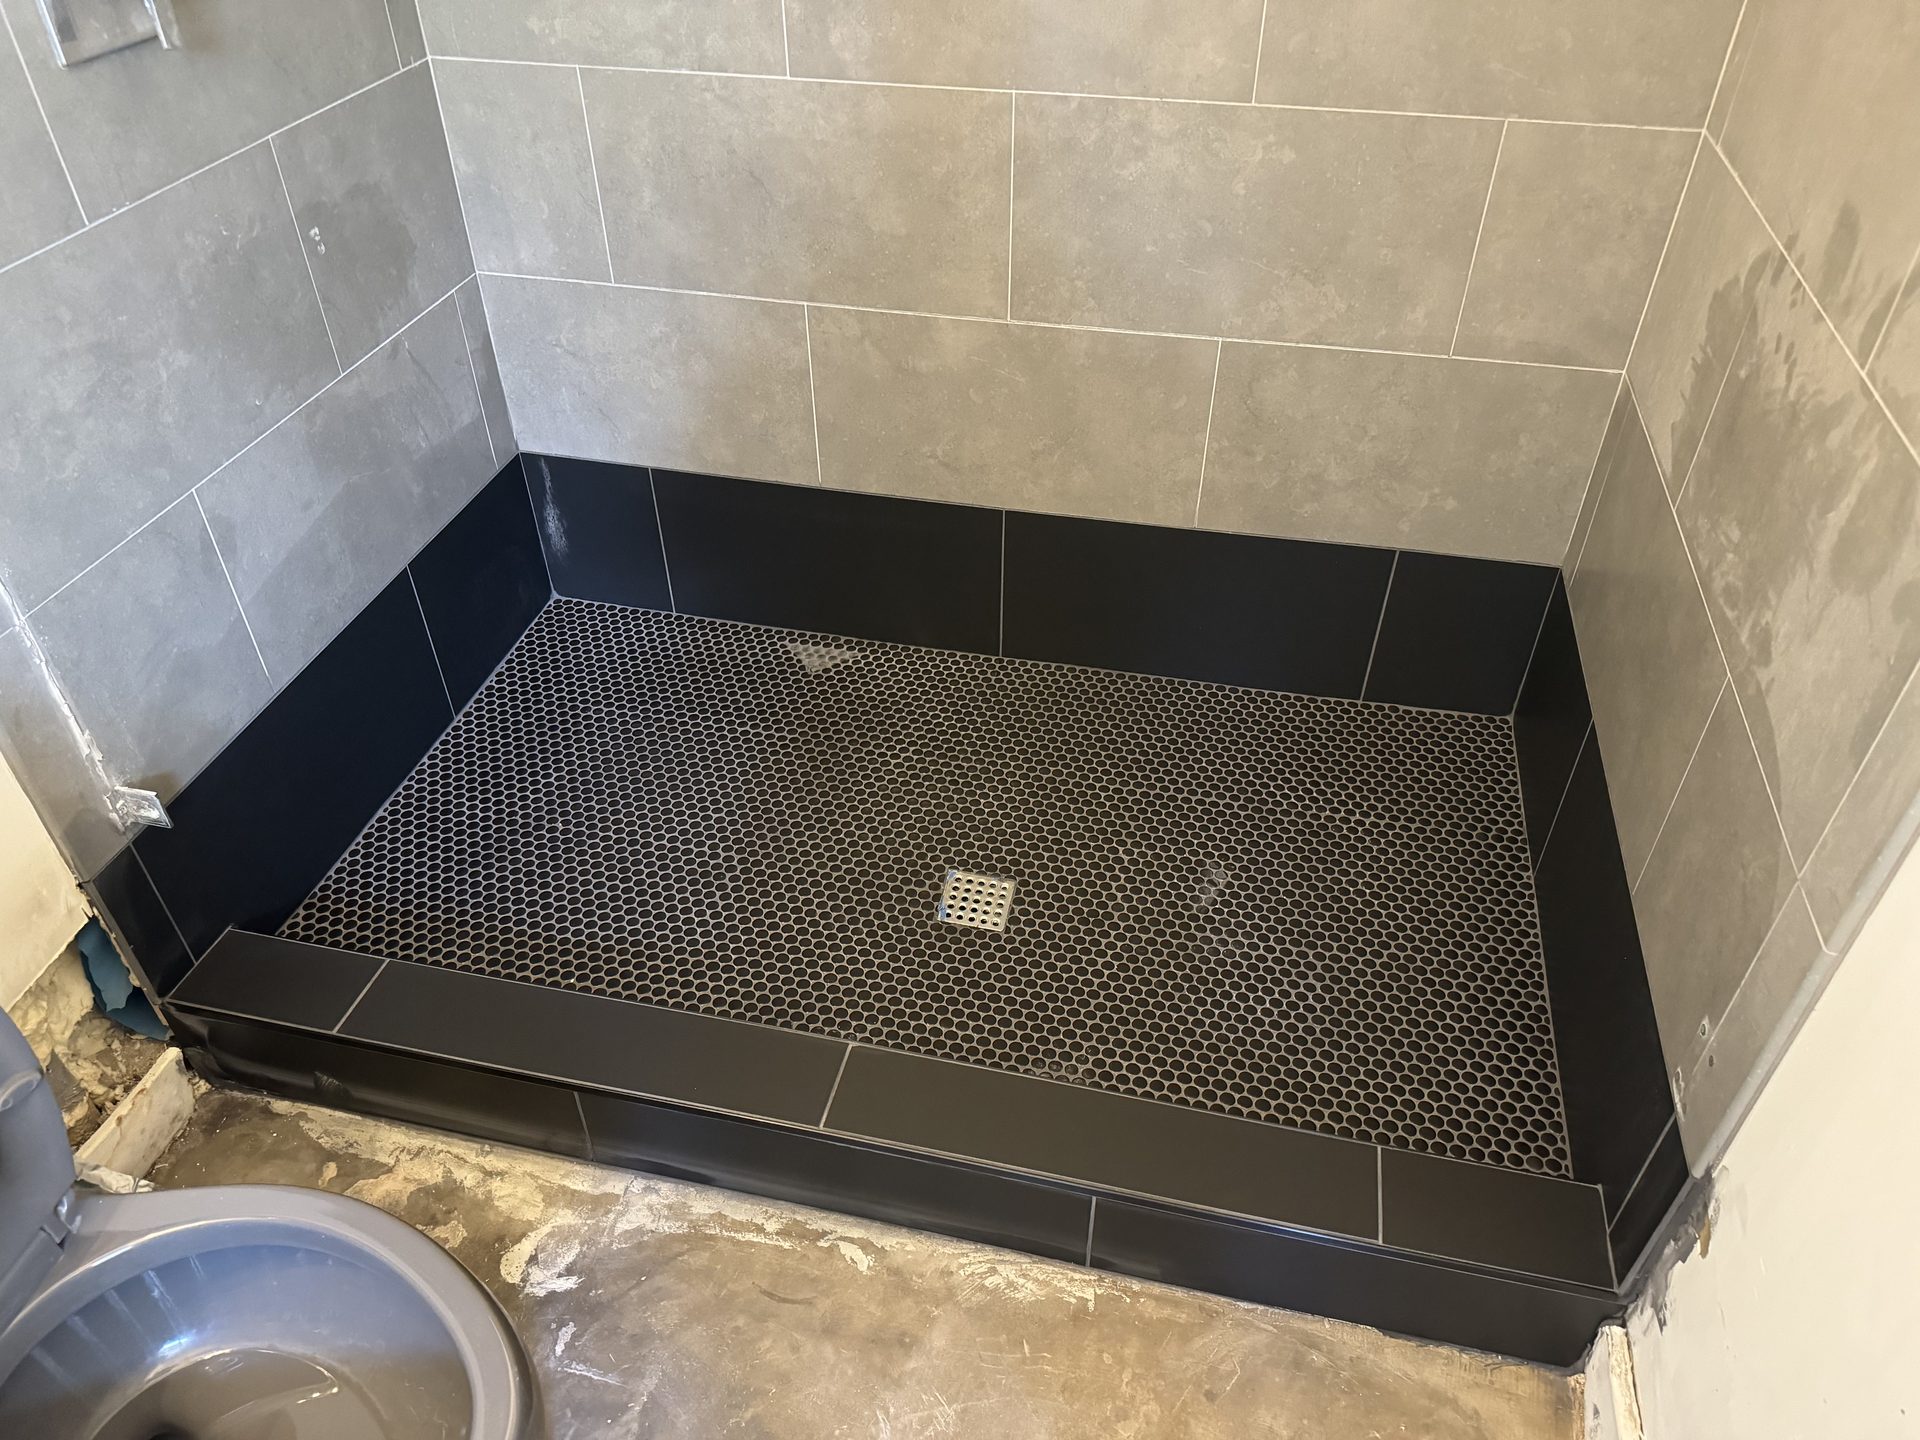
When you can’t match a discontinued tile, don’t attempt a “close but slightly off” blend that screams patch job. Choose contrast on purpose, so the new pan, curb, or niche reads as a deliberate design accent. A mismatch you chose looks custom; a mismatch you settled for looks broken. That can be a contrasting pan or curb color, a feature-strip niche, or a different-but-intentional floor tile. On the Phoenix job that call came early: “The floor doesn’t need to match, we can choose a contrast.”
What upgrades make sense while the shower is open?
Because the rebuild opens the walls anyway, it’s the one time to add the things that are painful to retrofit later. Worth considering: a curbless or low-curb entry for aging in place, a built-in niche, a bench, a linear or trench drain, an upgrade to a bonded membrane with a real warranty, larger-format floor tile (fewer grout lines means fewer failure points), and a better exhaust fan. The single best cheap-now move is blocking in the walls for future grab bars or a hand-shower, solid wood backing between the studs at grab-bar height. It costs almost nothing while the wall is open and becomes a wall-opening job later.
What other projects should you do at the same time?
A shower rebuild puts a plumber, a tiler, and a painter in your house at the same time, with drop cloths already down and materials already being ordered. That’s the cheapest these trades will ever be for the rest of the house, because the mobilization, the setup, and the “while I’m already here” discount are all working in your favor. Bundle the work that needs the same people:
- Repaint other rooms and redo the baseboards. The painter is already on site and the baseboards near the shower are coming off anyway, so adding a few more rooms is mostly just paint and time.
- Replace a sub-par toilet. A new builder-grade or comfort-height toilet is inexpensive, and the plumber is already here to set it, a small cost for a big everyday upgrade.
- Fix any tilework in the house that needs it. You’re already paying a tiler for their time and already choosing tile and grout, so backsplashes, a cracked floor, or a tired entry are far cheaper to fold in now than to schedule as their own job later.
- Add a garbage disposal if you don’t have one, the plumber can handle it in the same visit.
Bundled this way, these add-ons typically come in 25–50% below what they’d cost as standalone jobs if you negotiate for it, because the contractors are already on site, already set up, and eager to make more out of a trip they’ve already taken. Ask for the bundle price up front, not after the shower is done.
What did the Phoenix shower rebuild actually involve?
The pan was diagnosed by the staining on the far side of the bathroom: water had escaped a liner cut short at the corner and tracked to the lowest exit. We saved the upper wall tile and rebuilt just the pan and the bottom row, matching the bottom course where we could. Where matching wasn’t possible, we chose a deliberate contrast. Once the wall was open, we found water had wicked up higher than the first row of tile, which raised the question of whether to pull a second course. Damage usually runs worse than the first look suggests, and we price that possibility up front instead of springing it mid-job.
| Line item | This job | Typical Phoenix range |
|---|---|---|
| New frameless glass enclosure | ~$1,200–$1,800 | $1,200–$3,500+ installed |
| Pan + bottom-row rebuild (wall tile saved) | Quoted after opening | $2,500–$4,500 (see the cost page) |
| Reusing existing glass | Attempted — measured & set aside pre-demo | Hardware/seals only, if panels survive |
How do you make sure a contractor rebuilds a shower pan correctly?
You don’t need to be a tile setter to hold a contractor to a real standard. Ask these:
- If it’s an old-style liner pan, did they build both a pre-slope and a top slope (two slopes, not one)? A flat pre-slope is the number-one reason old pans fail.
- If it’s a bonded membrane job, a sheet like Schluter-Kerdi or a liquid like RedGard, is the coverage continuous at the manufacturer’s rate? Both a bonded membrane and a traditional liner pan pass code; each one fails only when it’s built wrong.
- Did they waterproof the walls with cement or foam backer and a membrane, not just hang moisture-resistant greenboard, which isn’t a code shower substrate at all?
- Did they flood-test the finished pan before tiling? The code minimum is a short hold, but a careful setter leaves it far longer.
- Ask to see photos of the waterproofing before the tile went on. A pro documents it; a hack won’t have it.
And one Arizona note: a real tiled pan rebuild always clears the $1,000 unlicensed cap under A.R.S. §32-1121, so it legally needs a licensed contractor. We’re a licensed Class B general contractor, ROC #365090, bonded and insured, and we coordinate a licensed plumbing sub for the drain. Planning a rebuild? See our shower pan rebuild and leak repair costs and our bathroom remodeling in Phoenix.
Think Your Shower Pan Has Failed?
Text us photos of the tile, the corner, and any staining on the wall outside the shower and we’ll give you an honest same-day read on whether it’s a surface fix or a rebuild. Free estimate, licensed Arizona contractor, ROC #365090.
Get a Same-Day Read