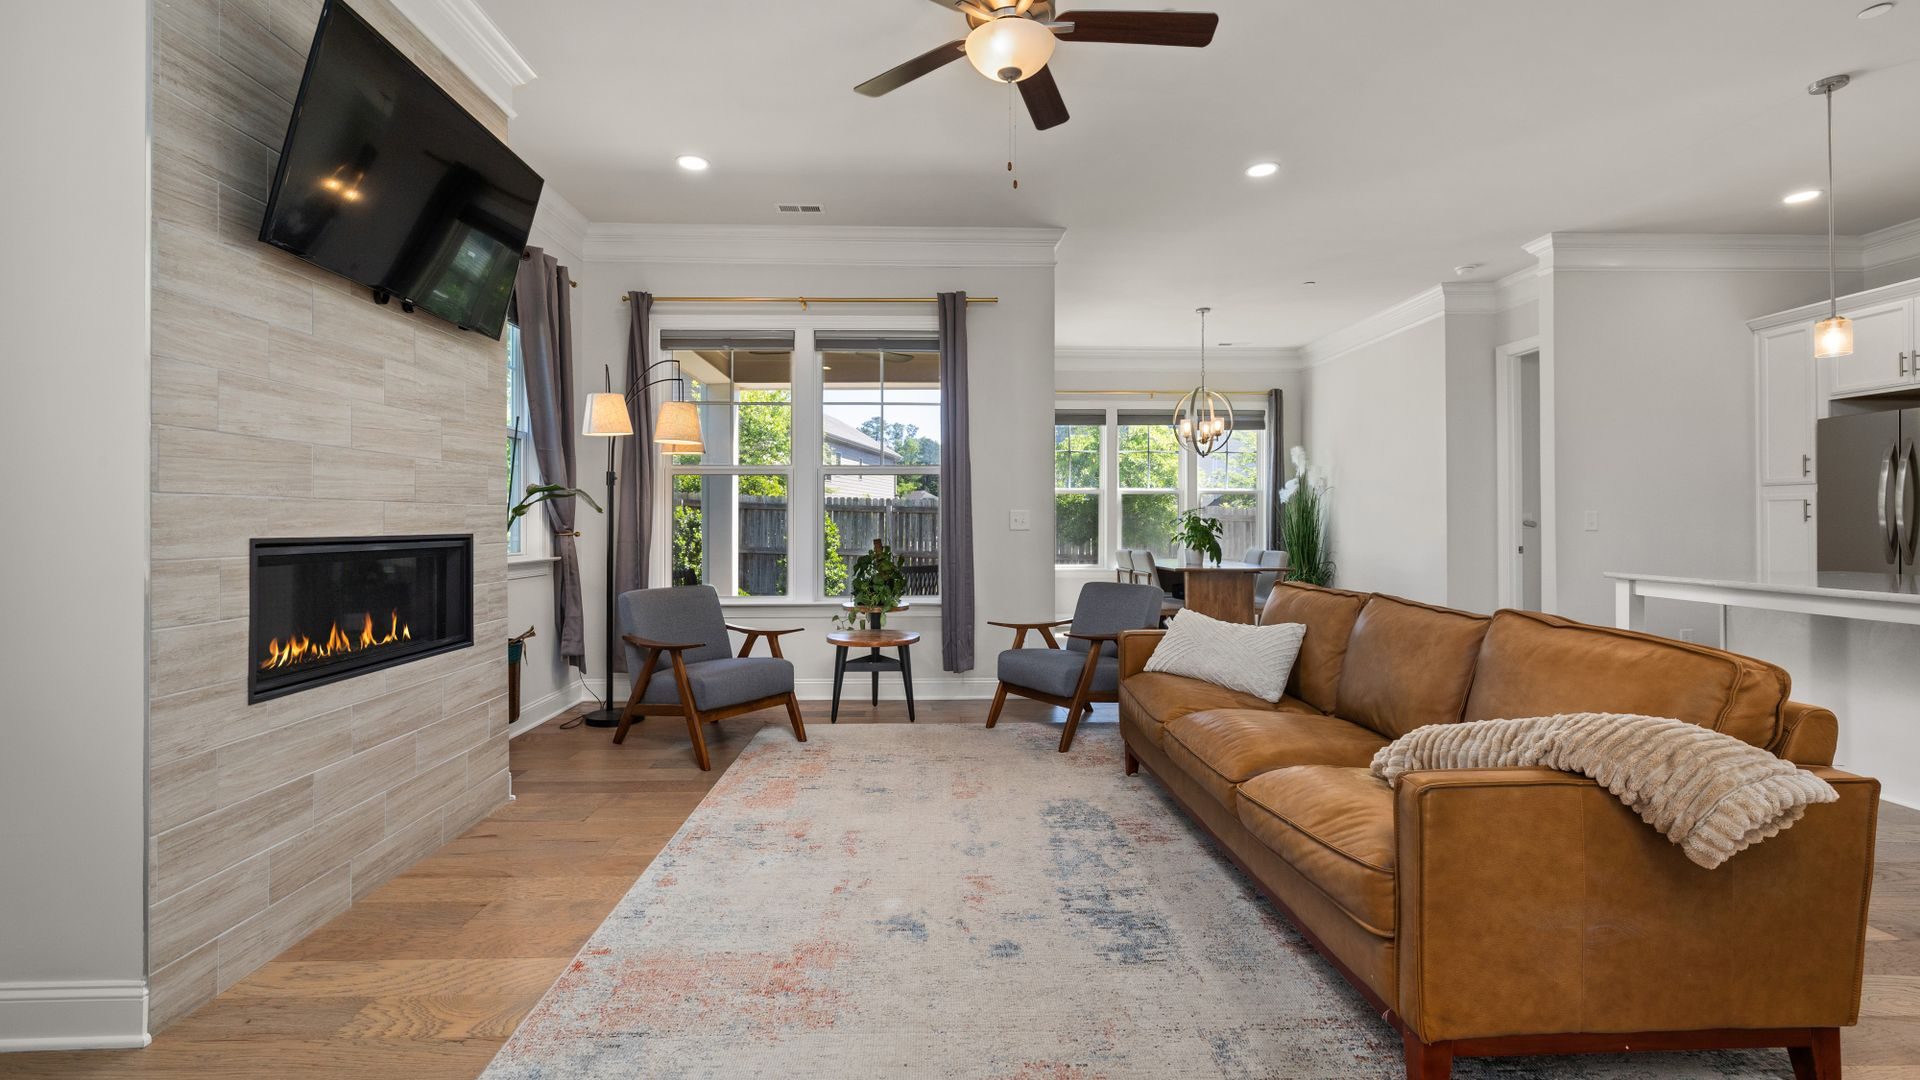
A recessed linear electric fireplace wall is a 50 to 74 inch electric unit set flush into a wall so the glass reads as a slot in the plaster, usually with a TV above it and shelving or cabinets on either side. In Phoenix a full build runs about $5,000 to $8,000 for a 12 to 14 foot wall with built-ins and TV integration, and $2,500 to $5,000 for a simpler surround, with the work split across three trades we carry ourselves: framing, a dedicated circuit, and the finish wall. It's a remodel, not a structural project. In a climate where nobody wants a chimney or a gas line, it's the fireplace that makes sense. Here is how we plan and build one, and where the ones that go wrong go wrong.
We're Norem Contracting, a licensed Class B general contractor, Arizona ROC #365090. The details that decide whether one of these walls works are the same every time: the depth of the cavity, the circuit, and the twelve inches above the glass.
What Is a Recessed Linear Electric Fireplace Wall?
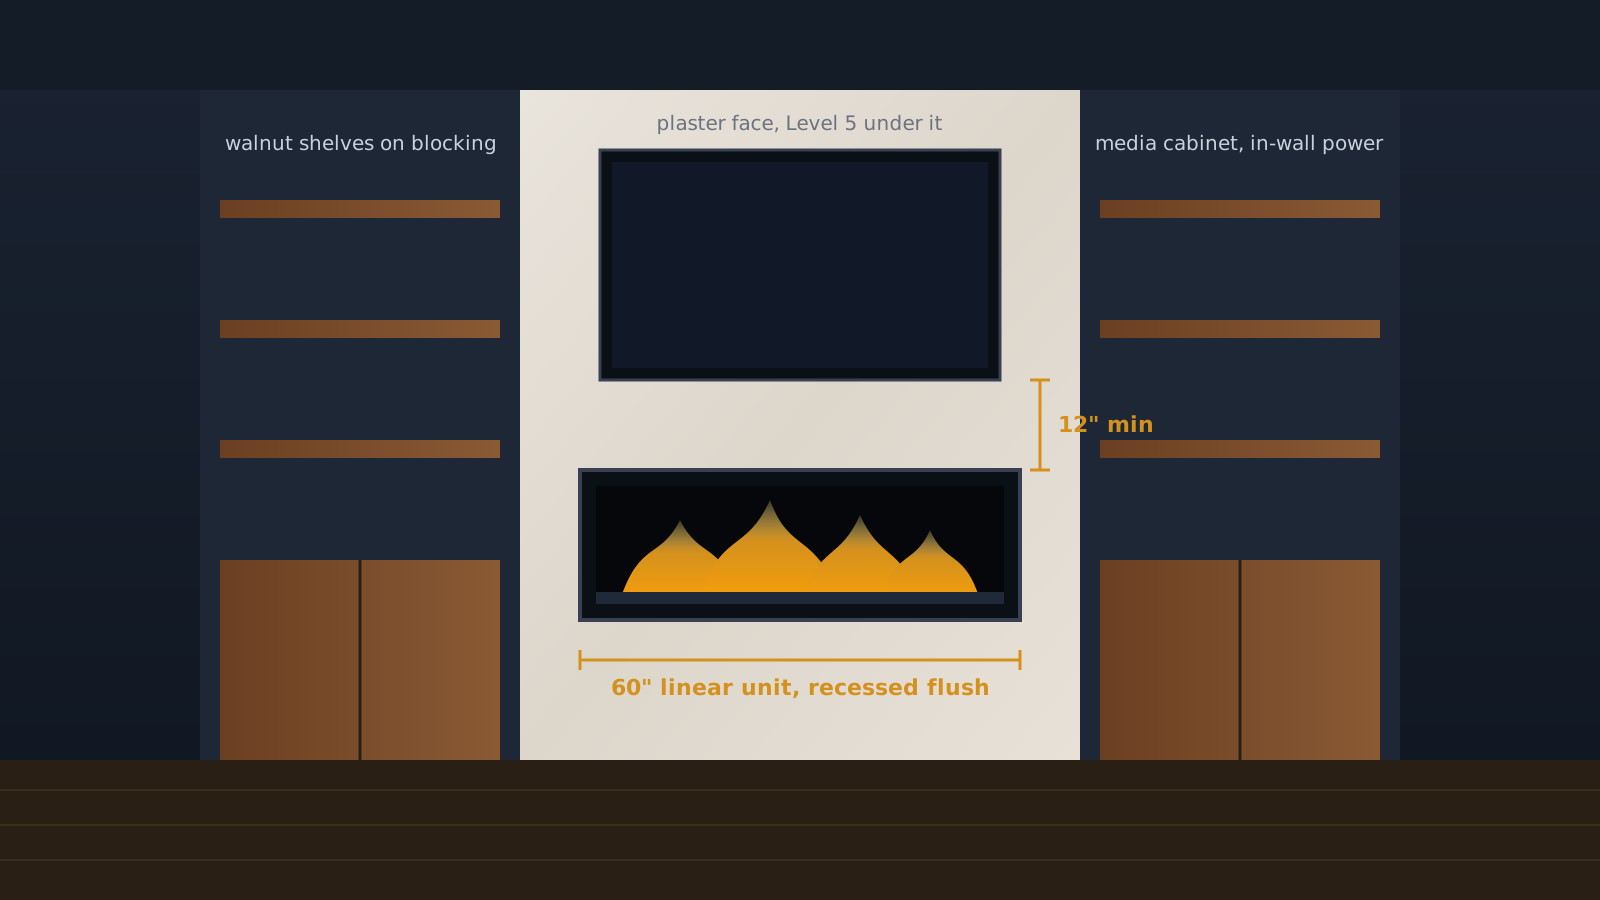
It's a wide, shallow electric fireplace, 50 to 74 inches across and 16 to 20 inches tall, built into the wall plane so its trim flange sits flush with the finish. The look most people are chasing has the unit at seat height, a TV recessed above it, and built-ins flanking both. Three things get confused with it, and the confusion decides the price.
Recessed vs. wall-mounted vs. a media console insert
Recessed and wall-mount aren't two products. They're two ways to install the same unit. A wall-mount hangs on a bracket and sits proud of the wall by five or six inches, which reads as an appliance on the wall. Fully recessed sets the flange flush, which reads as architecture. Most of the popular units, the Napoleon Alluravision and the Touchstone Sideline among them, do both. A media console insert is a small firebox that drops into a piece of furniture, and it's a different, cheaper conversation. This post is about the recessed build, because that's the one that requires a cavity, a circuit, and a plan.
Why electric works in Phoenix
There's no vent, no gas line, and no annual chimney service, and the unit can go on any wall in the house without a roof penetration. Maricopa County's no-burn-day rules restrict wood and solid fuel; an electric unit has no combustion at all, so it is never restricted. Most of the year in Phoenix it runs flame-only with the heat off, which every unit we install can do. Its honest limit is heat: a 1,500 watt unit at 120 volts is about 5,100 BTU. Manufacturers claim anywhere from 400 to 1,000 square feet off that same wattage; in a real Phoenix great room treat it as supplemental warmth for the seating area, not a furnace. For Phoenix that's usually enough.
Planning the Wall Before Anything Gets Cut
We pick the wall, then the unit, then we open the wall up, in that order. The wall has to be one the seating faces, with the centerline landing where the TV will be watched from, and with nothing inside it that can't move. Before we cut we check for an outlet or switch in the stud bay, a return-air chase, plumbing on a shared wall, and, on an exterior wall, whether it's a bearing wall with a header we'd have to work around. A blank interior partition is the easy case. A great-room exterior wall on a 2000s stucco house is the common case and it's fine; it just has more inside it.
Choosing the wall: interior partition vs. exterior stucco wall
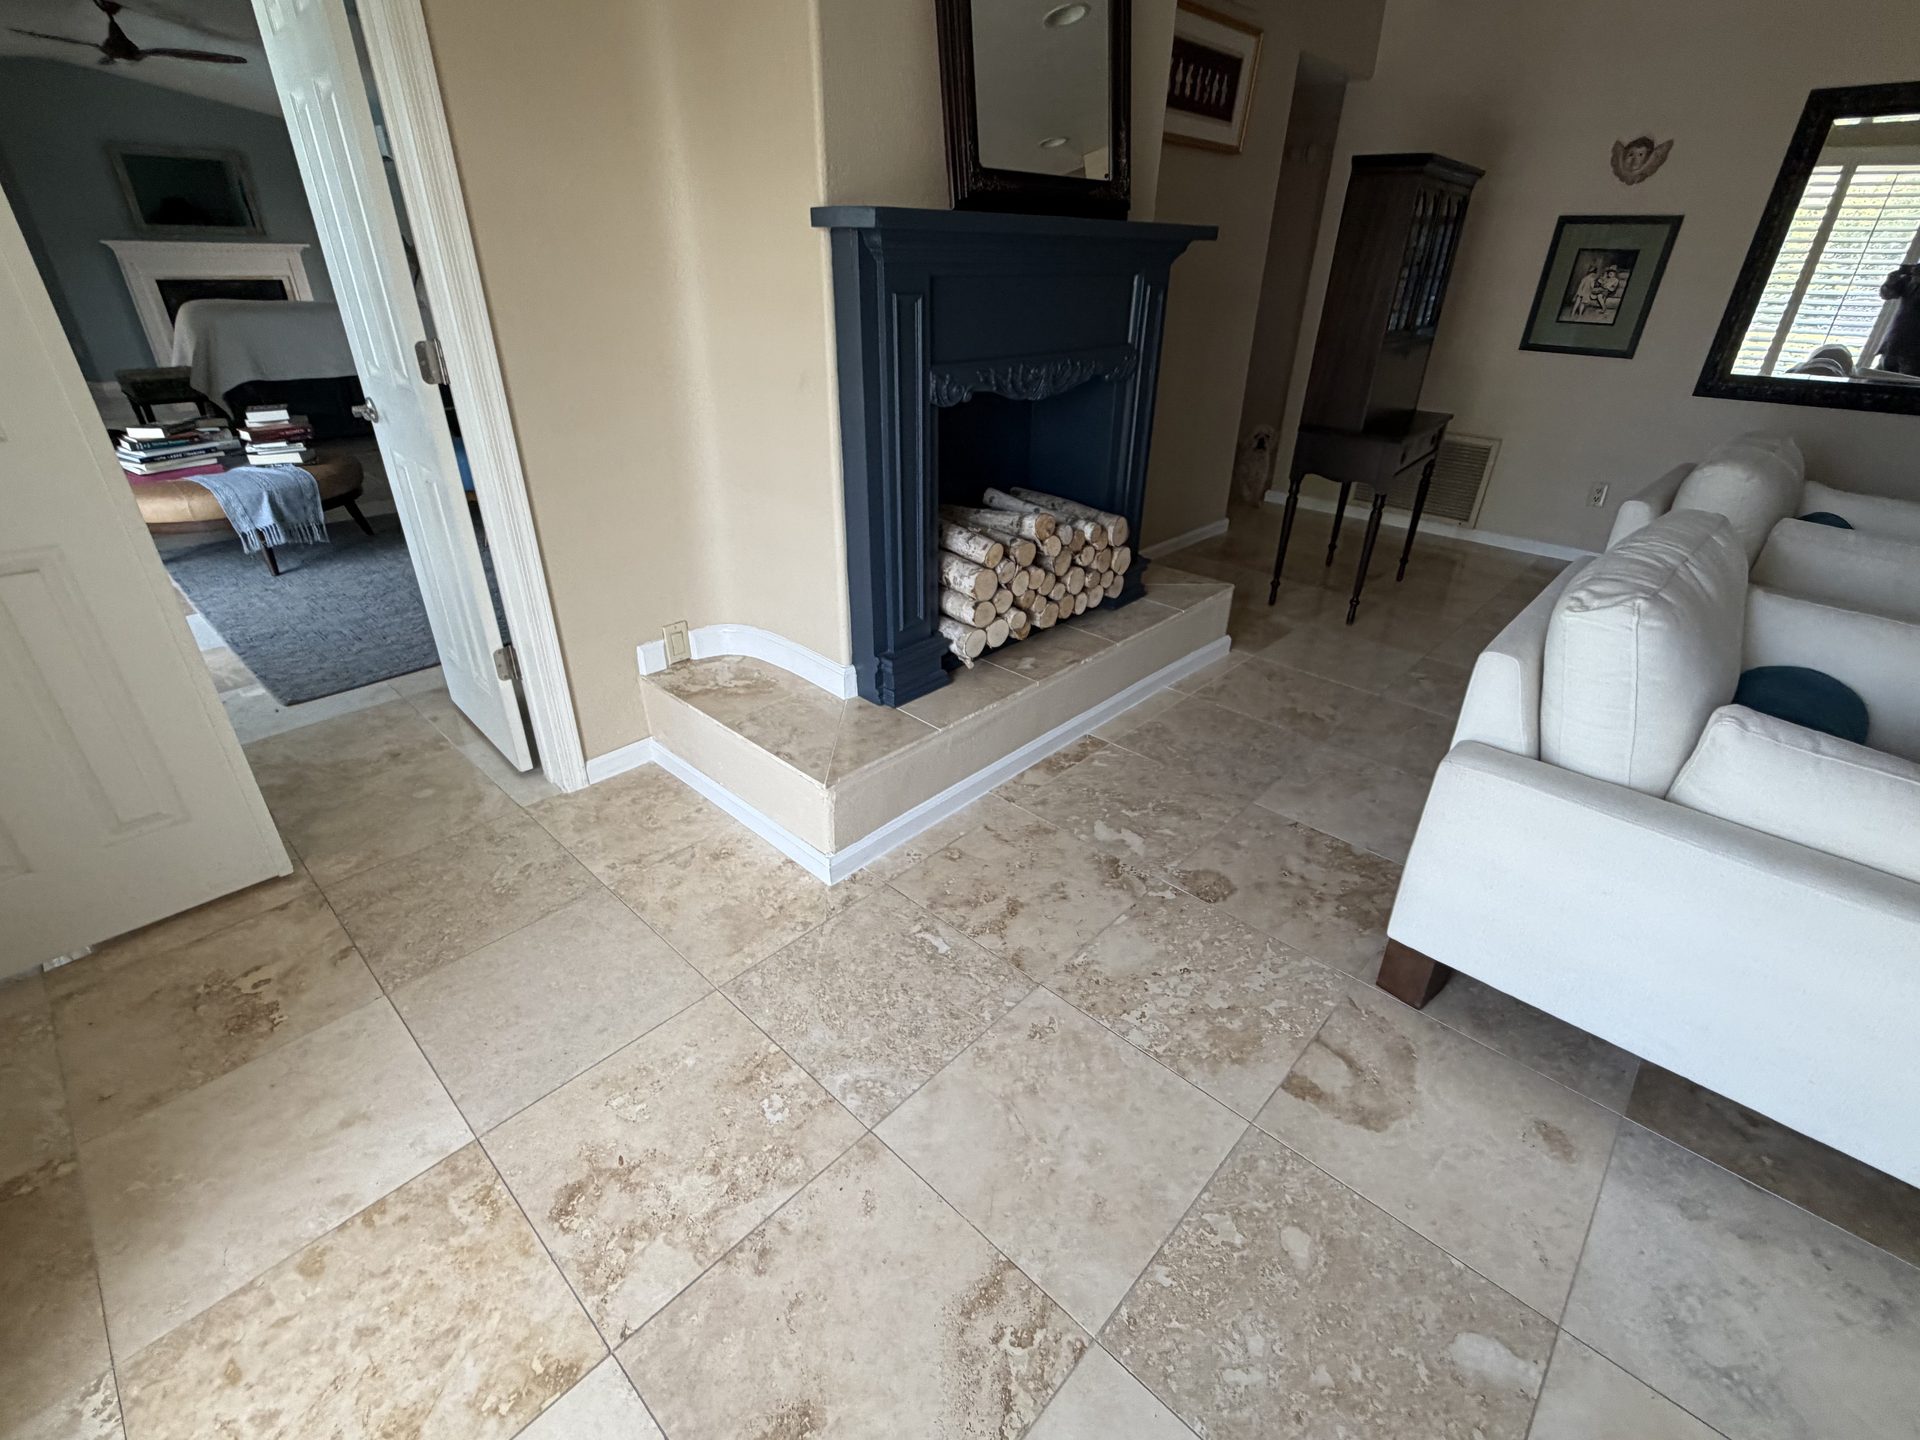
An interior partition is usually 2x4 framing with drywall both sides, which gives a 3-1/2 inch cavity, so any unit deeper than a slim model means furring the wall out into the room. An exterior wall on a newer house is often 2x6, which swallows most units, but it carries insulation, a vapor retarder, and sometimes the house's electrical, so the cavity gets built as a box inside the wall rather than just an opening. On block homes, the wall is masonry with furring strips, and the whole feature wall gets built in front of it. All three are buildable. They just cost differently, and the wall type is the first thing we look at on a walkthrough.
Unit Sizes and Framed Openings: Why the Fireplace Is Bought First
The unit is bought before the wall is framed, every time, because the framed opening, the depth, the vent location, and the mounting points all vary by manufacturer and by model within a manufacturer. Framing to a spec sheet downloaded from a retailer, then buying a different unit on sale, is how a wall ends up with a half-inch gap at the top of the fireplace that no trim will hide. We frame with the unit in the garage.
Common units and what they need in the wall
| Unit | Framed opening and depth | Wall that fits it |
|---|---|---|
| Napoleon Alluravision Slim 50 | About 50-13/16 by 16-1/8 inches, 4-1/4 inches deep | A standard 2x4 wall |
| Napoleon Alluravision Deep 50 | Deeper body per the manual; more heat at 240 V | 2x6, or a furred 2x4 |
| Dimplex IgniteXL 50 | About 50-5/8 by 16 inches, 5.8 inches deep. Built to be hardwired | 2x6, or a 2x4 wall furred out about 2 inches |
| Touchstone Sideline 60 | About 47-1/8 by 20-1/2 inches, 5-3/4 deep. Glass overhangs the cutout | 2x6, or a 2x4 wall furred out about 2 inches |
| Amantii Panorama Slim | 7-1/4 inch framing depth | Furred 2x4 or 2x6 |
| Amantii Panorama Deep, Symmetry XT | 12 inch framing depth | A wall built out into the room |
From 2026 manufacturer manuals. Manuals get revised; the exact model in hand governs the framing, and the Touchstone cutout being narrower than the nominal 60 inch unit is the trap that catches people who frame to the box size.
Sizing the unit to the TV and the wall
The fireplace should be at least as wide as the TV above it, and usually a little wider, or the wall reads top-heavy. A 65 inch TV is about 57 inches wide, so it sits well over a 60 inch unit and looks crowded over a 50. On a 12 to 14 foot wall with built-ins either side, 60 inches is the size that most often lands right. A 74 inch unit on a wall that wide starts to leave the built-ins too narrow to be useful.
Depth: what a 2x4 wall will and won't swallow
A 2x4 wall gives 3-1/2 inches of cavity, and the drywall adds another half inch, so about 4 inches of usable depth before the flange. The slimmest units, the Alluravision Slim at 4-1/4 inches among them, fit that. Anything deeper, and that is most of the market, needs the wall furred out or a new wall built in front of the existing one, which costs three to six inches of room. That's the fix, and there isn't another one. The units that vent out the front face are the ones that make a TV above workable; units that push heat up or out the back put it into the cavity and up the wall, and the manual, not the salesperson, tells you which you have.
Framing the Cavity
The sequence is: confirm the unit in hand, run the electrical rough-in, frame or fur the wall, get the inspection if the job is permitted, set blocking for the TV and shelves, then close the wall with drywall or lath and plaster, set the unit, trim it, and finish. The two mistakes that produce most callbacks are framing before the unit arrives and closing the wall before the electrical is roughed in.
Building out the wall vs. recessing into it
When the unit fits the existing cavity, the framing is a flat 2x header and cripples above the opening and a sill below, with the opening held to the manufacturer's framing dimensions. When it doesn't, we build a new stud wall in front of the old one, or fur the old wall out with 2x material flat, and the two cavities together make the depth. A furred-out wall creates a brand-new concealed space, and the code requires fire blocking at the top and bottom of that space and at intervals along it, which is the step people forget. If the feature wall happens to be a bearing wall, the header over the opening gets sized for the real span and load and it becomes a permit item; on a non-bearing furred wall, the header is carrying drywall and a fireplace.
Blocking for the TV mount while the wall is open
Flat 2x10 blocking goes in behind the TV location, wide enough to catch both rails of the mount's bolt pattern wherever the TV finally lands, before a sheet of drywall goes up. Floating shelves get continuous blocking too, and because shelves cantilever, the blocking has to resist rotation as well as pull-out; a 3/4 inch plywood backer let into the studs is the cleanest way to do it. This is a ten-minute job with the wall open and a two-day job with the wall closed.
The Dedicated Circuit
A built-in linear unit gets its own circuit. Most 50 to 60 inch units draw 1,500 watts on heat, which is 12.5 amps at 120 volts, and because a fixed heater is treated as a continuous load the circuit gets sized at 125 percent of that, about 15.6 amps. That is why these units generally land on a dedicated 20 amp circuit and 12 gauge wire even where a manual's minimum says 15. On a circuit shared with the room's lights and outlets, the breaker trips whenever something else turns on. Manufacturer minimums run 15 or 20 amps depending on model and voltage; Dimplex lists the IgniteXL 50 at 10.4 amps on 120 volts and 12.5 on 240. The circuit gets roughed in before the wall closes, and the panel gets checked before the circuit gets promised.
Why it needs its own breaker
The math is one reason. There's a second. Several popular units are built to be hardwired: the Dimplex IgniteXL is designed for a hardwired connection and ships with an optional 120 volt plug kit, and at 240 volts it has to be hardwired. Touchstone's Sideline can go either way. On a hardwired unit the cavity gets a junction box; on a cord-connected unit it gets a receptacle inside the cavity, placed where the manual allows and never directly above the heater. The control is usually a remote or an app with the receiver in the unit, so the front face needs line of sight; a hardwired unit can also take a wall switch rated 15 amps at normal switch height.
240 volts is not a gimmick
On the IgniteXL 50, 240 volts turns 1,500 watts into 2,500, and 5,118 BTU into 8,530. The Alluravision Deep 50 goes from 1,450 watts and 5,000 BTU at 120 volts to 2,800 watts and 9,000 BTU at 240, which is 400 square feet of coverage turning into 800. That's a two-pole breaker and conductors sized for it, and in Phoenix it's rarely worth it, because the heat runs a few weeks a year. Where it is worth it is a big open great room where the 120 volt unit would never be felt at all.
Panel capacity: when a fireplace wall turns into a panel conversation
A dedicated 15 amp circuit needs a spare slot and headroom in the panel. On a 1990s house with a full 200 amp panel it's a breaker and a run. On a 1970s house with a 100 amp panel that's already carrying an added AC, a pool pump, and a hot tub, it's a load calculation first and possibly a panel conversation. We check before we quote. Our electrical work in Phoenix homes covers the circuit and the panel side; the framing side stays with the same crew.
What running it costs
At 1,500 watts and Phoenix rates of roughly 12 to 14 cents a kilowatt-hour on typical APS and SRP residential plans, heat on costs about 18 to 21 cents an hour. Flame-only the unit draws somewhere in the 10 to 50 watt range depending on model, well under a penny an hour. Rates vary by plan and move around, but the shape holds: the flame is close to free, the heat is a space heater.
TV Above the Fireplace: The Clearance That Gets Ignored
Manufacturer minimums start at 8 inches from the top of the unit to a mantel or a combustible shelf; we hold 12 inches from the top of the glass to a TV or its recess, use a front-venting unit, and check the temperature at the mount location with a thermometer after an hour on high before the TV goes up. Touchstone's own manual calls for 8 inches below a mounted flat screen and Napoleon calls for 8 inches to a mantel; 12 is our number. Most TVs list a maximum operating ambient around 104 degrees, and manufacturers generally exclude heat damage from coverage. In a Phoenix room that's already warm in August, the fireplace is adding on top of an ambient that isn't starting at 70. We don't publish a heat-rise number because it varies by unit, recess depth, and mantel. We measure it.
There's a separate problem with a TV over a fireplace that has nothing to do with heat: it sits high. A 60 inch unit at seat height puts the TV's center well above seated eye level, which is fine for a room where the TV is background and tiring for a room where it's the point. The fix is decided at framing: a tilt mount, or a pull-down mount that brings the screen down over the fireplace when it's in use, both of which need their blocking set before the wall closes. We covered mounting heights and in-wall power in mounting a TV on a Phoenix feature wall, and the same rules apply here with a fireplace under it.
Power for the TV goes through a listed in-wall power kit, a recessed receptacle behind the TV fed from the wall, never an extension cord inside the wall. The code does not allow flexible cord concealed in a wall, which is why the fix is a listed in-wall power kit with a recessed inlet at the bottom and an outlet behind the TV. Low-voltage HDMI runs in a smurf tube conduit alongside it so cables can be swapped later without opening the wall. The low-voltage side is permit-exempt in Phoenix; the power side is not.
What a Recessed Electric Fireplace Wall Costs in Phoenix
A complete feature wall on a 12 to 14 foot span in the Phoenix metro runs about $5,000 to $8,000 with built-ins and TV integration, and $2,500 to $5,000 for a simpler surround with no cabinetry. The unit is $900 to $1,400 for a good 50 to 60 inch linear at the entry level and $3,000 to $4,000 for a premium one. Everything else is framing, a circuit, drywall or plaster, and finish carpentry, priced below at 2026 Phoenix market rates.
| Line item | Typical Phoenix range | What moves it |
|---|---|---|
| Linear electric unit, 50 to 60 inch | $900 to $1,400 entry$3,000 to $4,000 premium | Depth, 240 V capability, flame realism, front venting |
| Framing or furring the feature wall | $4 to $7 per sq ft labor$7 to $15 with material | Furred wall vs an existing cavity; bearing-wall header |
| Dedicated circuit | $350 to $900 | Distance to the panel, 120 vs 240 V, panel headroom |
| Drywall hang and Level 4 finish | $1.50 to $3.50 per sq ft | Level 5 for plaster or raking light adds $1.50 to $2 |
| Plaster face (Roman clay or Venetian) | $12 to $30 per sq ft | Finish type and burnish; see the plaster comparison |
| Built-ins or floating shelves | $1,200 to $4,000+ | Boxes vs site-built; walnut vs paint-grade; in-wall power |
| TV mount, in-wall power kit, conduit | $250 to $600 | Tilt or pull-down mount, cable count |
| Whole wall, 12 to 14 feet | $2,500 to $5,000 simple surround$5,000 to $8,000 with built-ins and TV | Plaster and custom millwork push past $8,000 |
Phoenix market ranges for 2026 from published cost data and the work we quote. Accent and media walls in the Valley run roughly $55 to $250 per square foot of wall depending on materials; a fireplace pulls a wall toward the middle of that band, plaster and cabinetry toward the top.
Have a Wall in Mind?
Send a photo of the wall from the couch and tell us the TV size. We'll tell you which units fit the wall as it is, what furring it would take, and what the whole build runs.
Get a Fireplace Wall EstimateHow the Build Runs, Step by Step
- Walkthrough and unit selection. Wall type, what's inside it, panel check, TV size, seating sightline. The unit gets ordered here and nothing is cut until it's in the house.
- Finish selection. Paint, plaster, tile, or stone gets picked now, because it sets the substrate, the total thickness at the flange, and whether the drywall goes to Level 4 or Level 5.
- Permit. A new circuit and replaced wall finishes are permit work in Phoenix; we pull it. Other cities have their own lists.
- Layout and demo. The opening and the furring wall are laid out to the manual's framing dimensions, then the existing finish comes off where it has to.
- Electrical rough-in. The dedicated circuit to a box in the cavity, the in-wall power kit and conduit for the TV, any cabinet outlets, all before insulation or drywall.
- Frame or fur the wall. Header and sill to the framing dimensions, fire blocking top and bottom of the new cavity, flat blocking for the TV mount and shelves.
- Inspection. Rough electrical and framing get looked at before the wall closes.
- Drywall or lath, finished to Level 5 if plaster is going on, with the J-bead or stop bead set at the fireplace return.
- Set the unit, trim it, and test it on heat before anything gets built around it.
- Finish. Paint or plaster, then the built-ins, then the TV, then the thermometer check with the fireplace on high.
The Finish Wall: Drywall, Plaster, Tile, or Stone
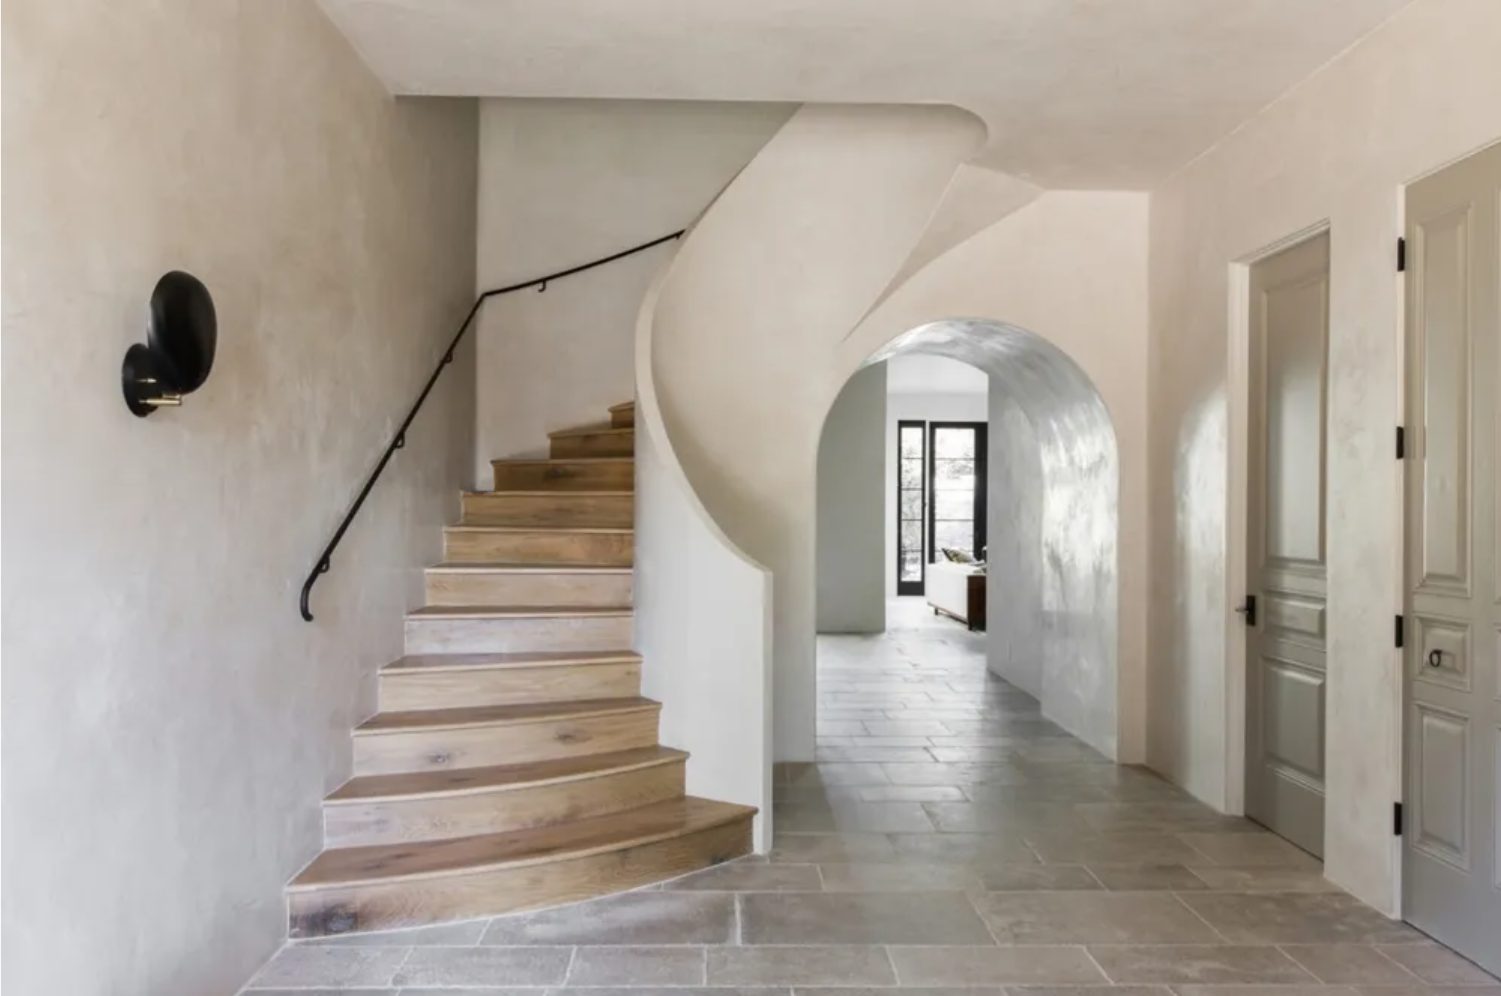
The finish is chosen at framing, not after, because it changes the substrate and the reveal at the fireplace flange. Painted drywall is the fastest and cheapest, and with a Level 5 skim it reads clean under raking light. Tile or stone changes the substrate to cement board and adds thickness that the framing dimensions have to absorb. A plaster face, Roman clay or Venetian, wants a Level 5 drywall base and a stop bead at every edge, and it's the finish showing up most on these walls in Phoenix, because it reads right in Arizona light. The comparison of the two plasters, and what each costs, is in Roman clay vs. Venetian plaster. One caution from the same post: Roman clay near a heat source is fine on an electric unit that vents forward, and it's the wrong finish over a gas insert.
Built-Ins and Shelving Either Side
Flanking cabinetry turns a fireplace into a room, and it's also the part you don't have to build. A lot of these walls are better clean, with the plaster running corner to corner and the fireplace and TV floating in it. When built-ins are right, the rules are symmetry, depth that matches the furred fireplace box so the whole wall reads as one plane, outlets and data inside the cabinets for the equipment, and heat separation from the unit. Boxes cost less than site-built shelving; walnut and steel cost more than paint-grade. The blocking for any of it goes in with the wall open, which is why this decision is made on the walkthrough, not after the plaster dries.
Frequently Asked Questions About Electric Fireplace Walls
Do you need a permit to install a recessed electric fireplace in Phoenix?
The fireplace itself is an appliance with no vent, so the permit question turns on the work around it. Plugging a cord-connected unit into an existing receptacle is exempt in Phoenix. Adding a new circuit is permitted electrical work, and the City of Phoenix treats replacing whole sheets of drywall, as opposed to patching, as permit work too. A feature wall with a new dedicated circuit is a permitted job, and we pull it. Scottsdale, Mesa, Tempe, and Chandler each have their own exemption lists, so we confirm with the city.
Does an electric fireplace need its own circuit?
A built-in linear unit does. Most 50 to 60 inch units draw 1,500 watts on heat, which is 12.5 amps at 120 volts, and a fixed heater is sized as a continuous load at 125 percent, about 15.6 amps, so these units generally get a dedicated 20 amp circuit. On a circuit shared with the room's lights and outlets it trips the breaker whenever something else runs. Several popular units are built to be hardwired; the Dimplex IgniteXL is designed for a hardwired connection, ships with an optional 120 volt plug kit, and must be hardwired at 240 volts.
Can you put a TV above an electric fireplace?
Yes, and it is the standard layout, with two conditions. The unit has to vent out its front face rather than up, so the heat leaves the wall instead of climbing it, and there has to be vertical separation. Manufacturer minimums start at 8 inches from the top of the unit to a mantel; we hold 12 inches from the glass to a TV or its recess. We check the temperature at the mount location after an hour on high before the TV goes up, because most TVs list a maximum operating ambient around 104 degrees and manufacturers generally exclude heat damage from coverage.
How long does it take to build a fireplace feature wall?
Four to seven site days for framing, electrical, the inspection, drywall or plaster, setting the unit, and finish. The calendar runs longer, usually two to four weeks, because the unit has to be on site before framing starts, the permit inspection lands between rough-in and drywall, and plaster or paint needs cure time. Built-ins add days on the finish end.
What Else Is Worth Doing While the Wall Is Open?
A fireplace wall puts a framer, an electrician, and a finish trade in the same room in the same week, with the wall open and the panel cover off. Add-ons that ride those same trades cost less agreed up front than called back for later, commonly 25 to 50 percent below standalone pricing. On this build, these are the ones that pay:
- The TV power and data in the wall. The one nobody remembers until the plaster is dry. The recessed power kit and the conduit go in during rough-in. See mounting a TV on a Phoenix feature wall.
- A plaster face instead of paint. The Level 5 substrate and the stop beads have to be decided at framing anyway. Roman clay vs. Venetian plaster covers the choice, and our interior plaster finishes page covers the rest of the catalog.
- Recessed lighting and dimmers on the same circuit run. The electrician is already in the attic above the wall.
- Repaint the rest of the room. One crew, one setup, and a new wall makes the old paint look older. See interior painting.
- A panel capacity check. If the panel is full, better to learn it while an electrician is standing in front of it. See electrical.
- Or convert the fireplace you already have. If the room has a dated wood-burning fireplace, closing it and building this wall in front of it is one project, and converting a wood-burning fireplace to gas or electric walks through the options.
Anything on this list added mid-job costs full freight, because the saving is the shared rough-in and the wall being open once.
Written by Harrison Norem, owner of Norem Contracting and a licensed Class B general contractor, Arizona ROC #365090. Fifteen years across the trades, from framing and electrical to finish carpentry, across the Phoenix metro. More about Harrison.