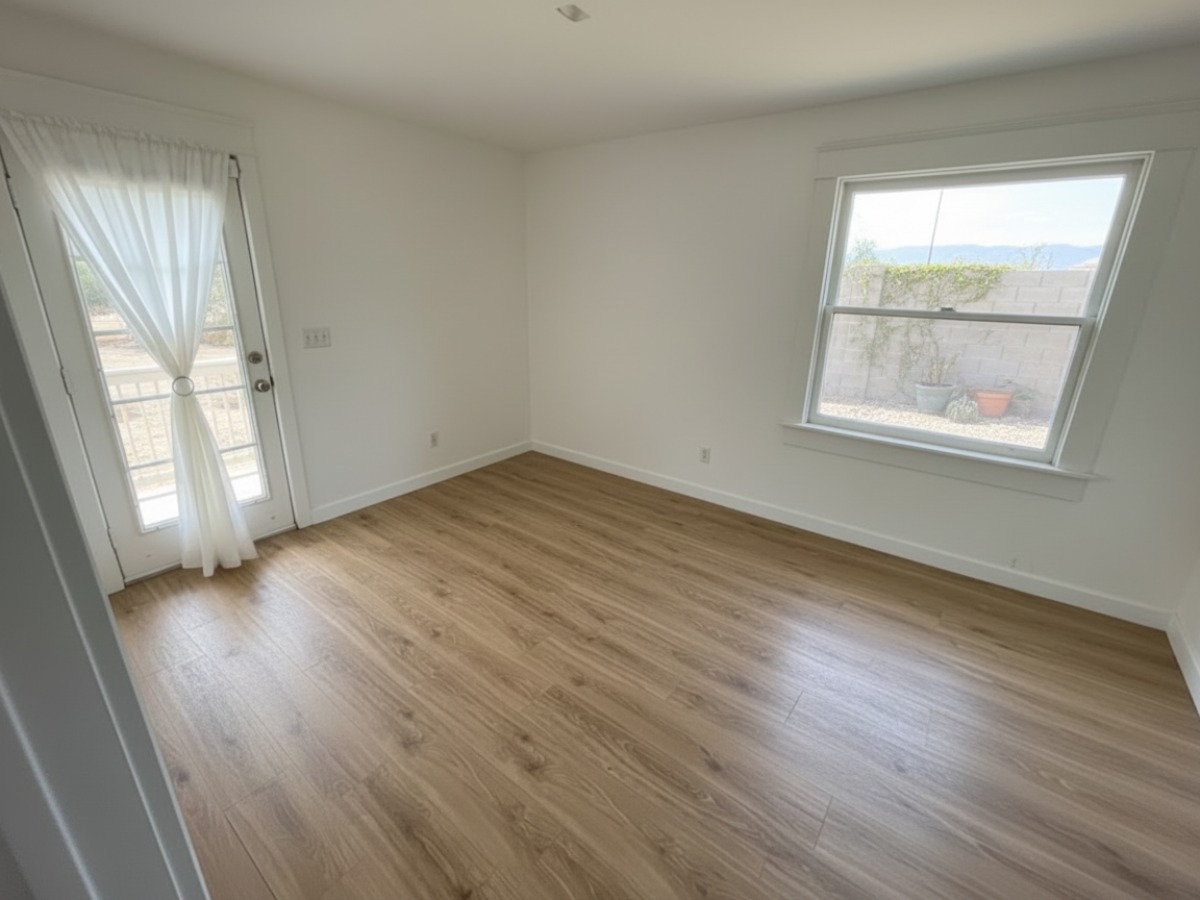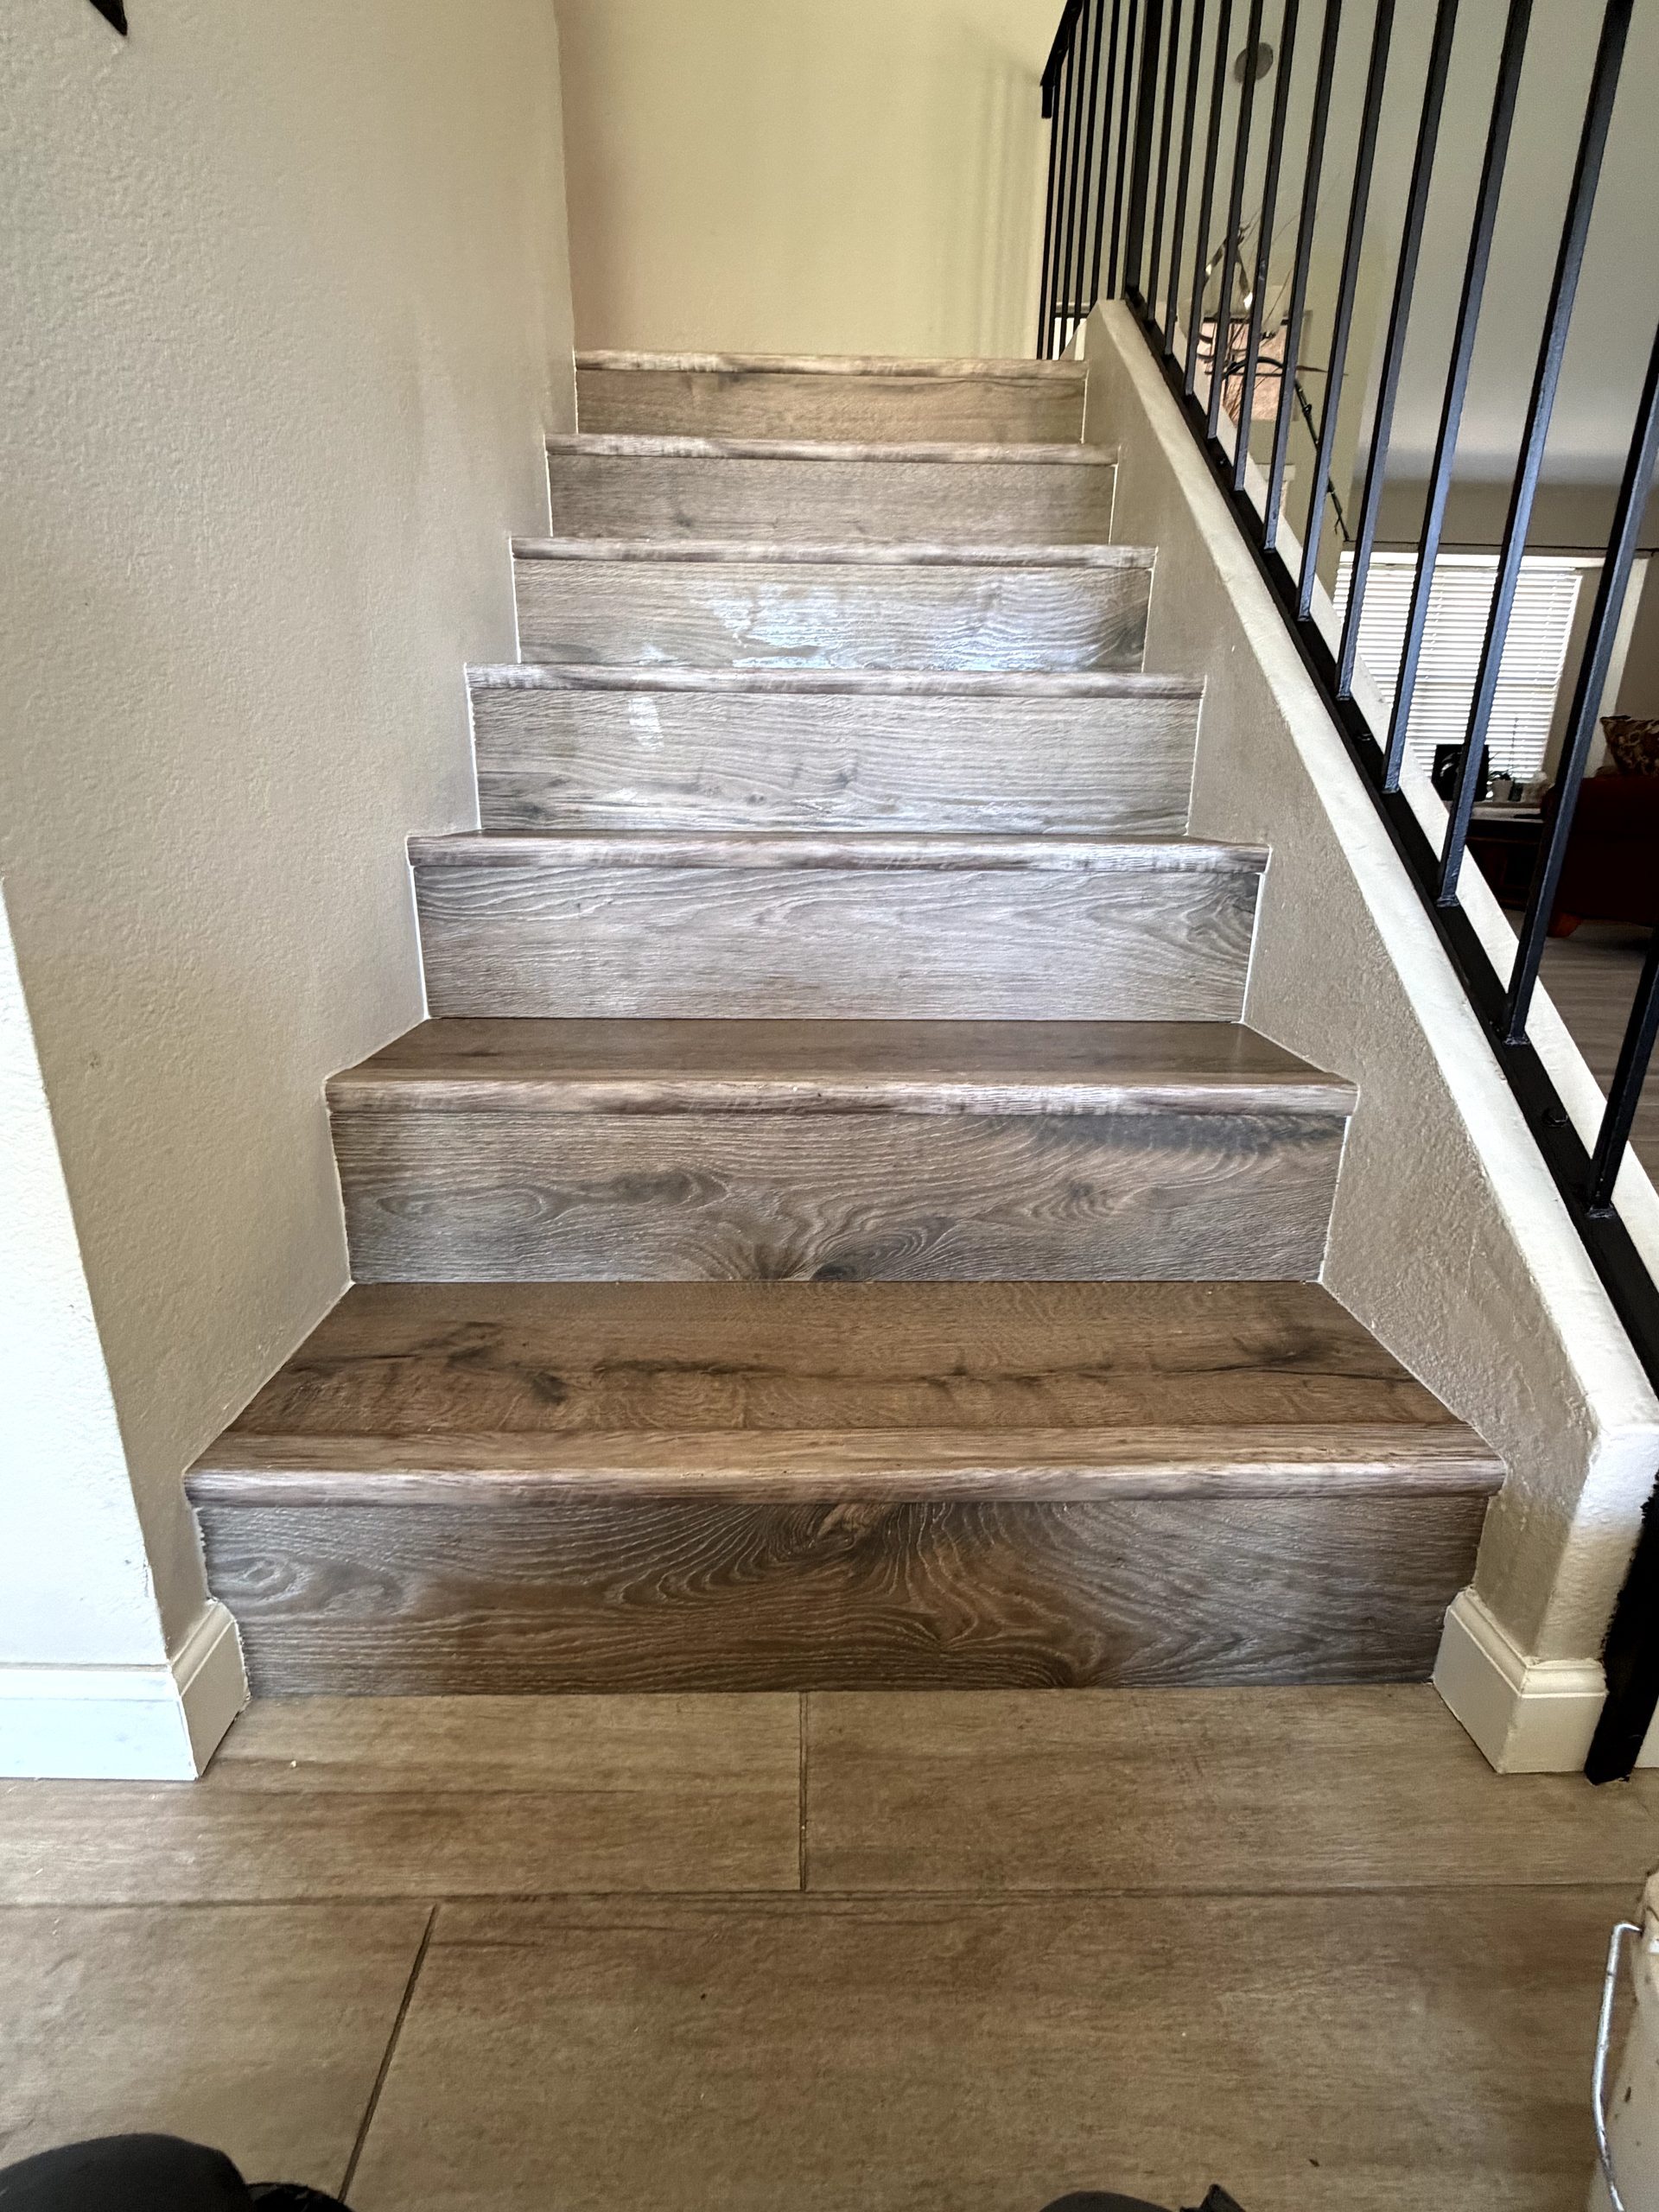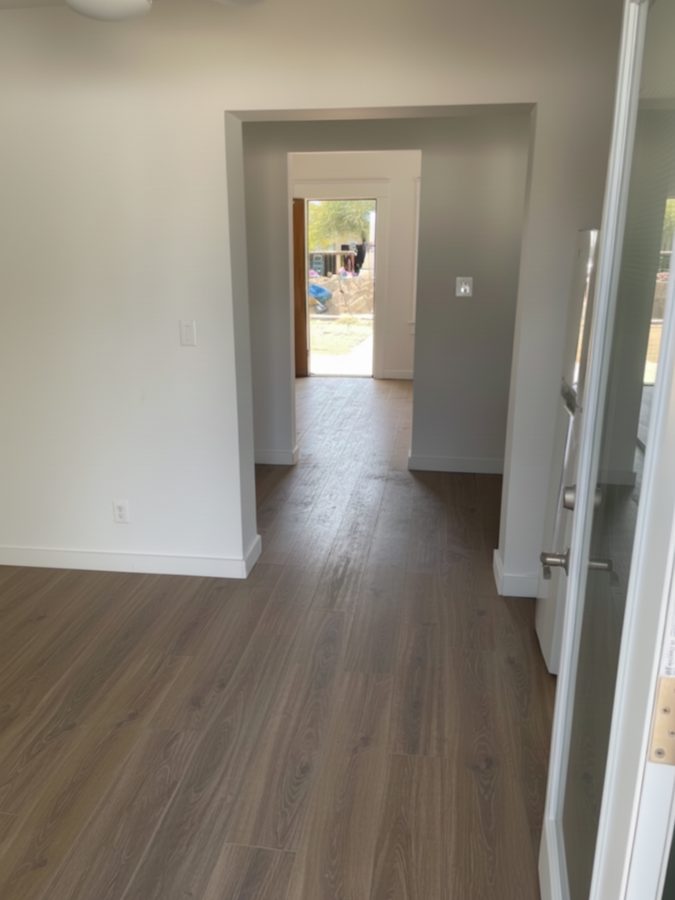
In a Phoenix house the subfloor is concrete, not plywood, and that one fact decides most of a flooring job. Your floor is not nailed to a wood deck the way flooring pages written in Ohio assume. It is bonded to, or floating over, a slab poured on graded desert soil, usually with steel tendons running through it under enormous tension. Everything that makes a floor last here happens before the first tile or the first plank goes down: what the slab reads for moisture, how flat it sits under a ten foot straightedge, and where the floor is allowed to move.
We are a licensed Arizona general contractor, ROC #365090, and flooring installation is one of the trades we run. We take the whole thing on one contract: the tear-out and the dust control, the slab testing and the flattening, the carpentry if the deck under a raised floor turns out to be soft, then the tile or the plank, then the baseboards and the paint that follow it. That matters more on floors than on most trades, because the surprise on a floor job is almost never the finish. It is what was underneath.
This page is the long version: how a Valley slab gets prepared, what the tile and plank standards require, the ways floors fail here and why, and what the work costs installed in 2026. If you want the number first, the price chart is further down the page.
Your subfloor is a slab, and it probably has cables in it
Arizona homes do not have basements, and the reason is the ground. Caliche, a cemented calcium carbonate layer that behaves like weak concrete, sits under much of the Valley, and expansive clay swells and shrinks with moisture. Digging through that to make a basement costs more than the basement is worth in a market with no tornado season, so builders pour a slab and set the house on it. That slab is your subfloor.
Expansive soil is also why most Valley tract housing from the mid-1980s onward sits on a post-tensioned slab. Steel tendons run through the concrete in a grid and are pulled tight after the pour, which keeps the slab acting as one stiff plate even when the ground under one corner swells. You can usually find a stamp or a small plate near the garage door reading POST-TENSION SLAB, DO NOT CUT OR CORE. That is not a legal formality. Each tendon holds tens of thousands of pounds of force and cutting one is a genuine hazard.
For a floor job the consequences are specific:
- Nail-down solid hardwood is off the table on a post-tensioned slab. Nothing gets fastened into that concrete, which is why glue-down and floating assemblies dominate here.
- Thresholds, transition tracks and stair-nose anchors that would normally be screwed into the slab either get located around the tendons first or get bonded instead of fastened.
- The in-situ relative humidity test drills into the slab, so the tendons get located before a probe hole goes anywhere near the floor.
- A toilet flange that needs to move as part of a tile job is a coring question, not a plumbing question, until the tendons are scanned.
None of the flooring pages ranking in Phoenix mention post-tension. It is the single largest difference between installing a floor here and installing one anywhere else, and a crew that drills a threshold on a Valley slab without scanning is taking a risk with your house that you did not agree to.
Desert air does not mean a dry slab
This is the one that costs people floors. The reasoning sounds airtight: Phoenix is dry, so a Phoenix slab is dry. It is wrong, and the mechanism is worth understanding because it explains a whole category of failure.
Moisture moves through concrete along a humidity gradient, not a rainfall one. The soil under any slab sits near saturation regardless of what the weather is doing eight feet above it, so vapor drives upward through the concrete continuously. A coarse stone base under the slab is a capillary break, which stops liquid water wicking up, and it does nothing at all to vapor transmission. Only a vapor retarder rated at 0.3 perms or lower does that, and plenty of older Valley slabs were poured with no retarder, or over a sand blotter layer that stores water and releases it upward for years. A slab like that never reaches equilibrium. It is a moisture pipe with a floor on top.
Put an impermeable floor over it and the vapor has nowhere to go. On glue-down assemblies it shows up as adhesive release, bubbling, and eventually a smell. Under a floating floor it collects and feeds mold on the underside. The plank itself being waterproof is irrelevant to this: the core is waterproof, the assembly under it is not, and rigid-core manufacturers say so in their own install guides.
What testing a slab involves
ASTM F710 is the standard that governs preparing a concrete floor to take resilient flooring, and it is blunt about two things. First, every slab gets tested regardless of age or grade level, so "the slab is thirty years old, it is obviously dry" is not a test result. Second, the surface has to be clean down to the concrete: free of dust, paint, wax, oil, grease, residual adhesive, film-forming curing compounds, silicate penetrating compounds, hardeners, alkaline salts and laitance. Self-dissipating curing compounds still have to come off mechanically, by grinding, scarifying or shot blasting. F710 also flags pH, because a surface below 7 or above 10 attacks resilient flooring and adhesives.
Two tests give a number, and they do not measure the same thing.
| Test | What it measures | How it runs | Where it misleads |
|---|---|---|---|
| ASTM F2170, in-situ relative humidity probe | The equilibrium humidity inside the slab, which is the condition the slab will reach once you cover it | Three holes for the first 1,000 sq ft and one more per additional 1,000. Drilled to 40 percent of slab thickness on a slab drying from one side, which is every Phoenix slab-on-grade. Slab and air held at service conditions 48 hours first, sensor equilibrates 24 hours, reading must not drift more than 1 percent over 5 minutes, one hole within 3 feet of each exterior wall. | It needs holes, so on a post-tensioned slab the tendons get located first. It also needs the house conditioned, so a reading taken in an unconditioned July house is not a valid result. |
| ASTM F1869, calcium chloride | Moisture vapor emission at the top surface of the slab over 72 hours, in pounds per 1,000 sq ft | A weighed dish of dry calcium chloride under a sealed dome on the bare slab, weighed again after 72 hours | It reads the surface, not the slab, and it is highly sensitive to ambient conditions. A slab that grinds up dry on top can still be wet three inches down, which is why it is the less predictive of the two for long-term behavior. |
| ASTM D4263, plastic sheet | Whether condensation forms under a taped-down sheet overnight | An 18 inch square of polyethylene taped down on all four sides, checked the next day | Positive-only. Condensation proves the slab is too wet. A dry sheet proves nothing, because it reads the surface and only the surface. Useful as a screen, never as a clearance. |
| ASTM F3191, porosity check | Whether the slab will absorb adhesive at all | Water droplets placed on the prepared substrate. They have to absorb for the slab to count as absorbent. | Not a moisture test. A burnished or sealed slab that beads water needs mechanical opening, by diamond grinding, a buffer attachment or shot blasting, before anything bonds to it. |
A wet slab rules out some floors, not all floors
This is the part nobody in this market tells homeowners, and it is the difference between a job that stops and a job that adapts. The moisture limit is not a property of concrete. It is a property of the assembly you put on it, and the spread between assemblies is enormous.
| Assembly | Calcium chloride, F1869 | In-situ RH, F2170 |
|---|---|---|
| Rigid-core vinyl plank, floating, over the slab | 8 lb per 1,000 sq ft | 90 percent |
| Self-leveling underlayment primer, the prep under most glue-down work | 5 lb per 1,000 sq ft | 80 percent |
| Typical glue-down resilient adhesive | 3 to 5 lb per 1,000 sq ft | 75 to 85 percent |
| Slab that cannot be made porous, with no topical mitigation | Not a bonding candidate | Floating assembly over a 6 mil polyethylene sheet, run 2 inches up the walls with sealed seams |
So a slab reading 88 percent kills a glue-down floor and is comfortably inside what a floating rigid-core floor is rated for. Bonded tile is a different question again, because a cement mortar bed is not moisture sensitive the way a resilient adhesive is, which is part of why tile is the safe answer on a slab with a history. When a reading comes back high, the first move is not a product anyway. It is finding the source, and in this town that is usually irrigation running against the foundation, a downspout dumping at the slab edge, or negative grade at a threshold. Fix that and the slab dries.
Flat is not level, and the tolerance changes with the tile
Two different specifications get used interchangeably in bids and they are not the same thing. Level is about the floor relative to horizontal. Flatness is about deviation measured under a straightedge laid on the floor. Every tolerance a flooring manufacturer publishes is a flatness tolerance. A dead flat floor on a one inch slope across a room passes; a perfectly level floor with a quarter inch dip in the middle fails. When somebody says they will "level the floor," ask which one they mean.
Then the number itself, which most of this market gets wrong in the direction that costs you money. The instinct is that bigger tile means fewer grout lines and therefore less fuss. The standard says the opposite: the flatness requirement tightens the moment any tile edge reaches 15 inches, which describes almost every 12 by 24 wood-look plank tile sold in Phoenix.
| What is going down | Maximum substrate variation | What that means on the floor |
|---|---|---|
| Tile with all edges under 15 inches | 1/4 inch in 10 feet, and no more than 1/16 inch in 12 inches | The loosest tolerance on this list. Small format tile forgives a slab that most large format tile would not. |
| Tile with any edge 15 inches or longer, and all natural stone | 1/8 inch in 10 feet, and no more than 1/16 inch in 24 inches | Twice as flat as small tile. This is the line that turns a large format tile job into a slab preparation job, and it is where most of the cost difference between tile and plank lives. |
| Thin-bed epoxy mortar installations | 1/16 inch in 36 inches, with no abrupt irregularity over 1/32 inch | The tightest tolerance in the standard. Rare residentially, common in commercial kitchens. |
| Floating rigid-core vinyl plank, typical manufacturer requirement | 3/16 inch in 10 feet is common, and many glue-down wood and vinyl instructions call 1/8 inch in 6 feet | Plank spans small dips, which is why it needs less preparation than large tile. It does not span a hump, and a hump under a floating floor works the click joints loose. |
Getting a floor to tolerance is two operations. High spots get ground off, which is cheap and fast and where most floors end. Low areas and a generally wavy slab get self-leveling underlayment: the slab gets vacuumed and primed, then a cementitious compound is poured and spread, and it finds its own plane. That is the expensive end, and the material cost alone is real, so it belongs on the estimate as its own line rather than buried in a square-foot rate.
What it is not is something you fix with mortar. Thinset manufacturers state it flatly in their own technical documents: thin-set bond coats are intended solely to bond the tile to the substrate and are not formulated for use as leveling agents. "We will float it out in the mortar" is not a prep method. It is the defect, described by the company that makes the mortar.
What a tile floor is measured against
Tile is the material where the difference between a bid and a standard is largest, because almost everything that separates a good tile floor from a bad one is invisible the day it is finished and obvious three summers later. These are the numbers the work answers to.
Movement joints, and why Phoenix rooms need them at half spacing
Tile expands and contracts, the slab under it expands and contracts, and they do not do it at the same rate. TCNA's EJ171 detail requires interior movement joints no more than 25 feet apart in both directions. Then it adds the clause almost nobody in residential applies: exterior installations, interiors exposed to direct sunlight, and above-ground installations get movement joints no more than 12 feet apart in both directions. A Valley great room with a west-facing slider wall is, by that definition, an interior exposed to direct sunlight.
Perimeter joints are separate and also required. Tile grouted hard into the wall at every edge has nowhere to go, so when the field grows it goes up, and you get tenting: a row of tile popping loose off the slab in a ridge. The published detail sheets say it plainly, that perimeter and field movement joints within a tile installation are essential and required. In practice a perimeter joint is a soft joint hidden under the baseboard, which costs almost nothing and is skipped constantly.
What you see when it was skipped is a grid of cracked grout appearing across a sunny room in year two to four, in lines the homeowner cannot explain because nothing dropped on the floor. That grid is the joint the floor needed and did not get.
Grout width and lippage are specified, not a matter of taste
Homeowners routinely ask for a 1/16 inch grout line on a 12 by 24 tile because it looks tighter in photos. The standard forbids it, for a physical reason. Tiles come out of the kiln with warpage, a slight crown, and the bigger the tile the more of it. ANSI A108.02 requires the grout joint to be at least three times the actual facial variation of the tile, and tile with one side over 15 inches carries a 1/8 inch minimum joint plus the actual warpage. Squeeze the joint tighter than that and every tile's high point sits hard against its neighbor's edge, which you feel with a bare foot as lippage.
Lippage has a number too. With grout joints under 1/4 inch the allowance is 1/32 inch plus the actual warpage of the tile; at 1/4 inch and wider it is 1/16 inch plus warpage. Those are the figures that settle an argument about whether a floor is acceptable, and they are worth having before the argument.
The 33 percent offset rule
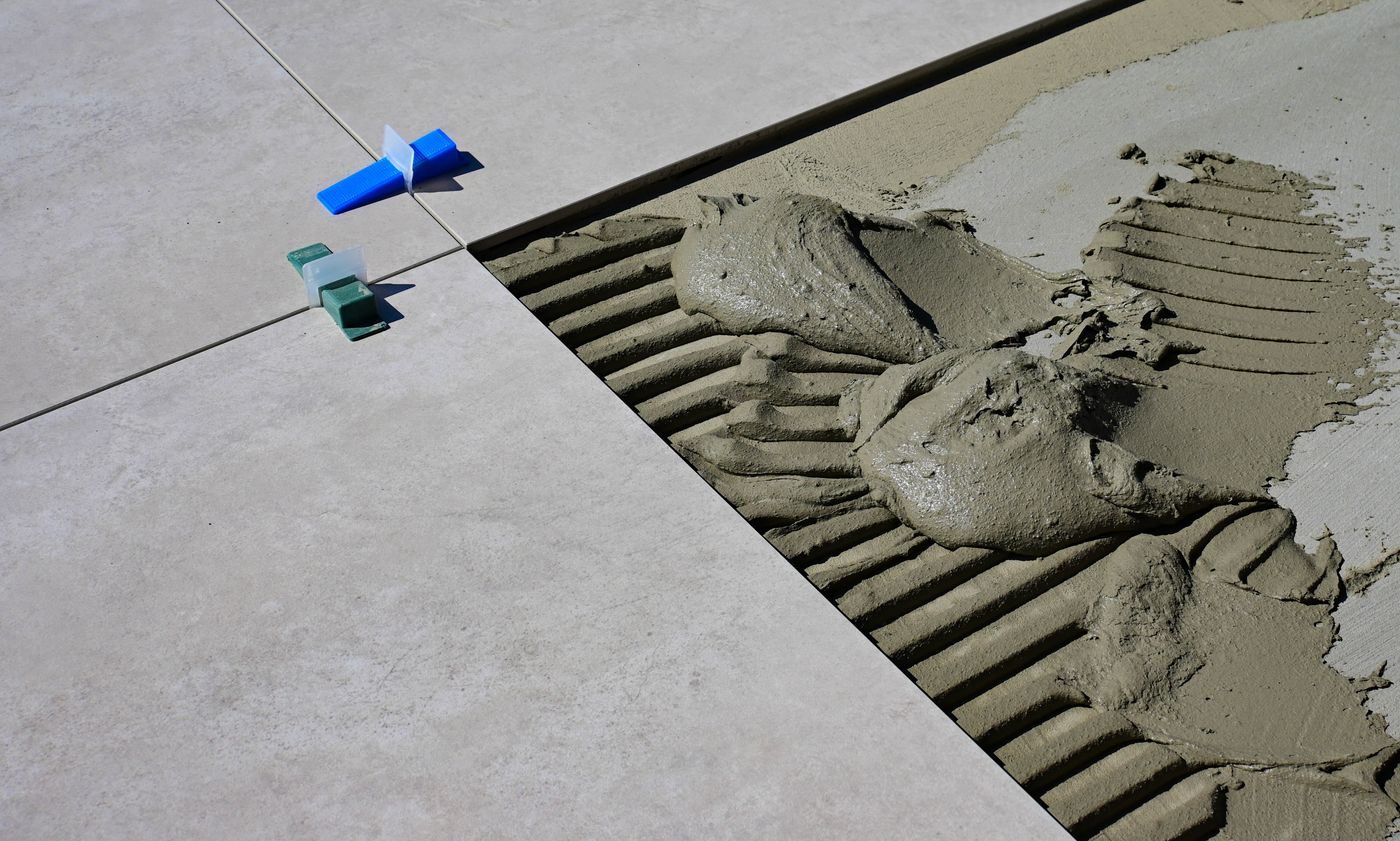
Running bond laid at a 50 percent offset is the pattern people picture for wood-look plank tile, and on tile with any side over 15 inches the standard caps the offset at 33 percent unless the owner approves a mock-up first. Same reason as the grout width: the crown from kiln warpage peaks near the middle of the tile, so a 50 percent offset puts every tile's highest point against its neighbor's end, which is where lippage is most visible and least fixable. At a third offset the joint lands before the crown peaks. If a bid shows 50 percent brick pattern on 12 by 24 tile, that is a conversation to have on paper before anyone opens a box.
Mortar coverage, the defect nobody can inspect afterward
ANSI A108.5 requires 80 percent mortar coverage in dry interior areas and 95 percent in wet areas and exteriors, and the coverage has to be distributed so the tile is supported across its whole footprint. Eighty percent concentrated in five fat ridges with voids at the corners is a failure even though the arithmetic looks fine. On large format tile, hitting real coverage means back-buttering, which is a second pass with a trowel on the back of every tile.
The reason this gets skipped is simple: once the grout is in, nobody can see it. It shows up later as hollow-sounding tile, corners chipping off where a foot lands on an unsupported edge, and a cracked tile in the middle of a floor with no explanation. The way to check during a job is to pull a set tile before the mortar skins over and look at the back, which takes a minute and is worth asking for.
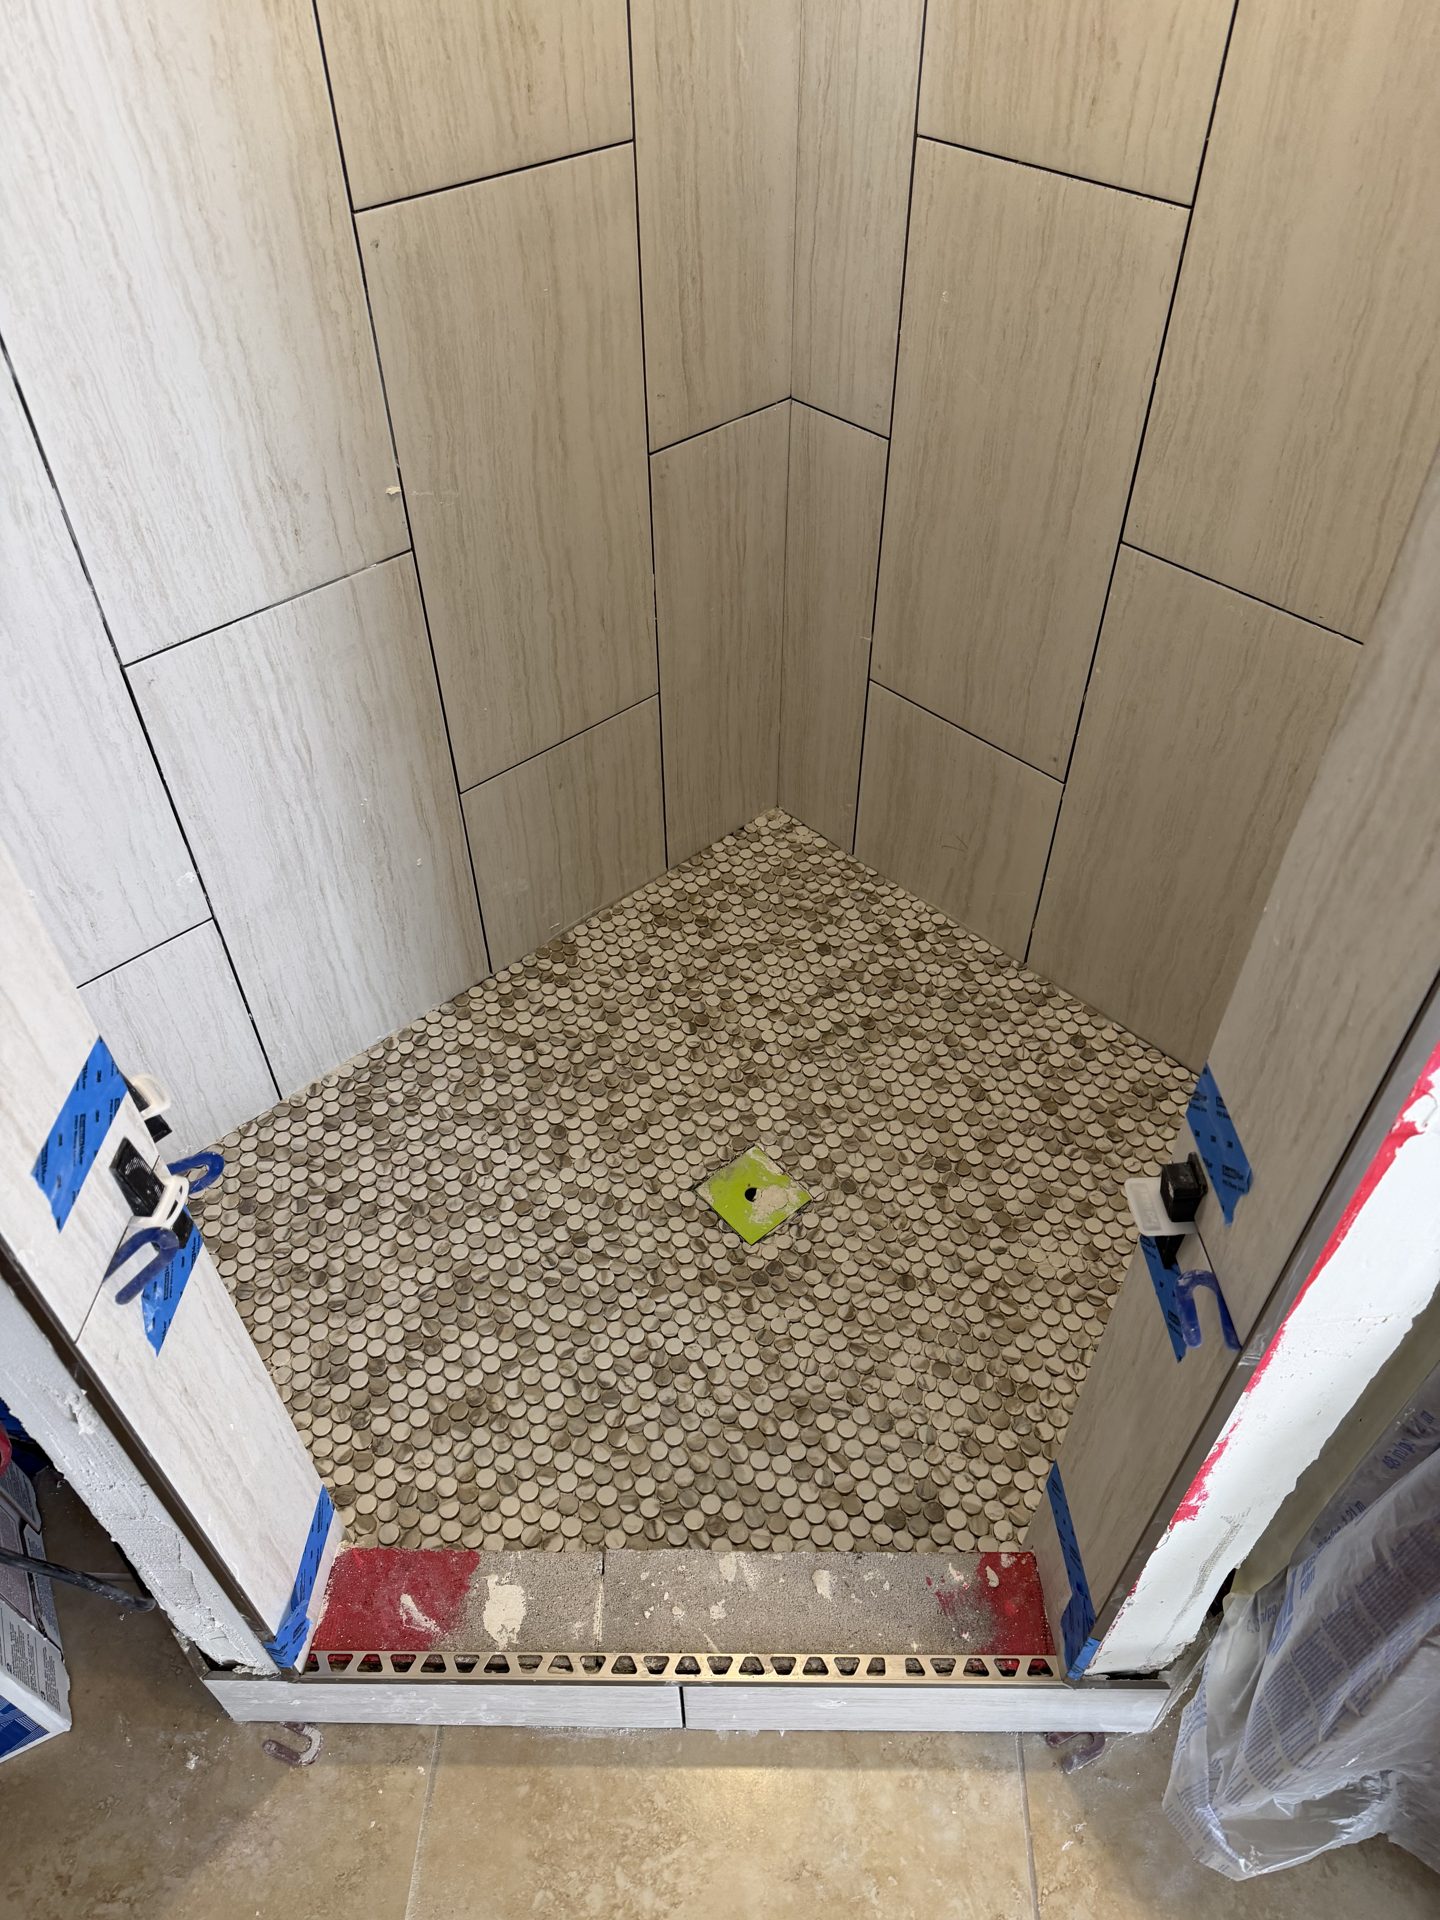
Membranes: three different products, one tested standard
Bids use "crack isolation," "uncoupling" and "anti-fracture" as if they were the same thing. They are not, and only one of them is a standard.
- Crack isolation membrane is tested to ANSI A118.12, which has two levels: standard bridges 1/16 inch of crack movement, high performance bridges 1/8 inch. Both handle in-plane movement only.
- Uncoupling membranes are a different product class. The manufacturers describe them as providing free space that allows in-plane movement between the tile and the substrate, and they do not market them as A118.12 crack isolation.
- "Anti-fracture membrane" is marketing language. There is no industry standard behind the phrase, so it tells you nothing about what is going down.
- Waterproofing is a fourth thing entirely, tested to ANSI A118.10. Some products carry both A118.10 and A118.12 ratings, which is why the honest question is which standard the product meets, not what the box is called.
The limit worth knowing: no membrane in any of these classes handles out-of-plane movement, meaning one side of a crack rising relative to the other, and none of them replaces a movement joint. A live structural crack in a slab is a slab problem. Covering it with a membrane and tiling over it buys a season.
Over a Valley slab this matters because the ground moves on a schedule. Expansive clay swells when it gets water and shrinks when it dries, and in Arcadia and the older flood-irrigated neighborhoods that cycle runs on a delivery calendar. Drip lines and downspouts against the foundation do a smaller version of the same thing everywhere else. That cycle is the mechanism behind slab movement, and slab movement is the mechanism behind cracked grout and lippage that show up years after a floor was set correctly.
One more, for the raised floors
Most Valley houses are slab on grade, so this is a second-story and raised-floor question, and it decides whether tile can go down at all. Tile over framing is rated by deflection: ANSI A108.01 puts the limit for ceramic and porcelain at L/360, meaning the framing may not deflect more than the span divided by 360 under load, and natural stone doubles it to L/720. A floor that felt fine under carpet can still be too springy for tile, and tile set on it cracks in a line over a joist a season or two later. Reading that is carpentry, which is the argument for having someone look at the joists before anyone talks about the finish.
Vinyl plank: the four specs that decide whether it lasts
Rigid-core plank is the default floor in Phoenix now and it deserves the position. It is waterproof at the core, it is quiet and warm compared to tile, it goes over a slab without a mortar bed, and it is the cheapest of the three main materials to install. It also has a much narrower set of rules than most buyers realize, and every one of them is in the manufacturer's install guide that nobody reads.
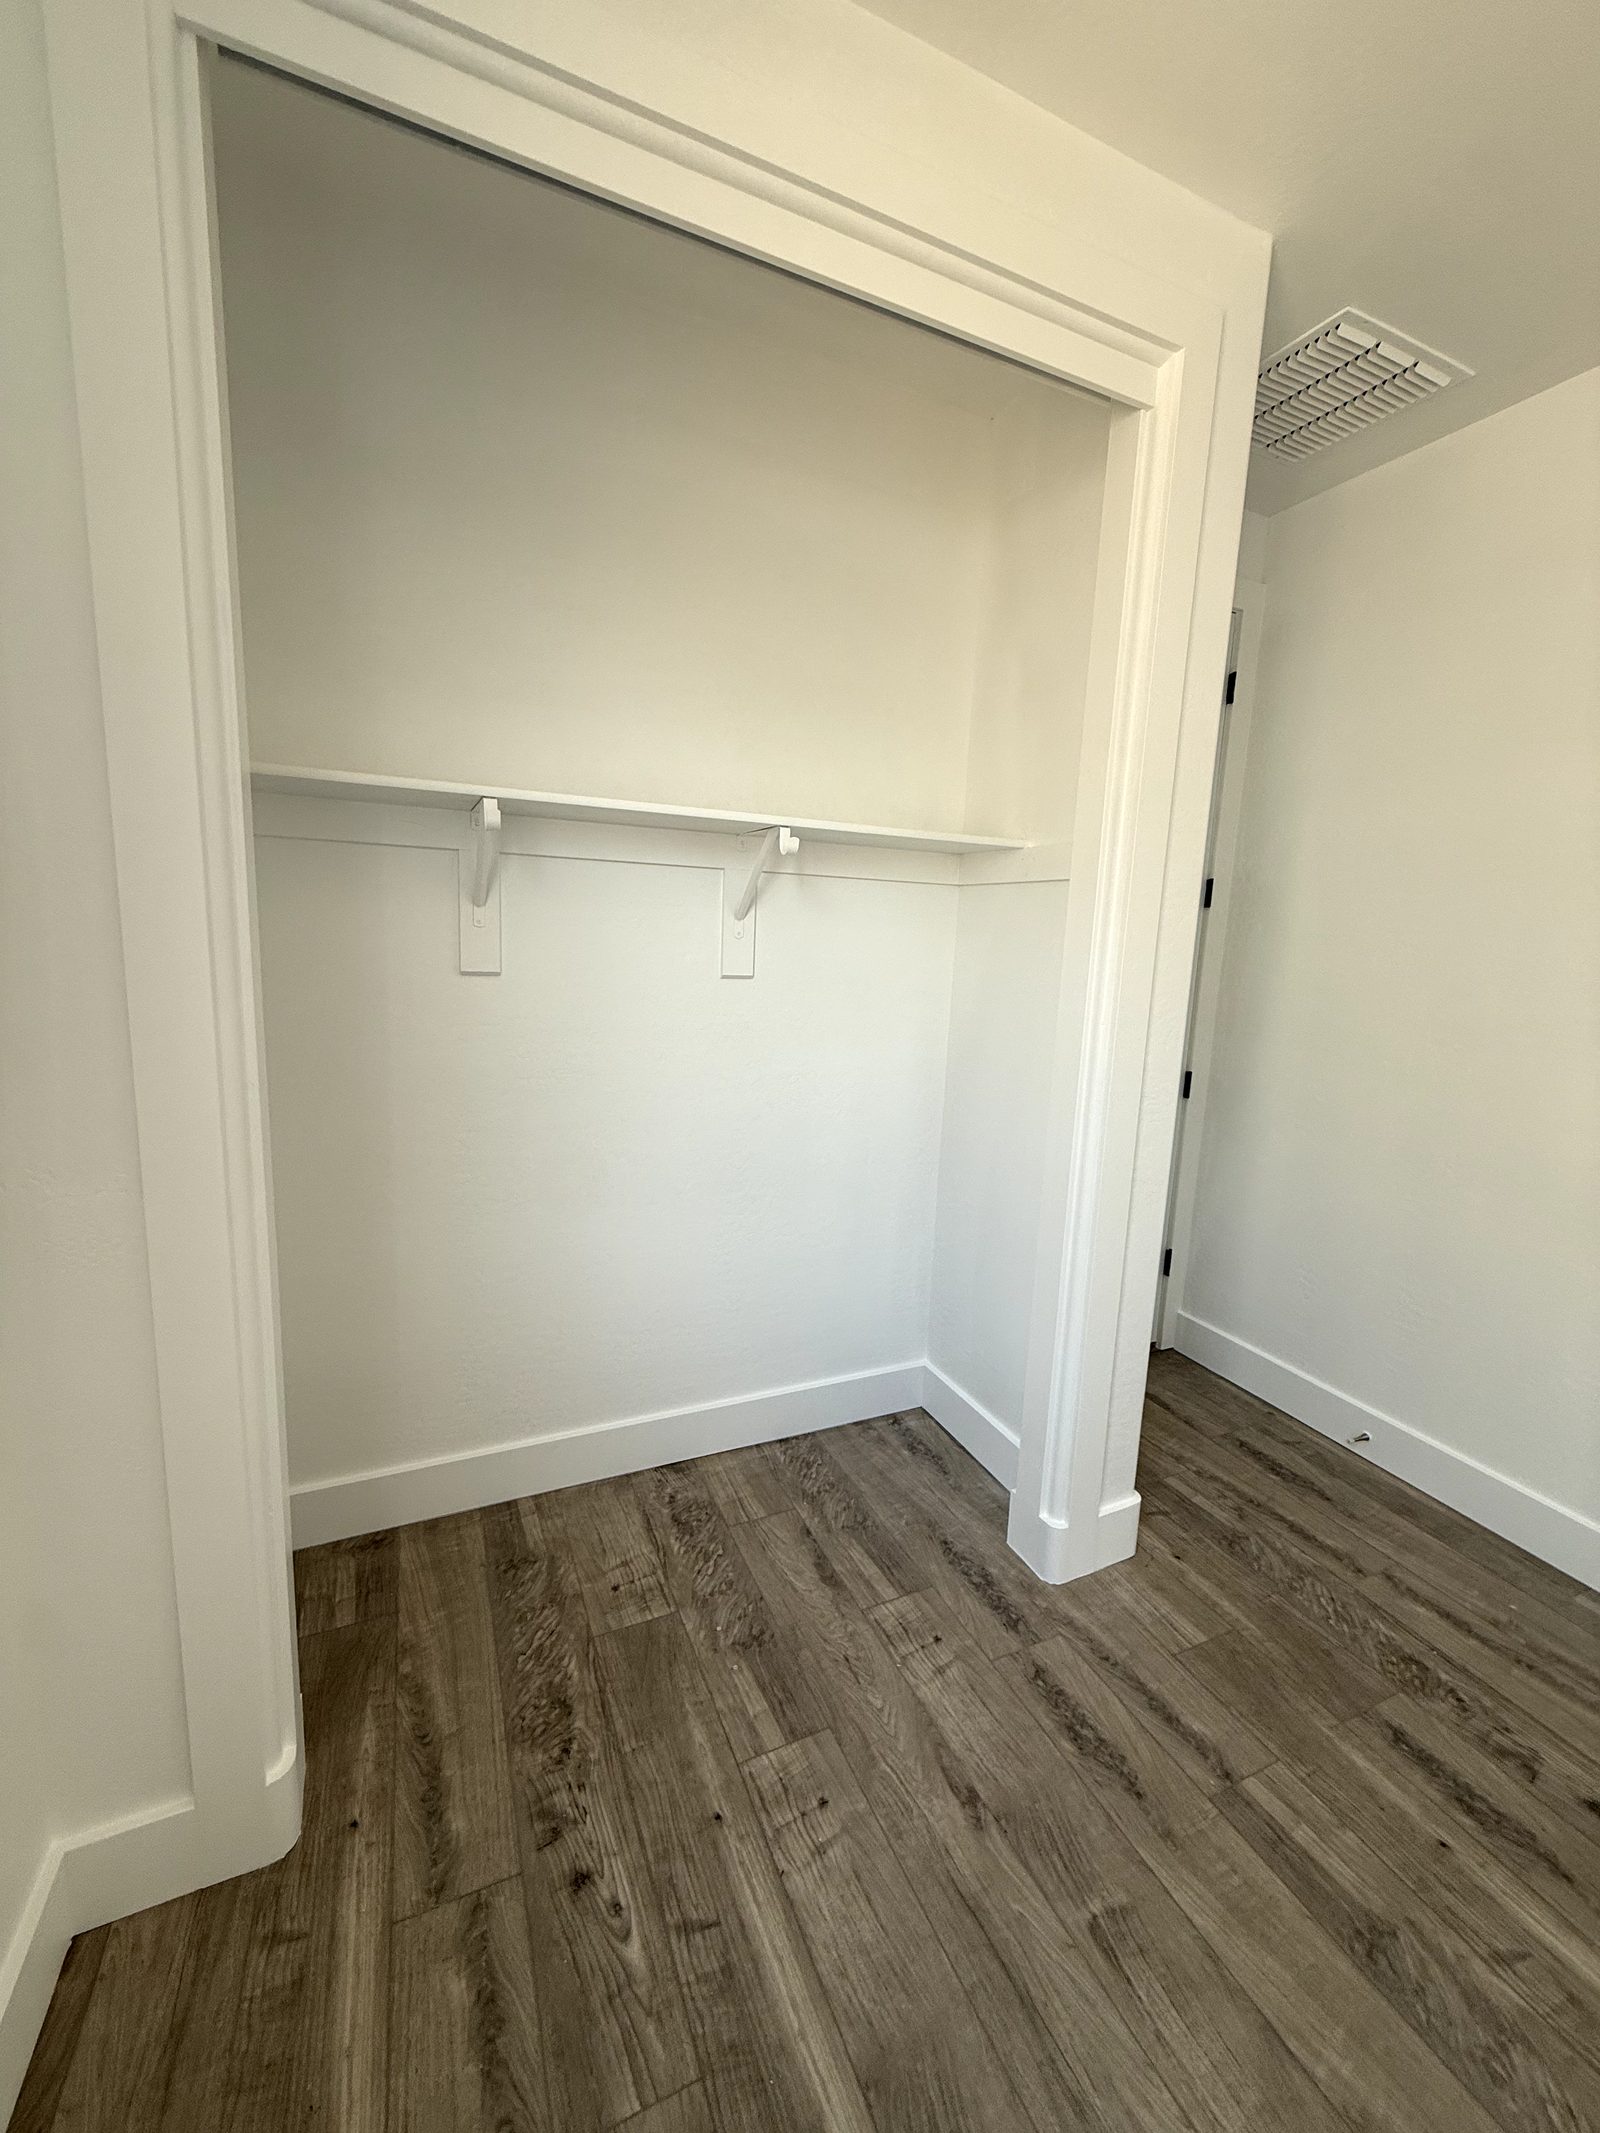
The expansion gap scales with the run, and there is a hard maximum
A floating floor grows and shrinks as a single sheet, so the perimeter gap is not one number. It is a function of how far the floor runs in a straight line.
| Condition | Required gap |
|---|---|
| Run up to 50 feet | 1/4 inch |
| Run of 50 to 85 feet | 1/2 inch |
| Run over 85 feet | Not permitted. The run has to be broken with a transition. |
| Three season room or unconditioned space | 1/2 inch, 30 feet maximum run |
| Heavy furniture at 800 lb or more | Isolated with a T-molding and at least 1/2 inch of gap |
| Floor-to-ceiling glass with direct sun (European guidance for the same product family) | Perimeter gap doubled, from about 1/4 inch to about 1/2 inch, with local glue-down called out as an option |
Different manufacturers reach the same destination by different routes. One publishes the run-length table above. Another sets 1/4 inch under 2,500 square feet and 1/2 inch above it, and its European guide requires an intermediate expansion joint on any single stretch over about 65 feet. The practical takeaway is the same either way: the maximum run before a transition is a per-product number, and an installer who cannot tell you the number for the plank you bought has not read the guide. An open-plan Valley house running plank from the front door through the great room to the back slider passes 50 feet easily, and that is the house where the gap is most often cut at a flat quarter inch throughout.
A floating floor cannot be pinned anywhere
The whole assembly works by moving as one piece, so anything that fastens it to the building defeats it. The install guides say this in plain language: do not secure the flooring or furniture to the subfloor with mechanical fasteners or adhesives, do not install cabinets, kitchen islands or other non-movable furniture on top of the floor covering, and do not anchor wall base or moldings into or through the floor. Where an island has to sit on the floor, that area gets fully adhered to the slab, including two feet beyond the cabinet run.
Two details that go with it. Door jambs and casings get undercut to the plank thickness plus 1/64 inch, so the floor slides under the trim instead of butting into it. End joints get staggered at least 8 inches and never stair-stepped, which is a pattern rule and a strength rule at once. And shoe molding or quarter round, if it is used, gets fastened to the wall or the baseboard, never down through the floor. Nailing shoe through a floating floor pins it just as effectively as a cabinet does.
The temperature window, and the summer trap
Rigid core plank has a service range and an install range, and they are not the same number. Manufacturers put post-installation ambient room temperature at roughly 55 to 85 degrees, held, and the optimal operating range at 40 to 90 degrees, with a caution against prolonged exposure to direct sunlight or heat sources that push the surface over 90.
Then the trap, which is written into the install guides and is specific to houses like ours: when installing above 80 degrees, the expansion gap gets larger as the floor cools. Put plank down in a closed-up Phoenix house in July with the air conditioning off, cut a textbook quarter inch gap, then turn the AC on. The floor contracts, the gap you cut opens wider, and end joints separate across the room. The install ceiling in the guides is 80 degrees for exactly this reason. So running the AC and letting the house hold temperature before and during the install is part of the written spec, not a courtesy the crew extends when it feels like it.
The same clause is why an empty snowbird house or a vacant rental with the power off is a warranty problem and not just a comfort one. A Chandler mobile home measured 102 degrees indoors after its AC failed. That is outside the stated condition for the floor, not merely uncomfortable.
Correcting the record on plank and Arizona heat
Nearly every flooring page in this market sells vinyl plank as the material that shrugs off Arizona heat, and at least one says outright that it has superior durability against the heat that damages other materials, and that it stays cool underfoot. Both claims are backwards.
Vinyl is the most thermally reactive of the common floor coverings. It expands and contracts with temperature more than tile, stone or wood, manufacturers cap the service temperature, and sun and heat damage is a standard warranty exclusion. The same company making the heat claim says on its own blog that luxury vinyl expands when installed in direct sunlight or high indoor temperatures. As for cool underfoot, tile and stone pull heat out of your foot because they conduct it away; vinyl over a slab insulates and reads warmer. That is why the same pages that call plank cool also call tile cool three paragraphs later.
What that means for your house is narrow and practical. Plank is a good floor for a normal air-conditioned Valley home and it is what we run through most of them. It is the specific room with big west or south glass and hours of direct sun on the floor where it needs help: a wider gap, the run broken with a transition, blinds or a sun screen on the glass, or that area glued down instead of floated. We would rather say which room than sell you one material for the whole house on a slogan. If the glass is the real problem, sun screens or window film fix it at the source.
Wear layer is a thickness, and it is not the number on the box
Three different numbers get quoted as if they were one, and salespeople conflate them constantly. Overall plank thickness is ASTM F387 and includes any attached pad. Wear layer thickness is ASTM F410 and is the clear layer on top, measured in mils. A representative residential rigid core plank is 5.2 mm overall with a 1.0 mm attached pad and a 20 mil, which is 0.5 mm, wear layer. Those are three unrelated figures.
Thicker plank is stiffer and feels more solid underfoot. It is not more durable at the surface. An 8 mm plank with a 6 mil wear layer will wear through before a 5 mm plank with a 20 mil wear layer, every time. And mils alone is not the whole story either, because it is a thickness and not a hardness: two 20 mil floors with different topcoat chemistry scratch differently. The rest of the tested spec set on a rigid core product is F3261 for the product class, F1914 for residual indentation, F970 for static load, F1514 for heat resistance, F1515 for light resistance, and D2047 for slip. Ask for the tested properties rather than the mil count on its own.
The Phoenix-specific wear question is grit. Tracked-in silica sand is harder than the topcoat, and it gouges wear layers the way sandpaper would. That is what ages a plank floor here, not heels and not dog nails, which is an argument for a real entry mat and a broom more than for a thicker plank.
Two things people add that make the floor worse
Underlayment pad stacked under a pad-attached plank is the first one. Where the product has an attached pad, an additional underlayment is not recommended; European guidance for the same product family allows at most 3 mm at a density of 300 kg per cubic meter, and crumb rubber is prohibited outright on chemical incompatibility grounds. What extra padding buys is deflection, and deflection is what works click joints loose. A springy, clicking floor with joints that separate is usually this.
The second is acclimation theater. Rigid core is not the old vinyl: manufacturers now state that acclimatization is not required. What is real is the temperature window, 55 to 85 degrees before, during and after, with 80 as the install ceiling. Staging boxes in a hot garage for 72 hours does nothing useful; running the house at temperature does.
Wood in a Phoenix house, honestly
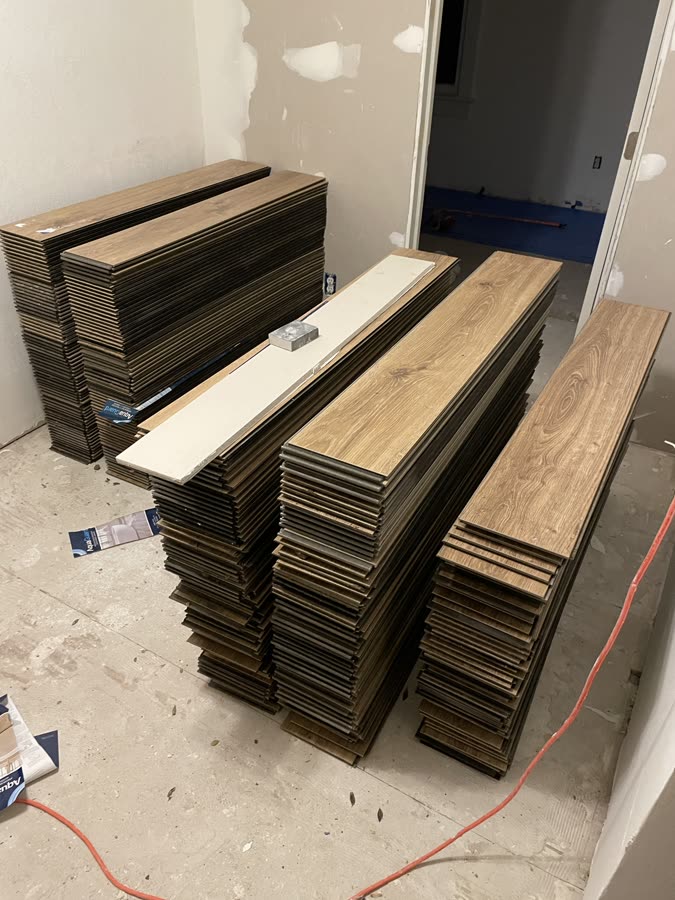
The National Wood Flooring Association puts the service conditions for wood flooring at 60 to 80 degrees and 30 to 50 percent relative humidity, maintained year round. Phoenix runs an annual mean relative humidity around 31 percent, and June averages roughly 17 to 19 percent. Indoor humidity in a cooled house tracks lower still.
That is not a small mismatch, and the consequence is contractual as well as physical: wood flooring manufacturers treat out-of-range humidity as an environmental condition rather than a manufacturing defect, which means the gapping and cupping it produces is not covered. Solid hardwood in most Valley homes is a bad bet, and a post-tensioned slab rules out nailing it down anyway.
Engineered wood is more dimensionally stable, because the plywood core cross-bands the movement, and it can be glued down over a slab. It still moves with humidity, and the local sales pitch that engineered is the answer to Arizona's "fluctuating temperatures" points at the wrong variable. Temperature is not what moves wood. Relative humidity is.
One more claim worth checking before you buy an engineered floor on it: that hardwood can always be brought back with a sand and refinish. That is true of solid wood and of engineered with a thick wear layer, realistically 3 mm or more. Most engineered sold at a mid-market price point has a 0.6 to 2 mm veneer that cannot take a full sand and refinish, and factory aluminum oxide finishes do not cut uniformly either. Ask for the veneer thickness in millimeters before anyone tells you the floor can be refinished later.
Tearing out old tile is a silica job, not a demolition job
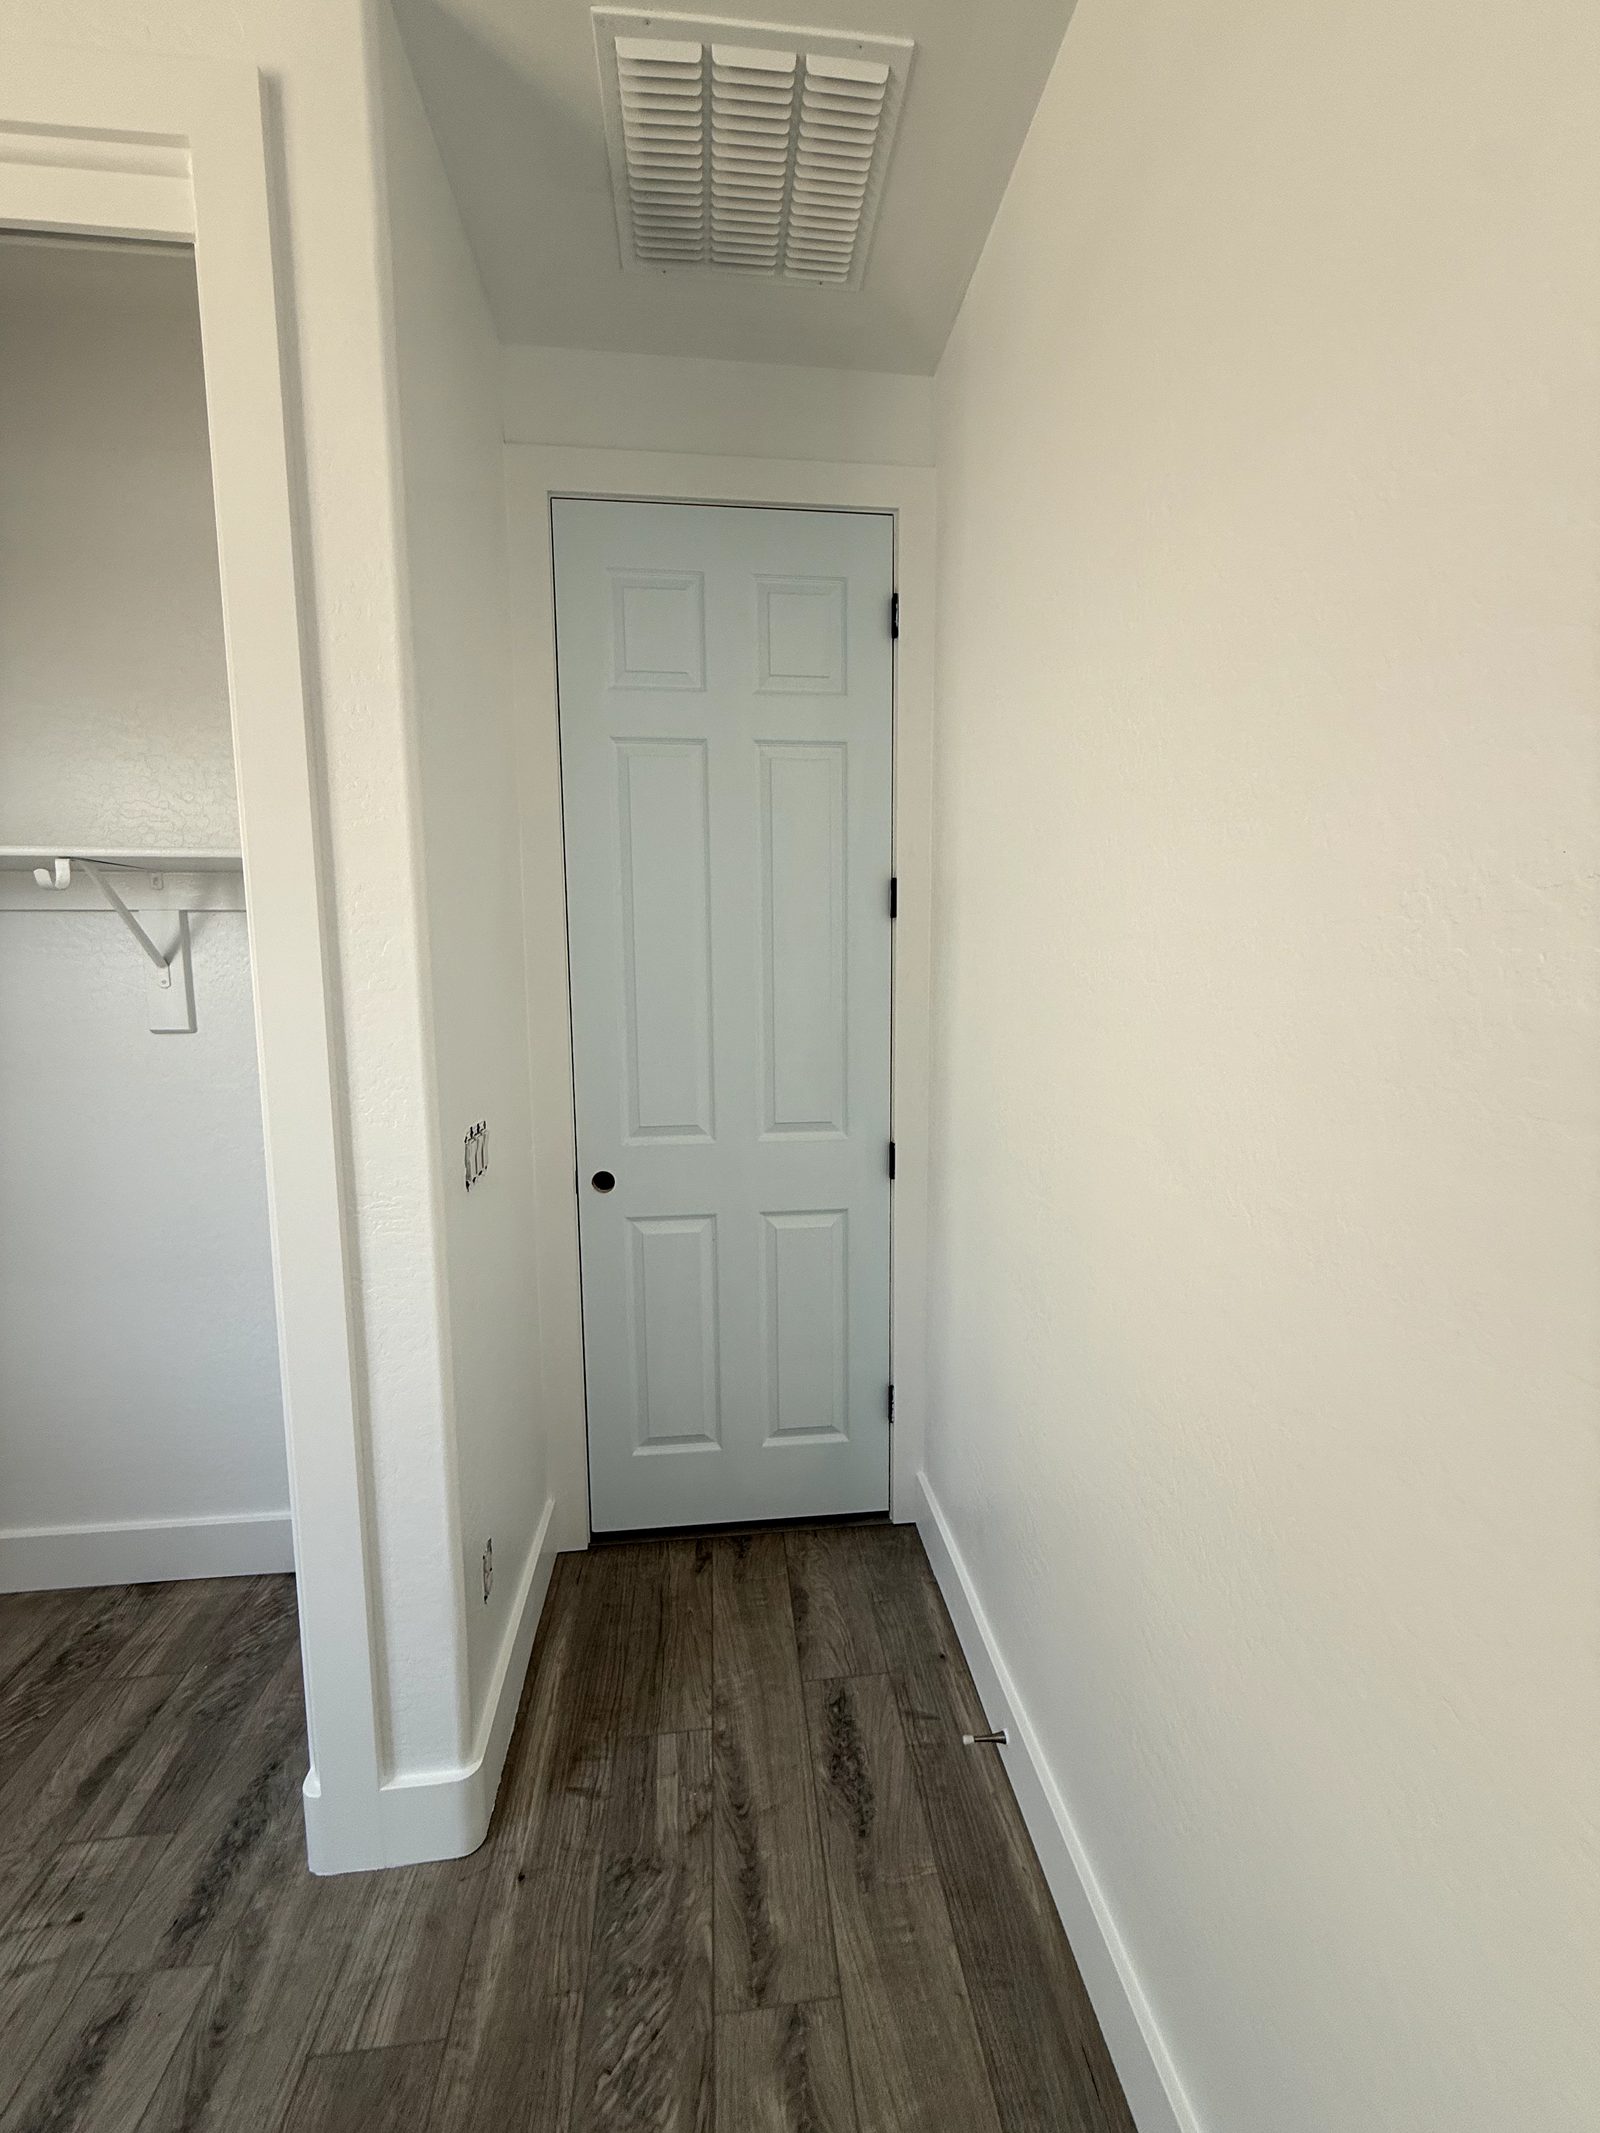
Because there is no plywood under the tile here, tear-out means breaking bonded thinset off concrete. That puts it squarely inside OSHA's respirable crystalline silica standard for construction, 29 CFR 1926.1153, with a permissible exposure limit of 50 micrograms per cubic meter averaged over eight hours. The Table 1 control for handheld demolition hammers and chipping tools is continuous water at the point of impact, or a shroud with vacuum dust collection, plus exhaust to keep visible dust from moving through the house.
Locally this gets marketed as "dustless tile removal," which is a useful service and a slightly generous word. It is dust contained: a shroud on the grinder or chipper, HEPA extraction, negative air, and plastic containment at the doorways. Some dust always escapes. A crew that explains the containment honestly is a better sign than a crew that brands it.
It is also why the pricing works out the way it does. Tile tear-out is the one line on a flooring estimate that does not get cheaper per square foot as the job gets bigger, because it is a fixed grind on every foot of floor. And it is the honest reason that, in Phoenix specifically, going over existing tile with plank is often the better purchase rather than a shortcut. That has its own conditions and its own page: whether vinyl plank can go over your tile walks the tap test, the grout-line fill rule and the height check.
How a floor job runs
The order is not negotiable and most of it happens before anything decorative shows up.
-
Straightedge and readings
Ten foot straightedge across the room in both directions before quoting, plus a moisture screen on the slab and a look for a post-tension stamp. This is where the estimate gets its numbers.
Estimate visit -
Protect, demo, haul
Containment at the doorways, furniture out, old covering off. Tile comes up with water or a shrouded vacuum, thinset ground back to concrete, debris hauled the same day.
1 to 2 days -
Open the floor, then re-read it
The bare slab or deck gets checked again, because a straightedge over carpet is an estimate and a straightedge on concrete is a fact. Any wood-deck damage gets found here.
Same day -
Grind, prime, pour
Highs ground off, the slab vacuumed and primed, self-leveling underlayment poured where the room needs it. Then it cures before anything bonds to it.
1 day plus cure -
Lay out dry, then set
Layout dry-set first so cut tiles land where nobody looks and full tiles land in the doorway. Then set, with movement joints where the standard puts them.
1 to 3 days -
Grout, trim, hand over
Grout after the mortar has had its day, soft joints at the perimeter, then baseboard, shoe, transitions and doors rehung to the new height.
1 to 2 days
Plank compresses steps 5 and 6 into one day for a normal room and you walk on it that evening. Tile does not: the mortar wants about a day before grout and the grout wants its own cure before traffic, which is why tiled rooms go first when a job has both, and why a tiled room stays closed a day or two longer than a planked one.
What a cheap bid left out, and what you see later
Every row here is a step with a published number behind it. The reason they get skipped is that none of them are visible on the last day of the job.
| What the homeowner sees | The step that got skipped | The number behind it |
|---|---|---|
| A grid of cracked grout across a sunny great room, year two to four | No field movement joint in a room that takes direct sun | EJ171: 12 feet maximum in sun-exposed interiors, both directions |
| A row of tile tenting and popping loose at a wall | No perimeter joint; tile grouted hard to the wall | Perimeter and field movement joints are required, not optional |
| Lippage you catch with a bare foot on 12 by 24 tile | Substrate never brought to large-format tolerance, or floated out in the thinset | 1/8 inch in 10 feet and 1/16 inch in 24 inches; thinset is not a leveling agent |
| Lippage on wood-look plank tile laid brick style | 50 percent offset used on tile with a side over 15 inches | ANSI A108.02: 33 percent cap without an approved mock-up |
| Hollow-sounding tiles, corners chipping out | Coverage under the minimum, no back-buttering on large tile | ANSI A108.5: 80 percent dry areas, 95 percent wet and exterior, distributed |
| Glue-down floor releasing or bubbling, a smell in the room | No in-situ RH test, or a surface test only, or a burnished slab never opened | F2170: 3 holes per 1,000 sq ft at 40 percent depth, 24 hour equilibration; F3191 droplet check |
| Peaked seams and buckling plank in July | Gap cut too small for the run, or the floor pinned at a threshold | 1/4 inch to 50 feet, 1/2 inch from 50 to 85, no run over 85 feet |
| Click joints walking apart at the kitchen island | Floating floor run under a fixed cabinet | Cabinets and islands may not sit on a floating floor; that area gets fully adhered plus 2 feet |
| End joints gapping open once the AC comes on | Installed above 80 degrees in a closed-up house | Install and hold at 55 to 85 degrees; above 80 the gap grows as the floor cools |
| A faded, softened strip of plank along the slider | Sun exposure treated as a cosmetic preference | Operating range 40 to 90 degrees; sun damage is a warranty exclusion |
| A springy, noisy floor with joints loosening | Extra acoustic pad stacked under a pad-attached plank | Additional underlayment not recommended on attached-pad product; crumb rubber prohibited |
| Grout lines telegraphing through plank laid over old tile | Grout joints not filled before the plank went down | Fill joints over 1/8 inch wide or deep; over ceramic, over 1/4 inch |
Things said about floors in Phoenix that are not true
Most of these come from national content with "Phoenix" find-and-replaced into it, and a few come from local pages that should know better.
| The claim | What is actually the case |
|---|---|
| "It is Arizona, it is dry, slabs do not have moisture problems." | The soil under a slab is near saturation everywhere. Vapor drive follows the humidity gradient, not the weather report, and plenty of older Valley slabs have no vapor retarder under them. |
| "Waterproof plank means slab moisture does not matter." | The core is waterproof; the assembly is not. Manufacturers warn that excessive subfloor moisture trapped under the covering promotes mold and mildew, and they publish a moisture ceiling for exactly that reason. |
| "Bigger tile means less prep, because there are fewer grout lines." | Exactly backwards. The flatness tolerance tightens from 1/4 inch in 10 feet to 1/8 inch in 10 feet the moment any edge reaches 15 inches. |
| "An out-of-flat slab is only good for carpet." | A false choice. Grinding the highs and pouring self-leveling underlayment is routine flooring work, and it is a line item, not a disqualification. |
| "Vinyl plank is the material that handles Arizona heat best." | Vinyl is the most thermally reactive covering on the list, manufacturers cap its service temperature, and sun damage is a warranty exclusion. Porcelain is the heat-stable choice. |
| "Vinyl plank stays cool underfoot in summer." | Tile and stone conduct heat away from your foot and read cool. Vinyl over a slab insulates and reads warmer. Pages that claim both are selling two materials on the same property. |
| "Engineered wood is built for our fluctuating temperatures." | Half right, wrong variable. Engineered is more stable than solid, but what moves wood here is relative humidity, and Phoenix sits well below the 30 to 50 percent most warranties require. |
| "Hardwood can always be brought back with a sand and refinish." | Only solid wood, or engineered with a thick enough veneer. Most mid-market engineered carries 0.6 to 2 mm, which will sand through. |
| "Thicker plank is more durable." | Overall thickness is stiffness and feel. Surface durability is the wear layer, plus indentation and static load. A thick plank with a thin wear layer wears through first. |
| "Anti-fracture membrane will stop the crack coming through." | "Anti-fracture" is not an industry term. The tested standard is ANSI A118.12, it handles in-plane movement of 1/16 or 1/8 inch, and nothing in that class handles a slab moving out of plane. |
| "Tape a plastic sheet down overnight to check for slab moisture." | ASTM D4263 is positive-only. Condensation proves the slab is wet; a dry sheet proves nothing, because it reads the surface. |
| "One month of drying per inch of slab." | A rule of thumb, not a spec, and unreliable. Water-cement ratio, aggregate, ventilation and ambient conditions dominate. Test, do not count days. |
| "We will level the floor." | Level and flat are different specifications. Every published tolerance is flatness, measured under a straightedge. |
| "Movement joints are a commercial thing." | EJ171 makes no residential exemption. It assumes a design professional locates the joints on the drawings, and residential jobs have no design professional, which is precisely why they get left out. |
| "Add a pad under the plank, it will be quieter." | On pad-attached rigid core, extra underlayment is not recommended, and crumb rubber is prohibited. Excess deflection is what works the click joints loose. |
| "Rigid core needs 48 to 72 hours of acclimation." | Largely obsolete. Manufacturers state acclimatization is not required. The real requirement is the 55 to 85 degree window, held before, during and after. |
Flooring Installation Price Chart, Phoenix 2026
Every row names its unit, because that is where flooring quotes go wrong. A labor-only rate and an installed rate are not comparable numbers, and mixing them line to line is the reason no homeowner can act on most published cost tables. Tear-out and set labor are separate lines here rather than a single blended rate, which is also how they should appear on any bid you are holding.
| Line item | Price | What drives it |
|---|---|---|
| Tile tear-out and haul-off, ceramic or porcelain on slab | $3.25-$4.50 per sq ft | Dust control, thinset ground back to concrete, debris hauled. This is the one line that does not get cheaper on a big floor, because it is a fixed grind on every foot. Anything advertised under $3 is generally not containing the silica. |
| Tile tear-out, travertine, saltillo, stone or a mortar bed | $5-$7+ per sq ft | Thicker, softer, and set in a full mud bed rather than thinset, so there is more material to break out and more of it to haul. |
| Carpet, pad and tack strip tear-out and haul-off | $0.50-$1.50 per sq ft | The cheap end of demo. Nailed or stapled carpet sits at the top of the range; a glue-down pad on a slab pushes past it because the residue has to come off. |
| Tile setting labor, straight lay, on a prepared floor | $7.25-$9.25 per sq ft, labor | Labor only, on a floor already flat and clean. Small wet rooms cost more per foot than open floors because nearly every tile is a cut tile. Demo, leveling and membrane are their own lines. |
| Pattern uplift on tile: diagonal, herringbone, chevron | add about 17% on setting labor | More cuts, more layout, slower going. Plan on roughly 30 percent material waste instead of the usual 10 to 15, which is a material line rather than a labor one. |
| Tile installed, labor plus mid-range material | $10.50-$14 per sq ft, installed | Setting labor plus tile in the $1.70 to $3 per square foot range with waste, plus the mortar, grout, membrane and sundries that go under and between it. Those setting materials are the piece homeowners leave out when they add up their own number and wonder why the bid is higher. Designer tile, natural stone and large slabs run above this band on the material side alone. |
| Vinyl plank installation labor, floating | $3-$5 per sq ft, labor | Room geometry more than area. Doorways, closets and hallways mean cuts and transitions; a big open room installs faster per foot. The bottom of this range belongs to large open runs. |
| Vinyl plank installed, labor plus material | $4.50-$9.50 per sq ft, installed | Material is what moves this band. Rigid core at 20 mil runs roughly $2 per square foot locally, and the wider boards with heavier wear layers push up around $4.50. Against the labor rate above, a 20 mil floor lands nearer $5 to $9.50 installed, so a quote sitting at the very bottom of the band is thinner plank, usually 12 mil. Ask which wear layer is inside the number. |
| Laminate installed | $4-$10 per sq ft, installed | Cheaper than plank at the bottom and overlapping it at the top. It is not waterproof, which is the reason we steer most Valley kitchens and baths to plank or tile instead. |
| Engineered wood installed | $10-$18 per sq ft, installed | The widest band on this chart, and veneer thickness is why. A 0.6 mm wear layer and a 4 mm wear layer are the same product category at very different prices. Glue-down over a slab, since nailing is off the table on post-tension. |
| Stairs, tread and riser with a stair nose | $60-$120 per step | Every step is a separate glued assembly with its own cuts, which is why stairs are priced per step and not by the foot. Run the band against a normal flight and 12 to 16 steps lands around $720 to $1,920 in stair labor. A landing at the top is floor area and is priced on its own. |
| Floor flattening and leveling | $0.50-$6 per sq ft, by condition | Grinding a few high spots is the bottom. A primed self-leveling pour across a room is the top, and the material alone runs $1 to $1.80 per square foot at a quarter inch before anyone is paid to spread it. Large format tile is the finish most likely to demand the pour. |
| Structural subfloor repair on a raised floor | $3-$10 per sq ft, room scale | How far the water traveled. A small cut-out patch runs higher per foot, $8 to $15, because mobilization lands on a few square feet. Sistering a joist runs $150 to $325; replacing one runs $350 to $1,000. We price it once the floor is open, not before, and never on the last invoice. |
| Baseboard, installed and painted, on stock you supply | $3-$6 per linear ft | Labor and paint. If we supply the material as well, add roughly $0.80 to $2.50 per linear foot for MDF, more for solid. Height and profile change the number more than length does. |
| Transition and reducer strips | $1.75-$3 per linear ft, material | Set on the same visit, so there is no separate labor line. Where two floors meet at different heights the transition is doing structural work, not covering a gap. |
| Stair nose and bullnose molding | $25-$45 per 48 inch piece | Roughly $6.25 to $11.25 per linear foot, so it is several times the cost of a plain reducer and it is one piece per step. On a full flight this is the material line that surprises people, which is why it is worth pricing before you decide who supplies the plank. |
| Underlayment or vapor barrier, only where the plank has no attached pad | $0.30-$0.85 and $0.15-$0.40 per sq ft | Most rigid core comes with an attached pad and needs neither. If a bid has both an attached-pad plank and an underlayment line, ask why. |
| Toilet pulled and reset around the new floor | $175 each | New wax ring and bolts, reset on the existing flange to the finished height, which is work incidental to the floor. A flange that has to be raised, replaced or moved, or an angle stop that lets go, is plumbing and gets priced on its own line. Tiling around a toilet instead of under it is the shortcut that shows. |
| Small job minimum | $600 per visit | Travel, setup, protection and haul-off cost the same for a closet as for a bedroom. Adding the next room to the same visit spreads that across more square feet, which is the cheapest square footage on the job. |
The per-step and per-square-foot side of plank, including a paid July 2026 Phoenix job we price the stair rows against, is broken down on the vinyl plank cost page. The rates in both charts are the same rates.
What a whole house looks like
Running the plank rows against 1,000 square feet, which is a typical Valley single-story living area without the bedrooms: $3,000 to $5,000 in labor, or $4,500 to $9,500 installed with material. That is the same arithmetic other Phoenix installers publish for the same area, so a bid well under it is either thin plank or a scope with the demo and the prep left out of it. Tile over the same floor is a different job because of the tear-out and the flatness work, which is why demo and leveling are separate lines above rather than folded into one rate.
What is not in a square-foot rate
These are the exclusions that turn a low bid into a change order, and they should be visible on any estimate you sign:
- Tear-out and haul-off of the old floor, priced by what is coming out
- Furniture moving, and anything heavy, fragile or bolted down
- Floor flattening, grinding and self-leveling underlayment
- Slab moisture testing, and mitigation if the reading calls for it
- Crack isolation or waterproof membrane where the slab or the room needs one
- Baseboard removal and reinstallation, or new baseboard, and the paint that follows
- Stairs, priced per step, and stair nose material
- Transitions, reducers and thresholds
- Toilets pulled and reset, and appliances disconnected and moved
- Door undercutting and rehanging where the new floor sits higher
- Structural repair to a raised floor, which cannot be sized until the covering is off
How to compare two flooring bids in four questions
Price per square foot is not comparable between two bids unless you know what is inside it. These four answers sort the field faster than the numbers do.
- Is that labor or installed? The single most useful question on this page. A $9 labor rate and a $9 installed rate are wildly different offers, and most published Phoenix cost tables mix the two units row to row without saying so.
- What did the slab read, and will I get it in writing? Ask which test, what the number was, and what the flooring you picked is rated to. An installer who has not tested cannot tell you whether your assembly is inside its limit.
- What is the flatness tolerance for my tile, and how are you getting there? The answer should name a number and a method: grinding, self-leveling underlayment, or both. "We will float it out" is the wrong answer.
- Where do the movement joints go, and what is the maximum run for my plank? For tile in a sunny room the answer is a spacing. For plank it is a run length off the manufacturer's guide. Both answers exist; a bidder who has read the documents has them.
Ask all four of us too. We would rather answer them than have you find out later.
Why the surprise on a floor job is never the finish
Everything on the chart above can be measured before we start except one thing. Square footage, doorways, what is coming out, how flat the floor reads under a straightedge: all of that is knowable on the estimate visit. Water damage in a raised floor is not. A slow dishwasher leak or a worn threshold seal soaks sheathing for years and shows up as nothing at all until the covering is off it.
That is what happened on a Chandler job of ours. The homeowner called about tired-looking floors and mentioned some give underfoot in one spot. Under the old covering, a section of subfloor had taken on water and gone soft. We cut the bad wood out back to solid framing, checked the joists, rebuilt and leveled the base, then laid waterproof rigid-core plank over it. None of that repair shows in the finished room, and it was about half the job.
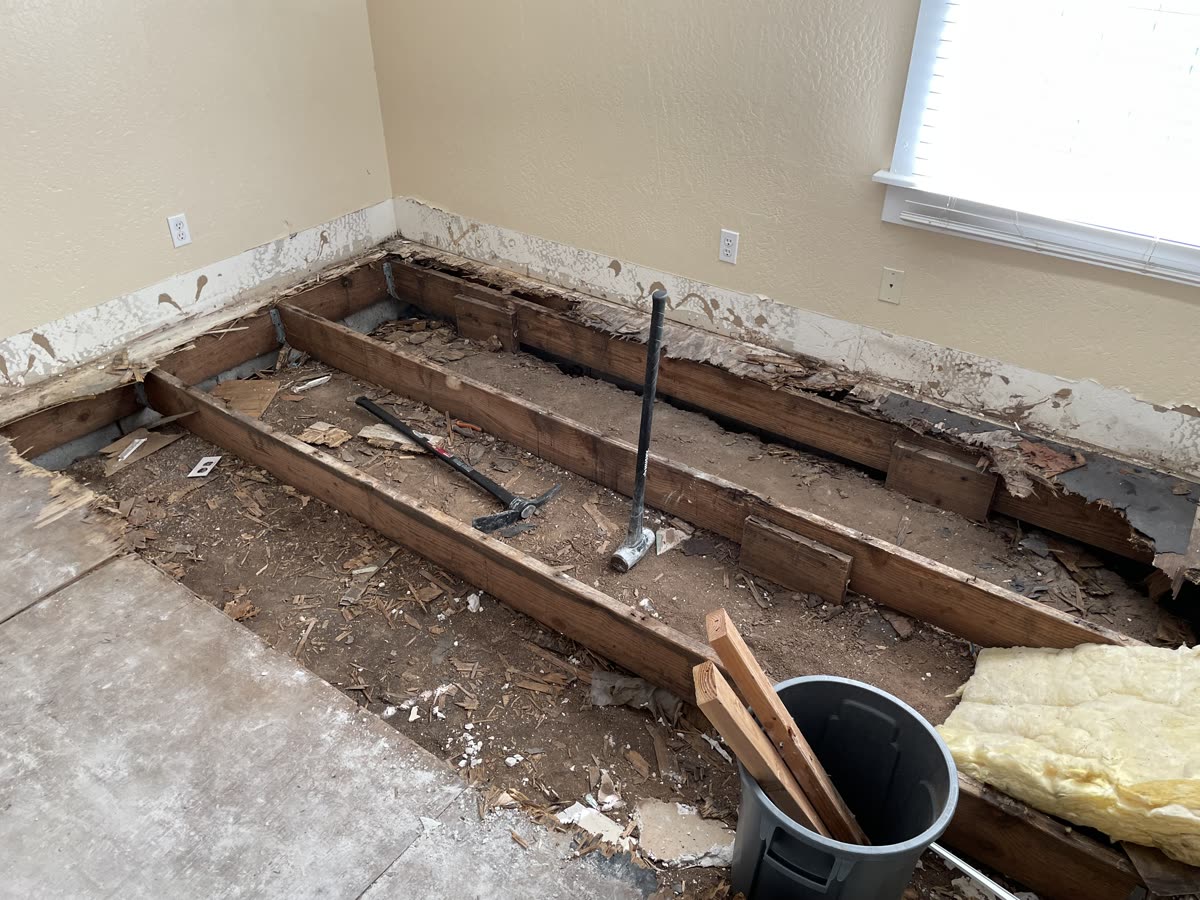
A floor warns you before it fails, and none of the signs need a tool. A spot that gives when you put your weight on one heel. Dark staining or swelling at the base of a dishwasher, a toilet, a tub skirt or an exterior threshold. A bounce or a squeak in one area the rest of the floor does not have. Grout cracking in a line rather than at a point. Plank seams that have opened or lifted at the edges. A musty smell in a closed room that does not clear once the AC runs. Any of those is worth mentioning when you call, because it changes what we look for on the walk.
One contractor for the demo, the slab, the floor and the trim
Every flooring specialist and flooring store in this market can lay a floor. What they cannot do is the work on either side of it. When the deck under a second-story bathroom is soft, that is framing. When a wall needs to move before the tile layout works, that is structural. When the baseboards come off and the drywall behind them is chewed up, that is drywall and paint. A flooring company hands those back to you as three more contractors to find and schedule, in the middle of a job with your furniture in the garage.
Our Class B license covers the whole sequence: demo, structural and framing repair, the slab prep, the floor, then drywall and texture and the trim and paint that close it out. One contract, one schedule, one number to call, and no gap where a trade points at another trade. On a job where the floor turns out to be the small part, that is the difference between a two week project and a two month one.
Do you need a licensed contractor to install flooring in Arizona?
Not for a small one. Yes for a real one. Arizona's handyman exemption, A.R.S. 32-1121, is narrower than most people are told: the job has to be minor in nature, it has to need no building permit, and the whole thing including labor and materials has to come in under $1,000. Add tear-out, haul-off and material to any real floor and it is outside all three. The exemption is about the size of the job, not about which layer of it you are touching. Structural subfloor repair is carpentry and is nobody's idea of handyman work. Norem Contracting is a licensed Arizona Class B general contractor, ROC #365090, licensed, bonded and insured, which puts the demo, the carpentry, the leveling and the finish floor on one contract under one license number. Ask us for it and look it up on the ROC site; we would rather you did.
That license also comes with a written standard behind it. Arizona's workmanship rule, A.A.C. R4-9-108, measures the work against the manufacturer's instructions and industry standards, with the Registrar of Contractors as recourse, which is exactly what an unlicensed installer cannot offer you. Notice what that rule points at: the manufacturer's instructions and the industry standards are the same documents this page has been quoting. On permits, Phoenix treats floor covering as exempt finish work and the surrounding Valley cities generally follow. Structural repair can be a different answer, and we confirm for your city either way.
What else should ride along while the floor is out?
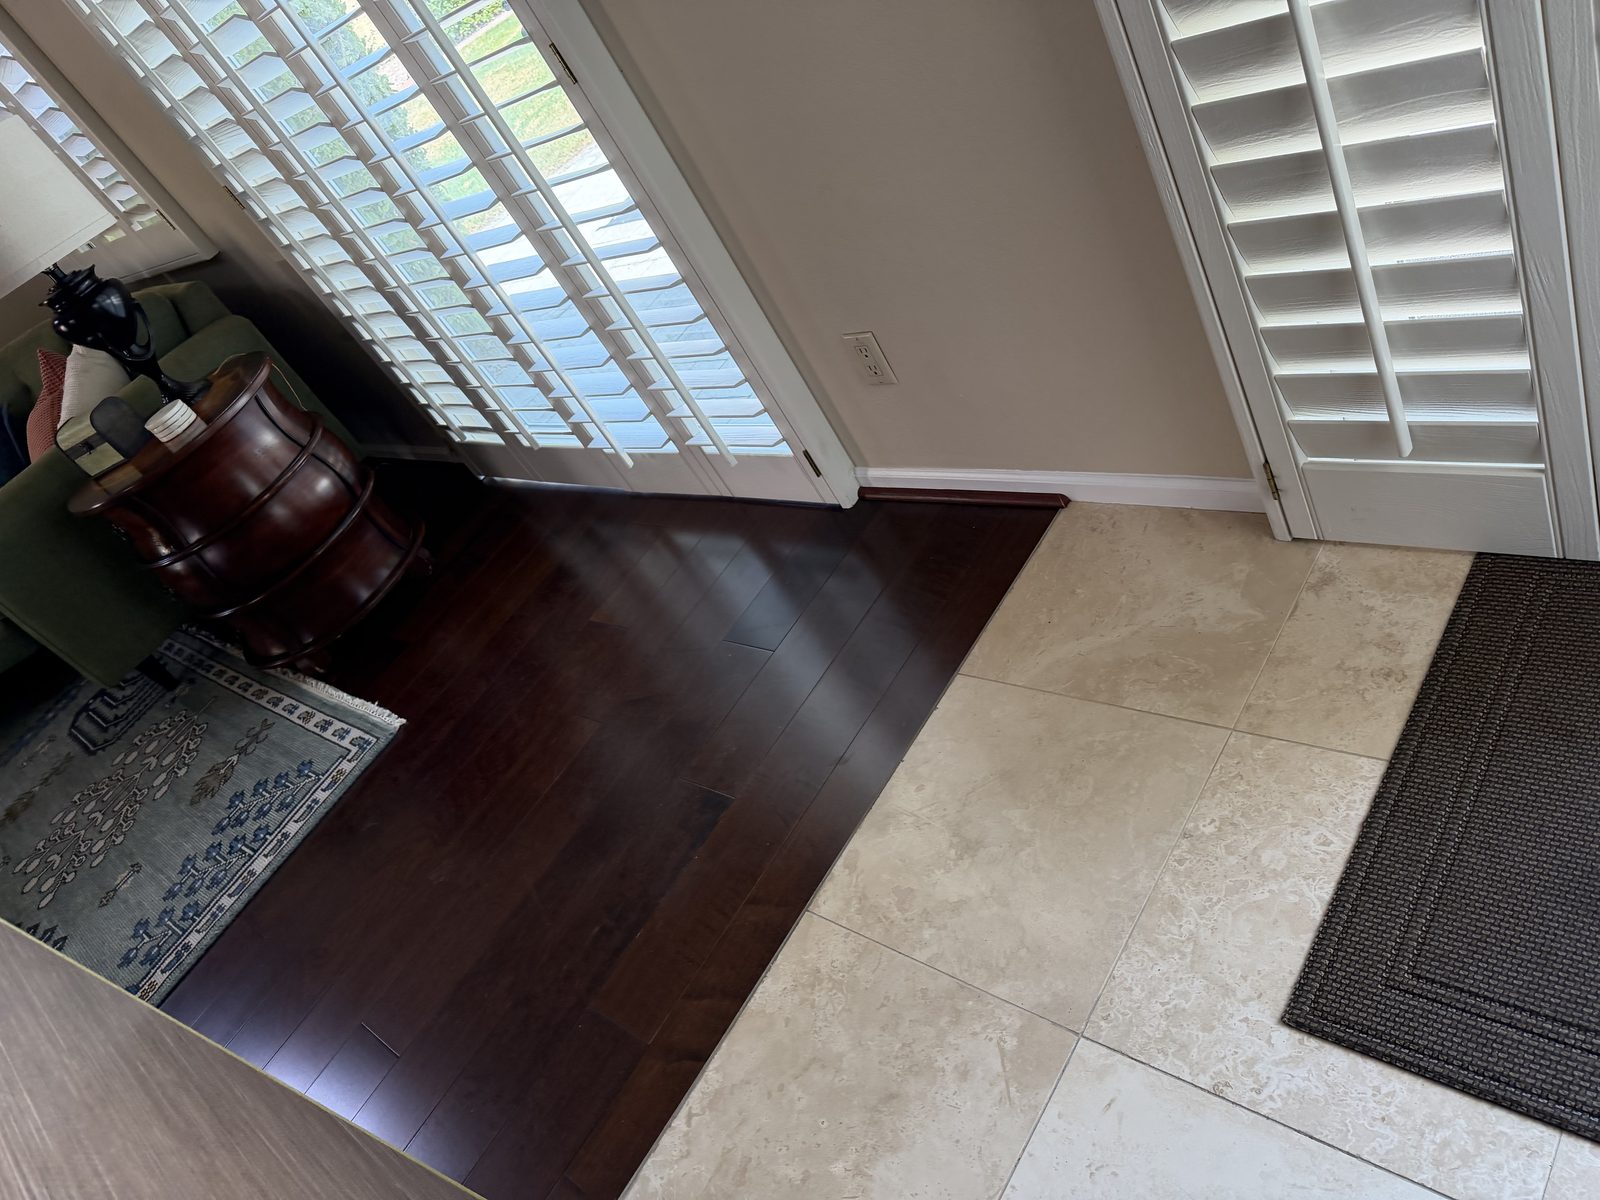
A floor job strips the rooms to bare slab and parks a carpentry crew, a grinder and a dust containment setup in your house for the better part of a week. Anything that touches the floor line is cheapest in that window. Work agreed up front, while that setup is being paid for once, commonly lands a quarter to half below what the same work costs as its own trip later. Baseboards, shoe molding and door casing are faster to run while the floor edge is open, and a new floor almost always changes the door situation: rigid-core plank can sit higher than what it replaced, so interior doors need undercutting or shaving and rehanging, and that is ten minutes a door now against a service call later.
Bare rooms also expose what furniture has been hiding. Wall dings and old anchor holes want patching and a texture match before baseboards go back on, and a threshold at the front or patio door is easiest to reset while the flooring stops short of it, which is the same window as any patio door work you have been putting off. If a bathroom is in the plan at all, the floor coming out is the moment to deal with a shower pan that has been leaking, because the tile and the pan share a substrate and doing them separately means opening the same floor twice. The garage is the one room a floor job never reaches, and it is also the room the grinder and the containment gear are already set up for, which is most of the prep behind an epoxy garage floor coating. Whatever else the house has accumulated can ride along as a punch list. Walk us through the whole list at the estimate visit and we will price it as one job.
Hiring questions homeowners ask us
What should I ask the other contractors bidding my floor?
Four questions, and an installer who works to the standards answers all four without pausing. What did the slab read for moisture, and will I get that number in writing? What is the flatness tolerance for the tile I picked, and how are you getting the floor there? Where are the movement joints going in a room that takes afternoon sun? And for plank, what is the maximum run length for my product before it needs a transition? The answers separate the bids faster than the prices do.
Will you tear out and haul away the old floor, or do I have to?
We do it, and tear-out is its own line on the estimate rather than something folded invisibly into a square-foot rate. Carpet, pad and tack strip is the cheap end at $0.50 to $1.50 per square foot. Ceramic or porcelain bonded to a slab runs $3.25 to $4.50 per square foot with dust control, the thinset ground off and the debris hauled, and it does not get cheaper on a big floor the way most line items do. Tell us up front about anything heavy, fragile or bolted down, like a piano, a gun safe or an aquarium, and we plan the day around it.
What happens if the slab tests wet, or the subfloor is bad? Is that extra?
A wet slab rules out some floors, not all floors, and that is the useful thing to know before you panic. Rigid-core plank floating over a slab is typically rated to 8 pounds by calcium chloride and 90 percent relative humidity. Glue-down resilient adhesives usually stop between 75 and 85 percent. So a reading that kills one assembly leaves another one open, and we tell you which. Flattening and leveling are on the estimate up front because we can read the floor under a straightedge before demo. Structural subfloor repair is quoted separately, because nobody can see how far water traveled through a wood deck until the covering is off it. When we open a floor and find soft sheathing, work stops, you get a price, and the floor goes back on your say so.
Do you actually install tile, or only plank?
Both, and we hold the license that covers the prep either one needs. If you want to see tile floor work specifically before you hire anyone, ask, and we will walk the setting standards on your actual floor with a straightedge in hand.
Which floor holds up best in Arizona sun and heat?
Porcelain tile, and most of this market tells you the opposite. Vinyl plank is sold here as the heat-proof choice when vinyl is the most thermally reactive covering on the list: manufacturers put the operating range at roughly 40 to 90 degrees and exclude sun damage from the warranty. Tile does not fade, does not soften and reads cool underfoot because it pulls heat out of your foot. Plank is fine in a normal air-conditioned Valley house and it is what we put through most of them. It is the room with floor-to-ceiling west glass where we will either steer you to tile, widen the expansion gap and break the run, or glue that area down instead of floating it.
How long does a floor take, and can we stay in the house?
Most single rooms run a few days and you can stay. Plank is the fast one and you are back on it the same day it is finished. Tile sets the pace on any job it is part of, because the mortar wants about a day before grout and the grout wants its own cure before traffic. Slab work is what stretches a schedule: a self-leveling pour needs its cure before anything bonds to it, and a slab that tests wet needs the reading taken at service conditions, which means the air conditioning running and the house closed up for two days before we drill a single probe hole. Structural subfloor repair adds days, not hours. You get the closed-room list before we start, not after.
Do I need a licensed contractor to install flooring in Arizona?
Not for a small one. Yes for a real one. Arizona's handyman exemption, A.R.S. 32-1121, only covers a job that is minor in nature, needs no building permit, and comes in under $1,000 for the whole thing including labor and materials. Add tear-out, haul-off and material to any real floor and it is outside all three. The exemption is about the size of the job, not about which layer you are touching. Norem Contracting is an Arizona Class B General Residential Contractor, ROC #365090, licensed, bonded and insured. That license carries a written workmanship standard behind it, A.A.C. R4-9-108, which measures the work against the manufacturer's instructions and industry standards with the Registrar of Contractors as recourse. An unlicensed installer cannot offer you that.
Do you charge for the estimate, and can you quote from photos?
No charge. Send the room dimensions and photos of what is coming out, and we can usually get you a range the same day. We confirm it on site, because the two things that move a flooring number most are how flat the floor sits under a straightedge and what the slab reads for moisture, and neither of those shows up in a photo.
Flooring installation across the Phoenix metro
We take flooring installation across Phoenix, Scottsdale, Tempe, Mesa, Chandler, Gilbert, Glendale, Peoria, Queen Creek, Paradise Valley, Cave Creek and Fountain Hills, and that includes repairing whatever the old floor was hiding. Here is the rest of what we do.
Garages, patios and shop floors take a coating rather than a covering, which is a different product and a different page: epoxy and garage floor coating.
Related: vinyl plank flooring costs · vinyl plank over existing tile · bathroom remodeling · shower pan rebuild & leak repair · framing & structural repair · baseboards, trim & handyman work · drywall repair · see our completed work

Written by Harrison Norem, Licensed Class B General Contractor, AZ ROC #365090. About Harrison
Get a Firm Flooring Price
Send the room dimensions and a photo of the floor coming out, and we will send back a clear number, usually the same day, with the tear-out and the slab prep priced as their own lines so you can hold it against any other bid. Free estimate from a licensed Arizona contractor, ROC #365090.
Request Free Estimate